Emma's Animal Creations
  • home
  • blog
  • Free patterns
  • Patterns
  • Tutorials

Pusheen The Cat - A Free Crochet Pattern

12/31/2013

84 Comments

 
Picture
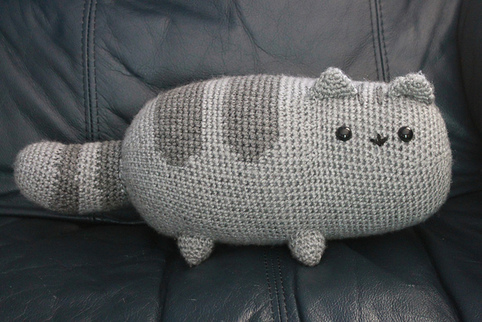
Here is a free pattern that you can follow to make your own Pusheen the cat!

Supplies needed:                                                                                      Stitch and technique abbreviations:

1 skein (200 yards) of Red Heart Soft©                                                                               Single crochet: sc
yarn in Light Grey Heathers                                                                                        Increase: sc 2 in next st
75 yards of Red Heart Super Saver Solids©                                                                             Decrease: dec
in Dark Grey Heathers                                                                                                              Slip stitch: sl st
1 4.00 MM (size 6) crochet hook                                                                                            Stitch(es): st(es)
A pair of 12.00 MM black plastic craft eyes                                                                                 Fasten off: fo
A tapestry (darning) needle                                                                                                        Magic ring: mr Polyester stuffing                                                                                                       Half double crochet: hdc
10" of black yarn for the mouth    
                                                                                                                                                                             
                              A Little Info On Color Change

To make Pusheen's striped, you will have to use two (2) different colors in the same round, which will result in having to make a lot of color changes. But on what stitch do we make the color changes? That is what this little section is here for.

Take round 25 for example.

The pattern says: With the dark grey yarn, Sc in next 26 st. With the light grey yarn, sc in next 46 st.

So, when (and where) would we make the color change? First, let me show you how to make a color change:

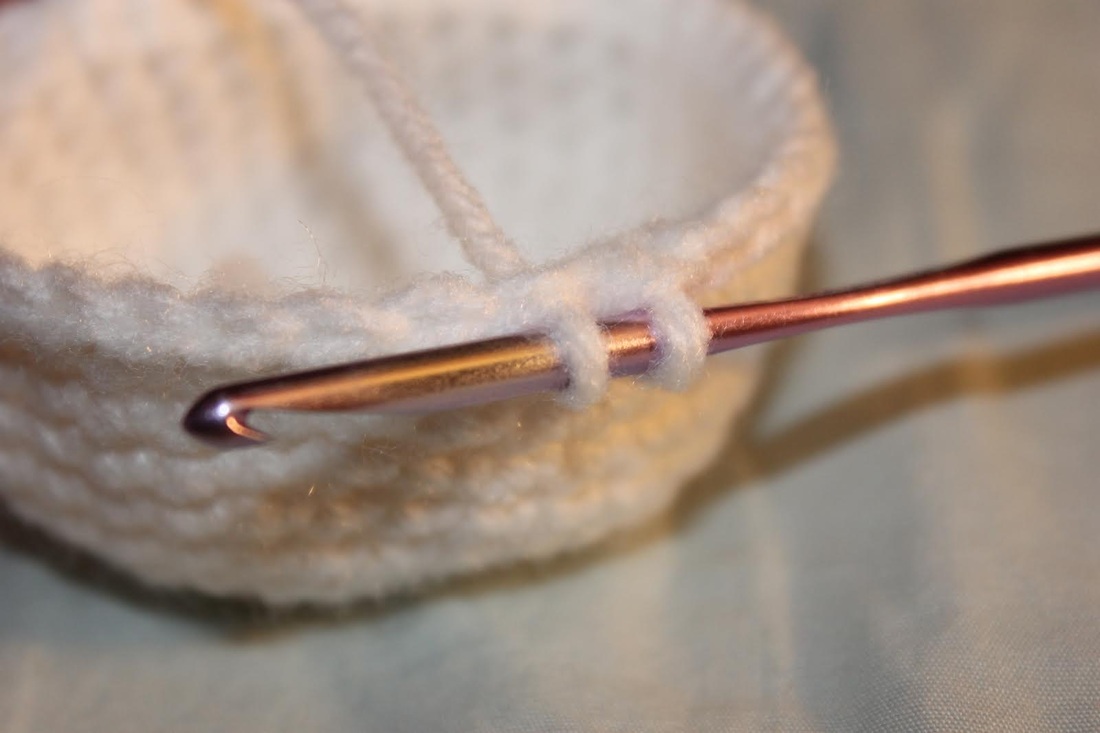
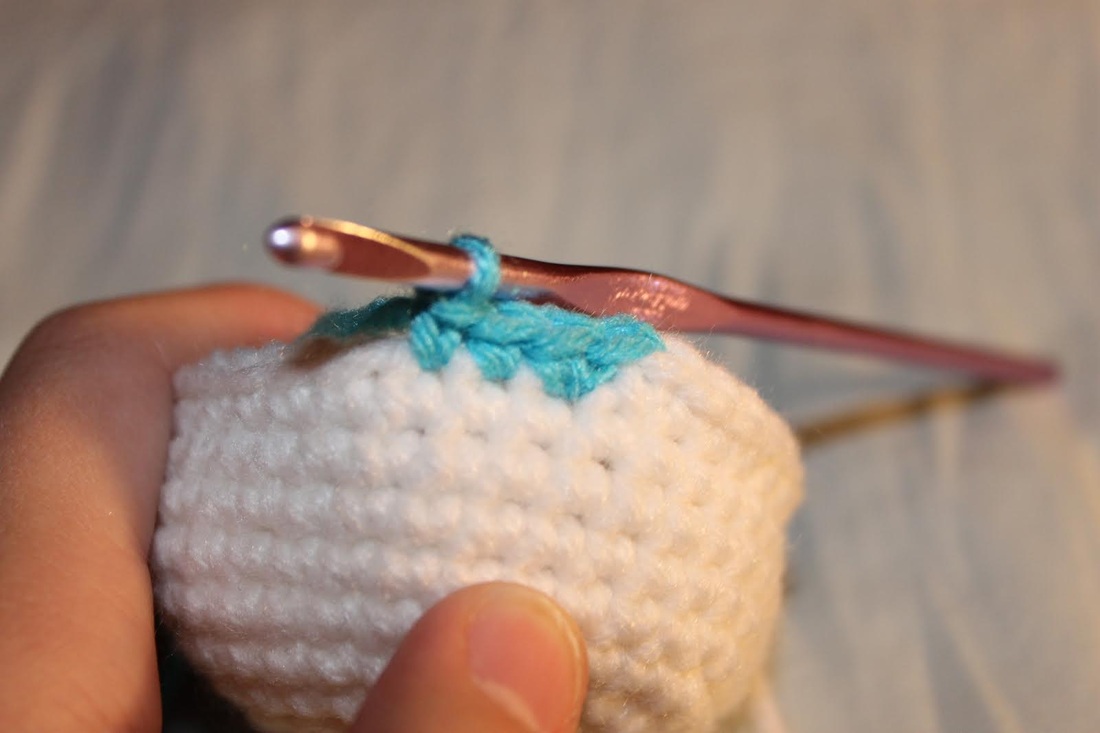
1. Insert your hook into the next stitch and pull up a loop of the working yarn (as though you were crocheting a single crochet stitch)


Picture
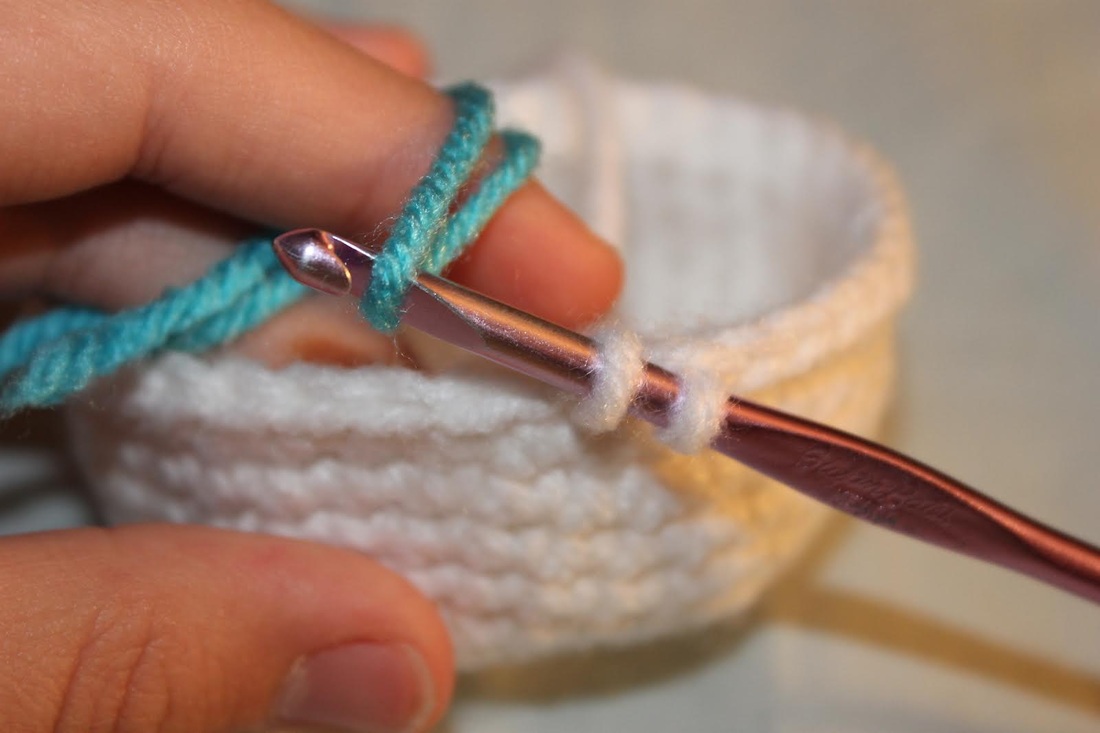
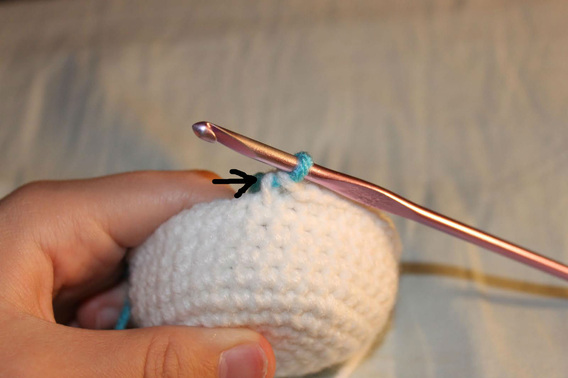
2. Instead of wrapping your working yarn over your hook and completing the stitch, loop over the new yarn.
Picture
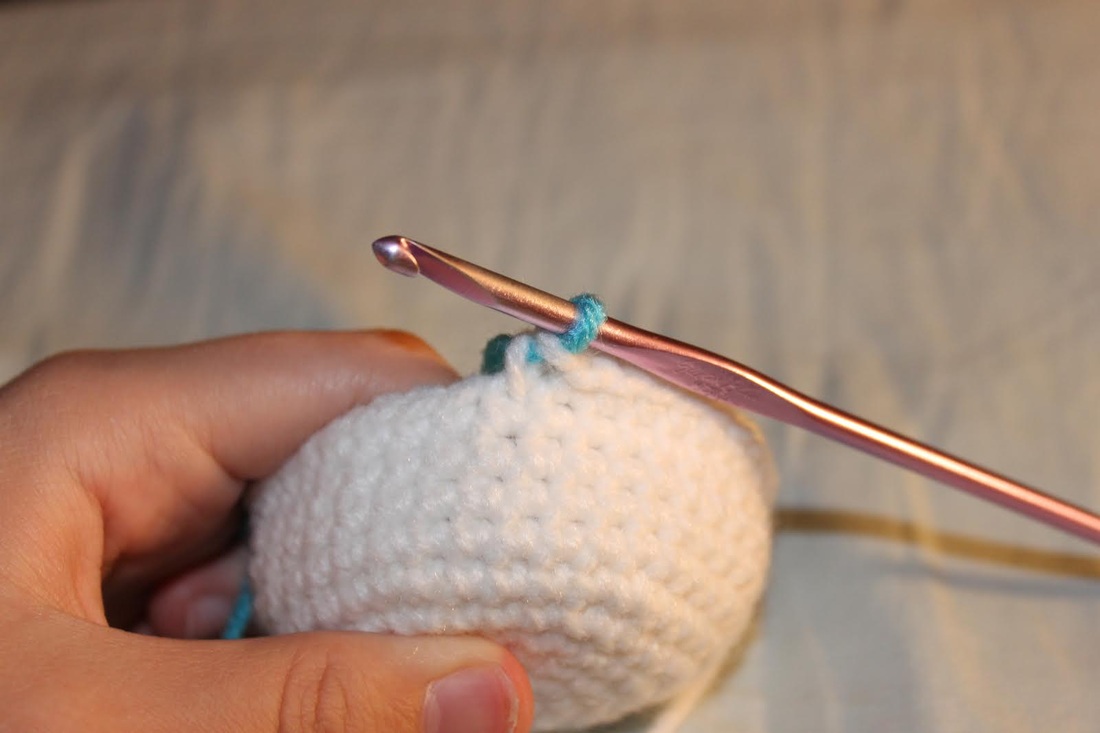
3. Then, pull the new yarn through both of the loops on your hook to complete the stitch.
Picture
4. After that, you can continue crocheting.
Picture
Now, the piece I am working on above has 36 stitches in the round I was working. But when I did the color change, I only crocheted 35 of them (the color change in the piece I was working took place at the beginning of the round, so the stitches that were crocheted with the blue yarn were the first stitches of that round). Why? Because when you make a color change, you create a whole other stitch. So, after I crocheted 35 stitches that round, I made a color change in the last stitch.
Picture
And that finished the round. Then, I began the new round with the new color (in this case, blue).

In the Pusheen pattern, you won't always make a color change at the end of the round.

Let's use round 25 for example. The pattern for this round is:

Sc in next 26 st, make a color change, sc in next 46, make a color change.

For this round, with will start out by crocheting 25 stitches with the working yarn (the dark grey yarn), and then you will make a color change (creating the 26th st). Then, you will crochet in the next 45 st, then you will make a color change to the other yarn (the dark grey yarn, as you were previously crocheting with the light grey yarn). Then, you will follow the instructions for round 26.

Please make sure that you read all of these instructions before starting your project so that you understand the steps to complete this project.


                       The head/body pattern
Start with the light grey yarn.

1) Mr, sc 6 into the ring (6 st)

2) Sc 2 in each st (12 st)

3) *sc 2 in next st, sc in next st* 6 times (18 st)

4) *sc 2 in next st, sc in next 2 st* 6 times (24 st)

5) *sc 2 in next st, sc in next 3 st* 6 times (30 st)

6) *sc 2 in next st, sc in next 4 st* 6 times (36 st)

7) *sc 2 in next st, sc in next 5 st* 6 times (42 st)

8) *sc 2 in next st, sc in next 6 st* 6 times (48 st)

9) *sc 2 in next st, sc in next 7 st* 6 times (54 st)

10) *sc 2 in next st, sc in next 8 st* 6 times (60 st)

11) Sc in each st (60 st)

12) *sc 2 in next st, sc in next 9 st* 6 times (66 st)

13) Sc in each st (66 st)

14) *sc 2 in next st, sc in next 10 st* 6 times (72 st)

15-16) Sc in each st (72 st in each round)

17) Sc in each st, cc on the last st (72 st)

18) With the dark grey yarn, sc in next 26 st (cc on the 26th st) With the light grey yarn, sc in next 45 st (cc on the 45th st), with the dark grey yarn, sc in next st (72 st)
19) With the dark grey yarn, sc in next 27 st (cc on the 27th st) With the light grey yarn, sc in next 43 st (cc on the 43rd st), with the dark grey yarn, sc in next 2 st (72 st)
20-21) With the dark grey yarn, sc in next 28 st (cc on the 28th st) With the light grey yarn, sc in next 42 st (cc on the 42nd st) With the dark grey yarn, sc in next 2 st (72 st)

22) With the dark grey yarn, sc in the next 28 st (cc on the 28th st) With the light grey yarn, sc in next 43 st (cc on the 43rd) With the dark grey yarn, sc in next st (72 st)

23) With the dark grey yarn, sc in next 27 st (cc on the 27th st) With the light grey yarn, sc in next 45 st (cc on the 45th st) (72 st)

24) With the dark grey yarn, sc in next 26 st (cc on the 26th st) With the light grey yarn, sc in next 46 st (72 st)

25) With the light grey yarn, sc in next st (cc on that st) With the dark grey yarn, sc in next 24 st (cc in the 24th st) With the light grey yarn, sc in next 47 st (72 st)

26-29) With the light grey yarn, sc in each st (72 st in each round)

30) With the light grey yarn, sc in the next 2 st (cc on the 2nd st) With the dark grey yarn, sc in next 26 st (cc on 26th st) With the light grey yarn, sc in next 44 st (72 st)

31) With the light grey yarn, sc in the next st (cc on that st) With the dark grey yarn, sc in next 28 st (cc on the 28th st) With the light grey yarn, sc in next 42 st (cc on the 42nd st) (72 st)

32-33) With the dark grey yarn, sc in next 30 st (cc on the 30th) With the light grey yarn, sc in next 42 st (cc on the 42th st) (72 st)

34) With the dark grey yarn, sc in next 30 st (cc on the 30th st) With the light grey yarn, sc in next 42 st (do NOT change color on the 42th st) (72 st)

35) With the light grey yarn, sc in next st (cc on that st) With the dark grey yarn, sc in next 28 st (cc on the 28th st) With the light grey yarn, sc in next 43 st (72 st)

36) With the light grey yarn, sc in next 2 st (cc on the 2nd st) With the dark grey yarn, sc in next 26 st (cc on the 26th st) With the light grey yarn, sc in next 44 st (72 st)

37) With the light grey yarn, sc in next 3 st (cc on the 3rd st) With the dark grey yarn, sc in next 24 st (cc on the 24th st) With the light grey yarn, sc in next 45 st (72 st)

38-41) With the light grey yarn, sc in each st (72 st in each round)

42) *dec, sc 3* 6 times, sc in the next 42 st (66 st)

43) *dec, sc 2* 6 times, sc in the next 42 st (60 st)

44-59) sc in each st (60 st in each round)

*********************STOP!****************************

Insert the eyes into the body, one in round 47, and the other in round 58. embroider the mouth right between the eyes.

Begin stuffing the body, and continue stuffing as the work progresses.

*********************************************************

60) *dec, sc 8* 6 times (54 st)

61) sc in each st (54 st)

62) *dec, sc 7* 6 times (48 st)

63) sc in each st (48 st)

64) *dec, sc 6* 6 times (42 st)

65) *dec, sc 5* 6 times (36 st)

66) *dec, sc 4* 6 times (30 st)

67) *dec, sc 3* 6 times (24 st)

68) *dec, sc 2* 6 times (18 st)

69) *dec, sc 1* 6 times (12 st)

70) *dec* 6 times (6 st)

Fo, and sew the hole closed. 

                                     The Leg Pattern

Make 4. With the light grey yarn,

1) Mr, sc into the ring (5 st)

2) sc in each st (5 st)

3) sc 2 in each st (10 st)

4) sc in each st (10 st)

5) *sc 2 in next st, sc in next st* 6 times (15 st)

6) sc in each st (15 st)

Fo with a long tail. Attach the first two legs along rounds 15-20 of the body, and attach the other two along rounds 34-39 of the body/head area.


          The Ear Pattern

Make 2. With the light grey yarn,

1) Mr, sc 6 into the ring (6 st)

2) sc in each st (6 st)

3) sc 2 in each st (12 st)

4) sc in each st (12 st)

5) *sc 2 in next st, sc in next st* 6 times (18 st)

Fo with a long tail. Press both sides together, and sew it closed. Attach the first ear along rounds 41-48, and the second one along rounds 54-61. Embroider two small striped right in between the ears with the dark grey yarn.


                                      The Tail Pattern
Make 1. With the light grey yarn,

1) Mr, sc 6 into the ring (6 st)

2) sc 2 in each st (12 st)

3) *sc 2 in next st, sc in next st* 6 times (18 st)

4) sc in each st (18 st)

5) *sc 2 in next st, sc in next 2 st* 6 times (24 st)

6-10) sc in each st. On the last round, cc on the last st (24 st in each round)

11-12) With the dark grey yarn, sl st in next 8 st, sc in next 4 st, hdc in next 8 st, sc in next 4 st (24 st in each round)

13-14) sc in each st. On the last round, cc on the last st (24 st in each round)

15) With the light grey yarn, Sc in the first st, sl st in next 8 st, sc in next 4 st, hdc in next 8 st, sc in next 3 st (24 st)

16-18) sc in each st. On the last round, cc on the last st (24 st in each round)

19) With the dark grey yarn, sc in next 2 st, sl st in next 8 st, sc in next 4 st, hdc in next 8 st, sc in next 2 st (24 st)

20-22) sc in each st (24 st in each round)

Fo with long tail, and attach on round 8 of the body.


Congratulations! You just completed a cute and cuddly animal. Be sure to share your project on Pusheen's Ravelry page! 

=
84 Comments

Free pattern: Lil' Red Alien

12/29/2013

2 Comments

 
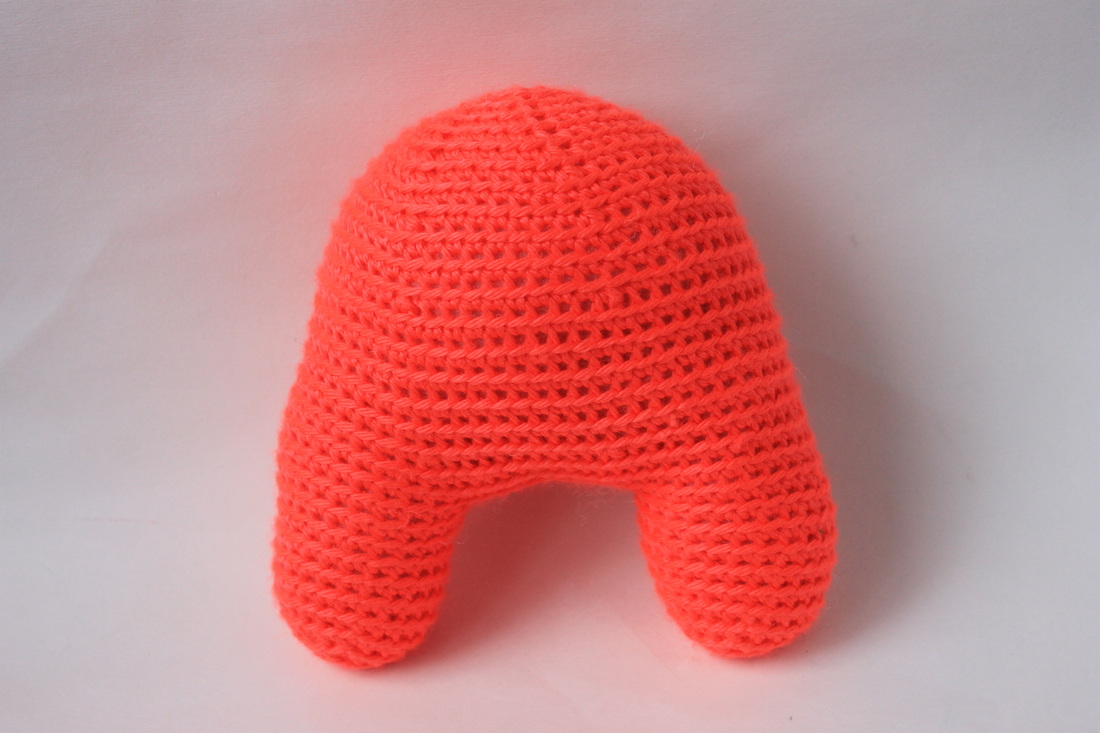
This little fella has a story behind him. I recently started a Ravelry group called Project Stash Buster (PSB for short) which is focused on breaking down large yarn collections. I myself have a lot of yarn, and I wanted to find some projects that I would make to use up some yarn.

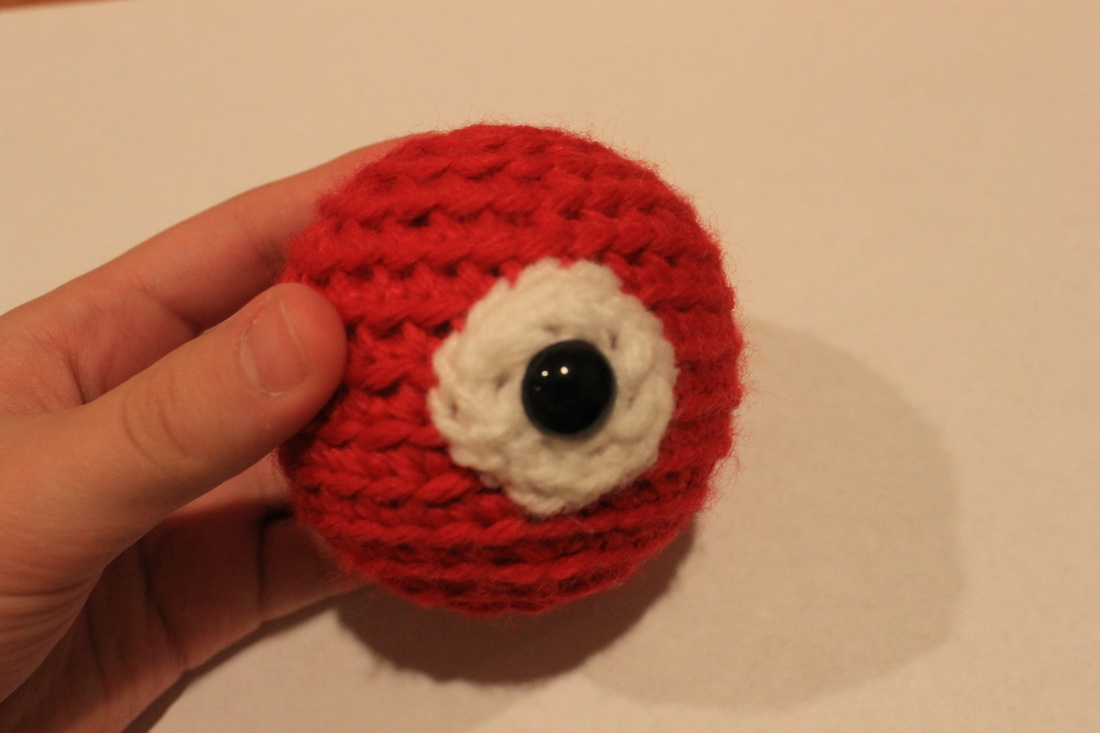
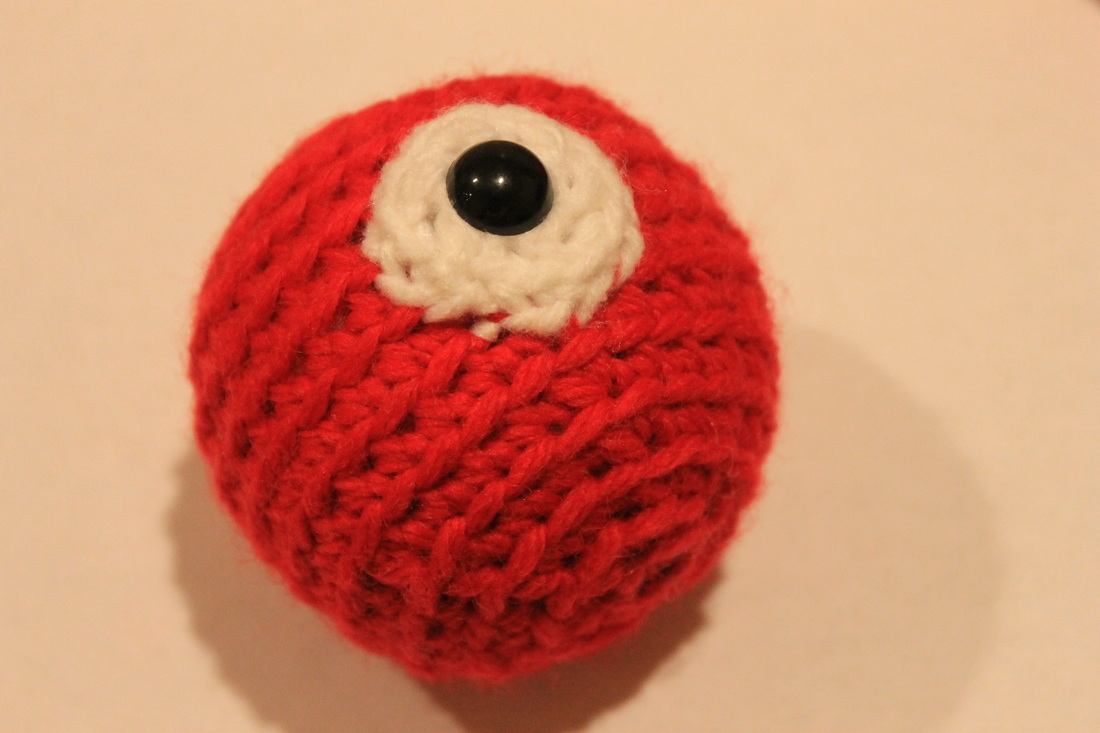
That's where this baby comes in:
Picture
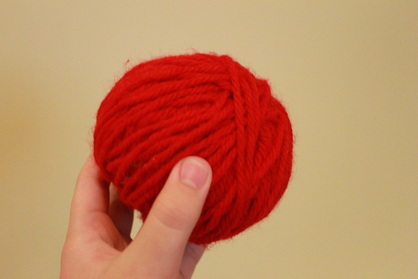
It's a bit thicker than aran weight yarn. I received it from a friend, and it didn't have a label on it (it was a partial skein. Some of it had been used up). I didn't know what I wanted to do with it, but then I had an idea: I could make some weird alien! The perfect solution :)

So because I was bored this Sunday afternoon, I crocheted up a this thingamajig:

Picture
Picture
Nothing much. Just a blob I made to entertain myself.

Supplies needed:

60 yards of DK weight yarn (two separate 30 yard strands, held together as one strand)

1 yard of aran weight yarn (in white)

1 black 12.00 MM plastic craft eye (and poster backing for securing the eye)

Polyester stuffing (a handful or two)

A tapestry needle

A stitch marker (optional)

A 5.00 MM crochet hook

Stitch and technique abbreviations:

Magic ring: mr

Single crochet: sc

Increase: sc 2 in next st

Decrease: dec

Slip stitch: sl st

Back loop only: blo

                                                   The Pattern

The body. Make 1. With the two strands of DK weight yarn,

1) Mr, sc 6 into the ring (6 st)

2) sc 2 in each st (12 st)

3) *sc 2 in next st, sc in next st* 6 times (18 st)

4) *sc 2 in next st, sc in next 2 st* 6 times (24 st)

5) *sc 2 in next st, sc in next 3 st* 6 times (30 st)

6-10) sc in each st (30 st each round)

11) *dec, sc 3* 6 times (24 st)

12) *dec, sc 2* 6 times (18 st)

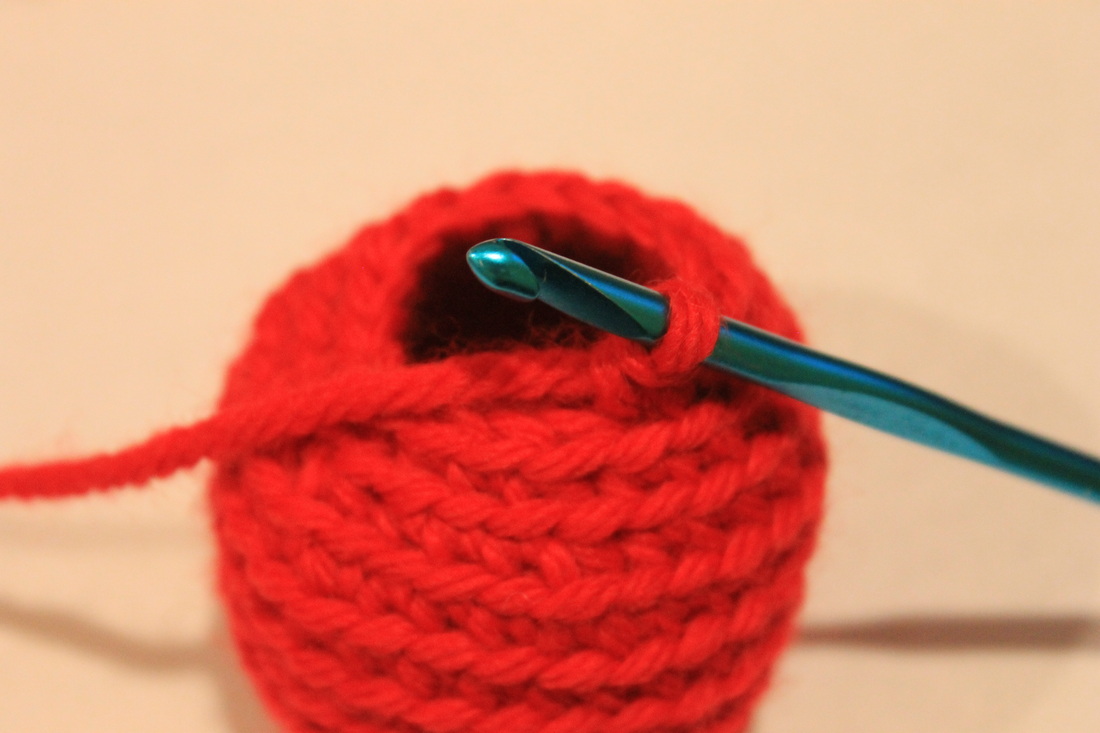
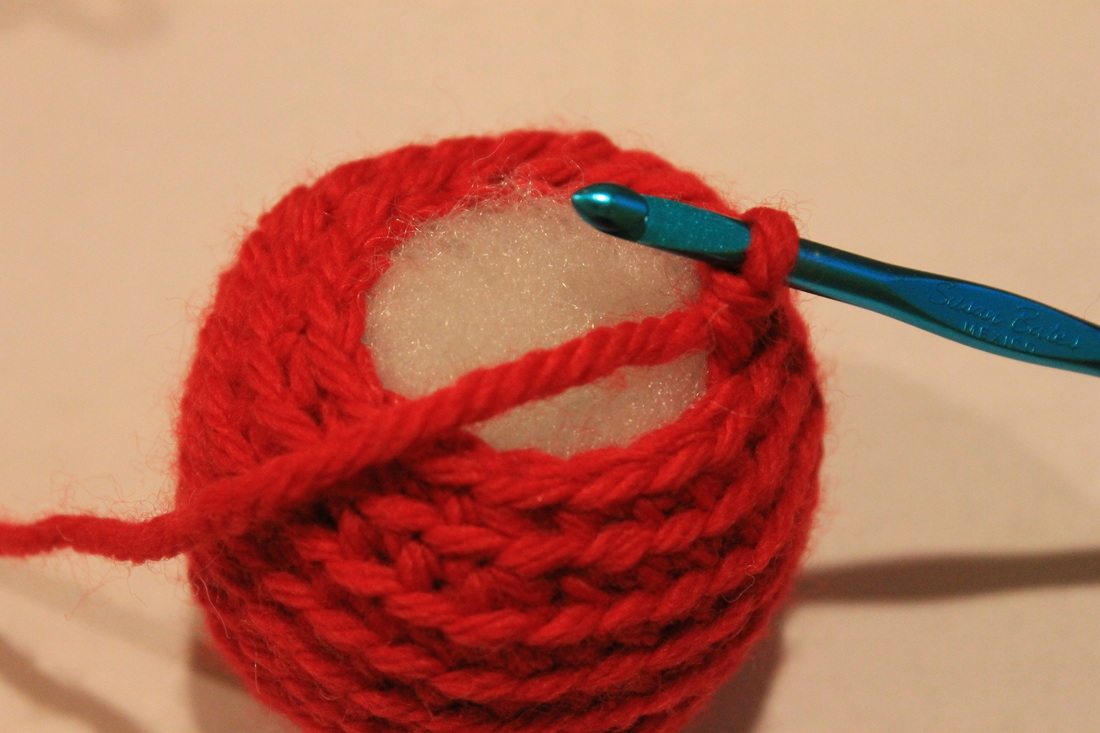
At this point, you can begin stuffing the body. Continue stuffing it as the work progresses.


Picture
Picture
Please note: The yarn I used was thick yarn, but it worked up the same with two strands of DK weight yarn.

13) *dec, sc 1* 6 times (12 st)

14) *dec* 6 times (6 st)

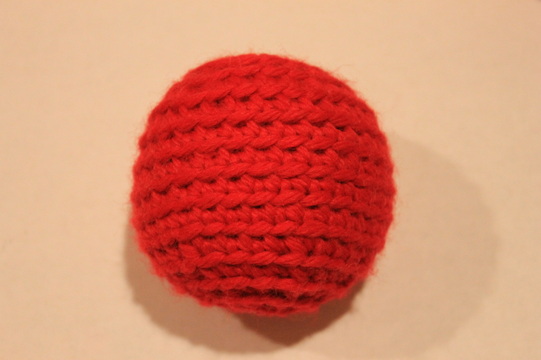
Fasten off. Thread the tapestry needle with the remaining yarn tail, and sew the hole closed.

You should have a blob that looks like this:

Picture
                                                   The Eye Pattern

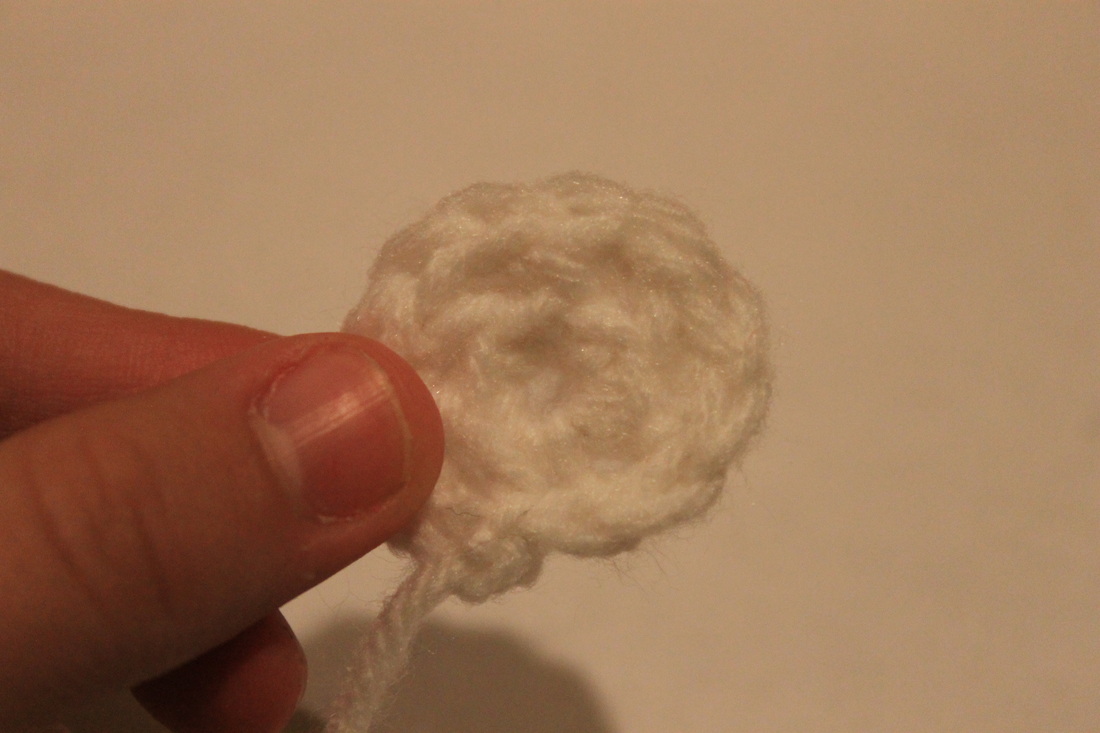
Make 1 (or two. You can always add another eye)

With the one yard of white yarn,

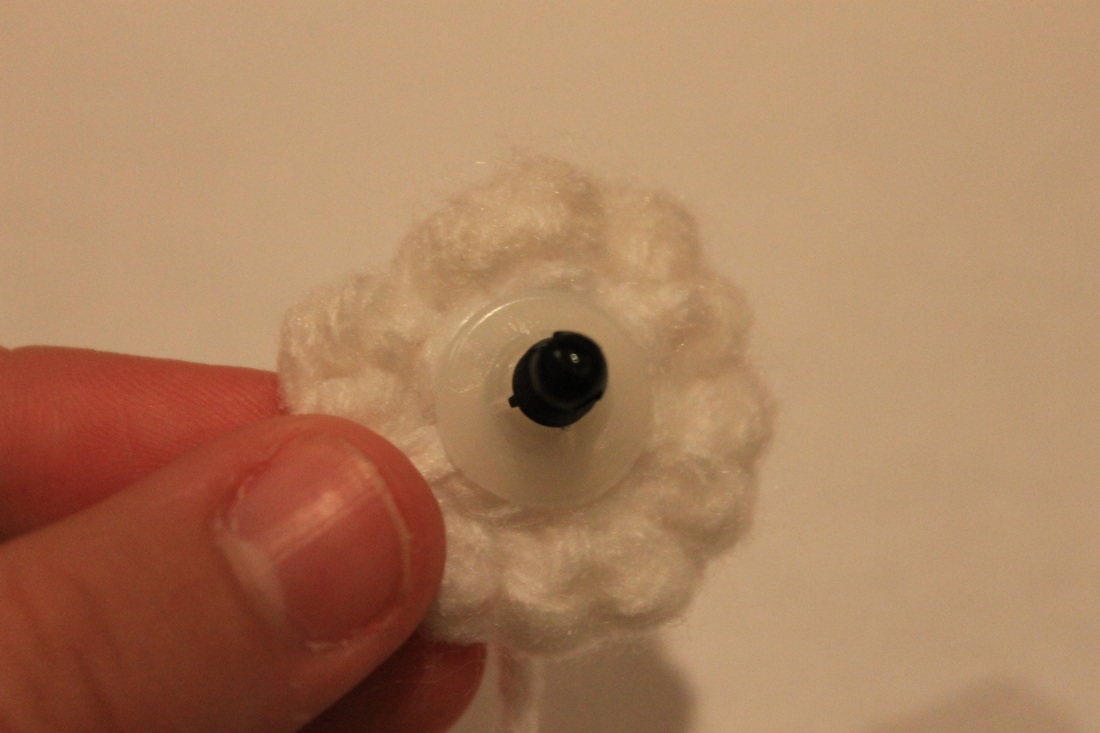
1) Mr (but don't close the hole all the way. You will need that hole to put the eye in) sc 6 into the ring (6 st)

2) Sc 2 in each st (12 st)

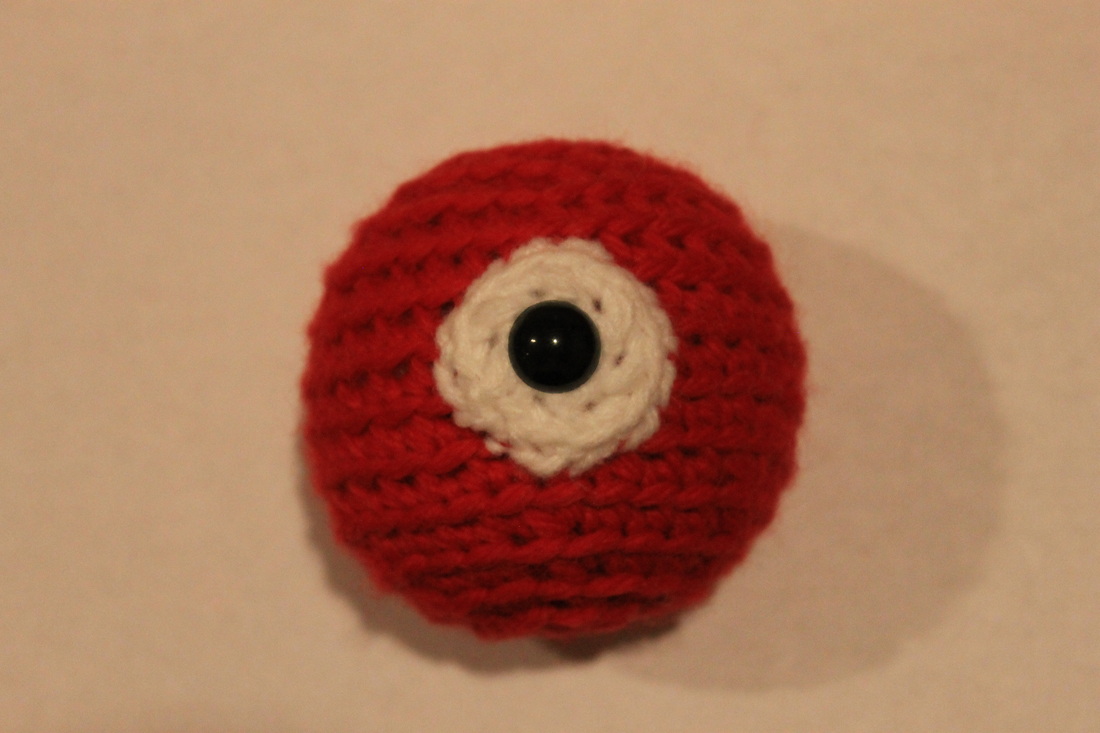
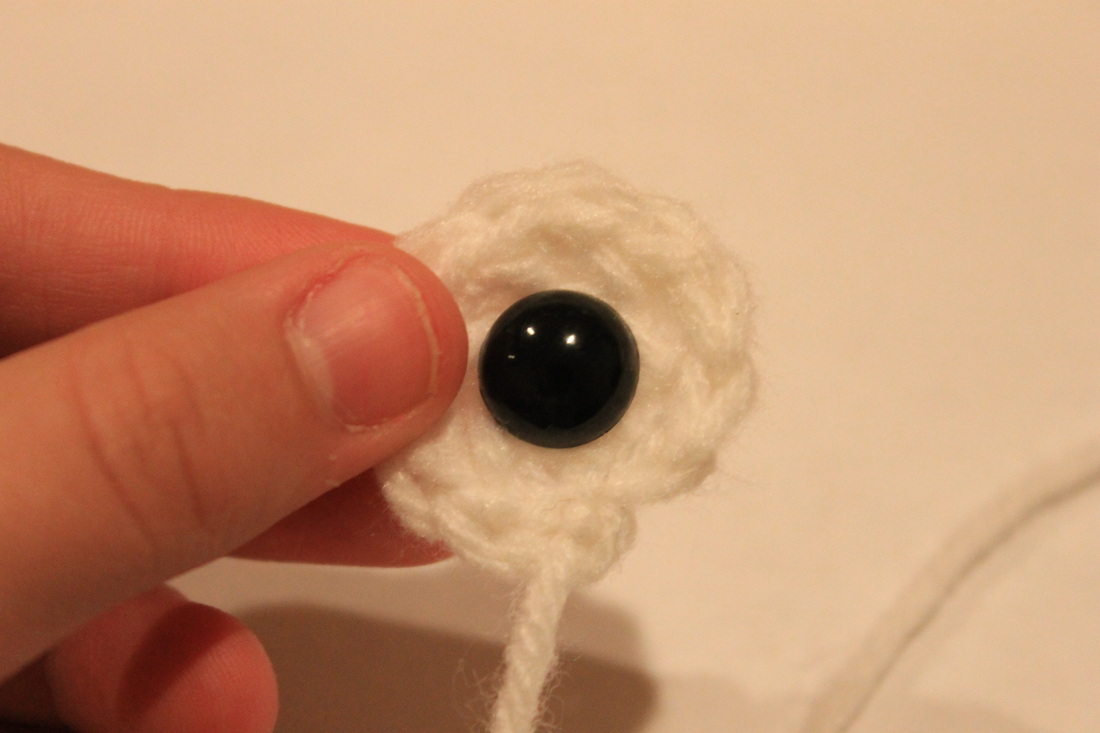
Fasten off. Insert the eye into the magic ring hole, and attach the poster on the back.
Picture
Picture
Picture
Picture


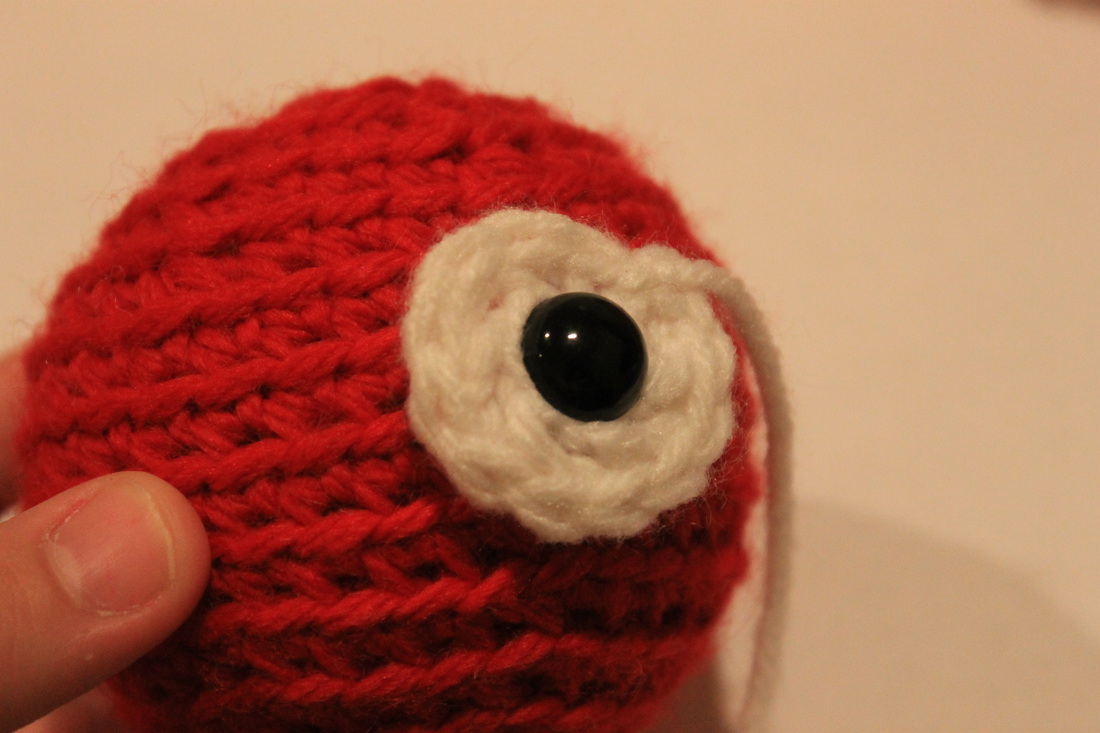
After that, insert the back of the eye into the body. Then, thread the tapestry with the remaining yarn tail, and sew the eye to the body. 

Picture
Congratulations! You just finished a small, weird, bizarre, totally strange blob.

I would love to see your finished blobs, so please post them on this guy's Ravelry page.

2 Comments

FO Saturday

12/28/2013

3 Comments

 
Hey, guys! First I want to say Merry Christmas! I didn't post WIP Wednesday because I was enjoying the day, and I didn't post FO Friday simply because I really didn't feel like posting (mainly because of all the photos I had to upload).

So, today we will have a FO Saturday.

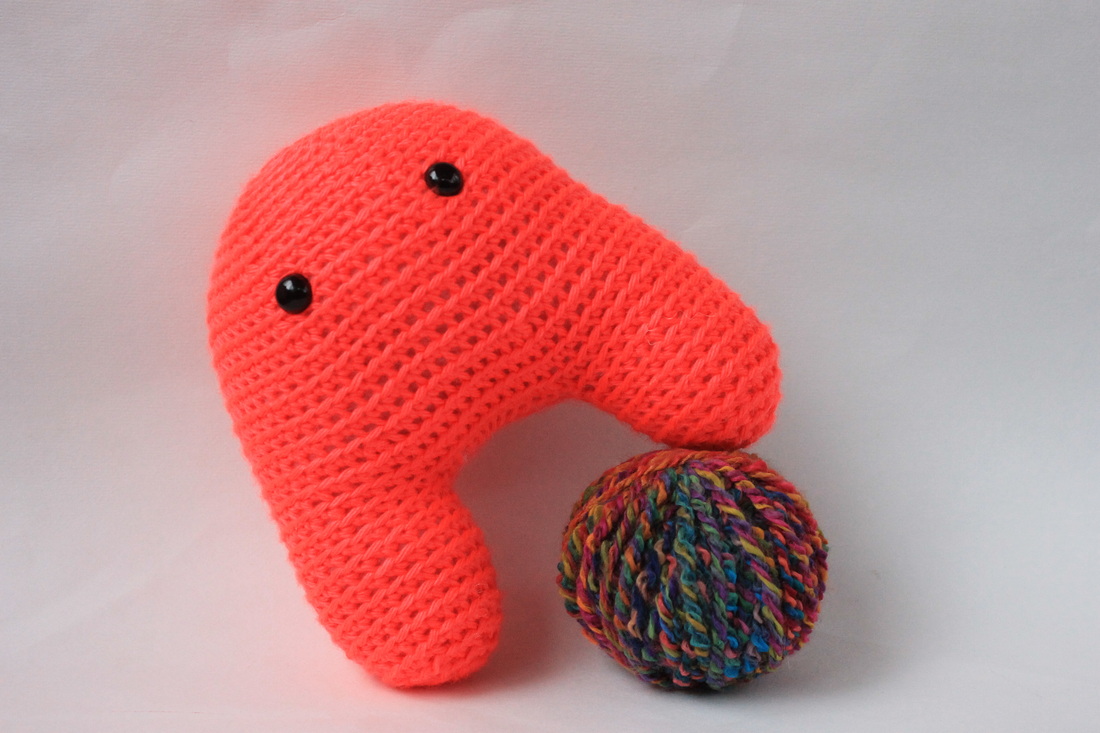
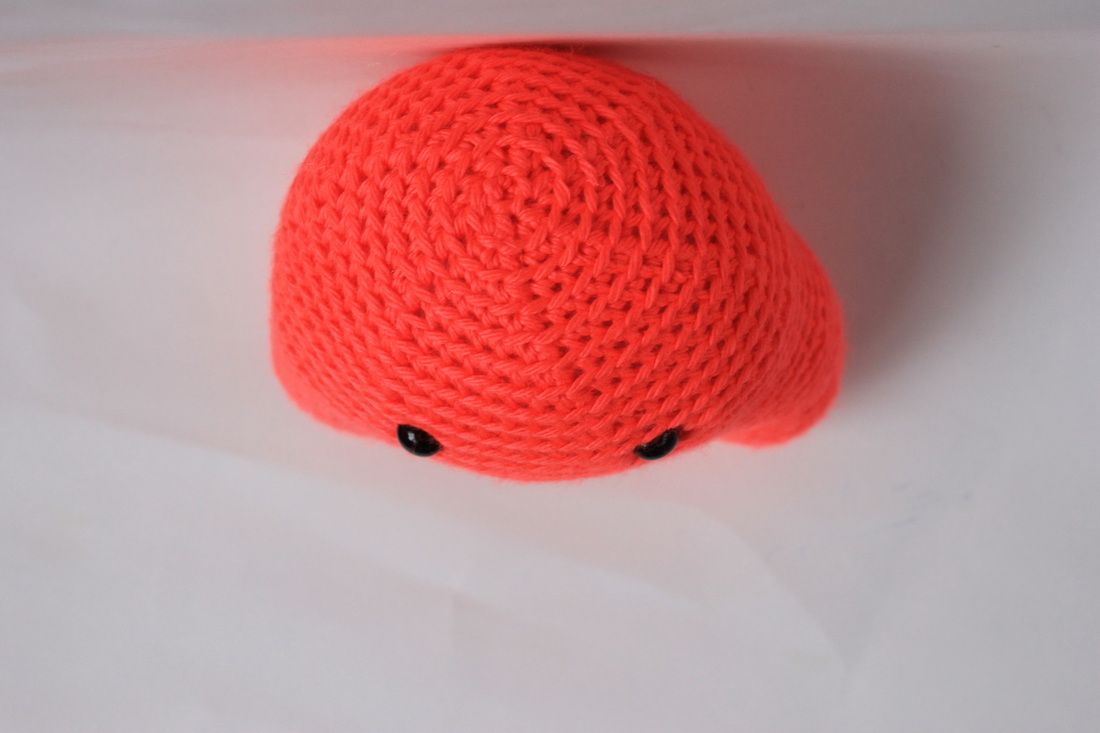
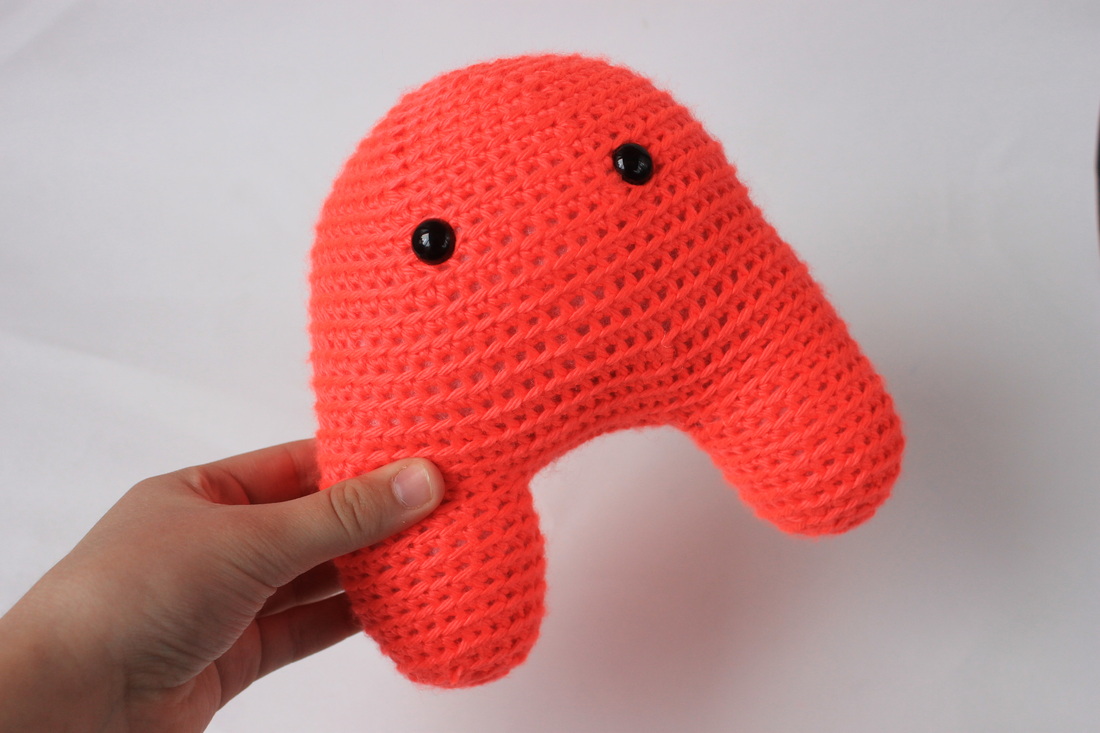
I was working on some new shapes, and came up with this guy:
Picture
Picture
Picture
Picture
I don't want to call him an alien, or a monster. I'm trying to think of some weird name, and create an army of them. I'm open to suggestions, so if you have any, please comment below :)
3 Comments

FO Friday

12/20/2013

0 Comments

 
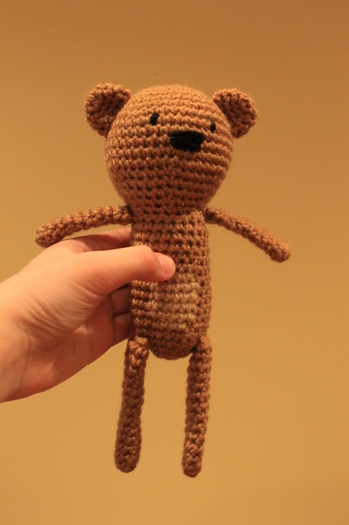
I finished my teddy bear!
Picture
I named him Bernie. I left the arms and legs unstuffed, but for my next one, I think I will insert pipe cleaners into the limbs. But without the pipe cleaners, because he has plastic eyes, he is completely child-safe.

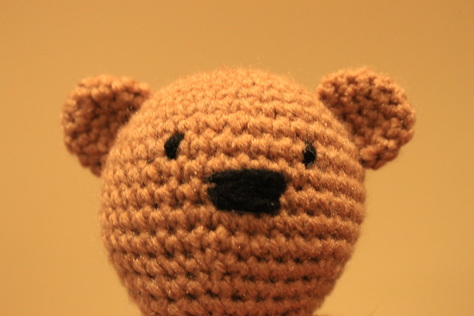
                                         Here is a close up of his face:

Picture
                                        He kind of looks like Mr. Teddy.

             That's it for now. Don't forget to come back for WIP Wednesday!

0 Comments

Teddy? Is that you?

12/19/2013

0 Comments

 
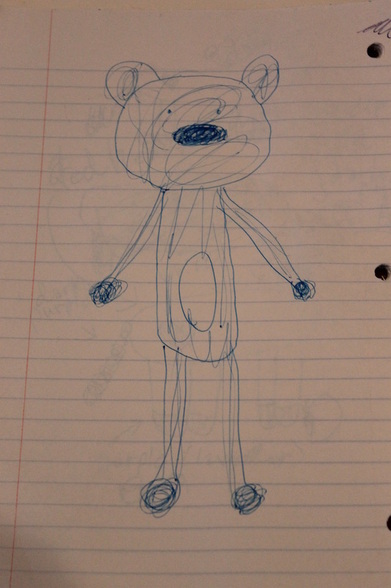
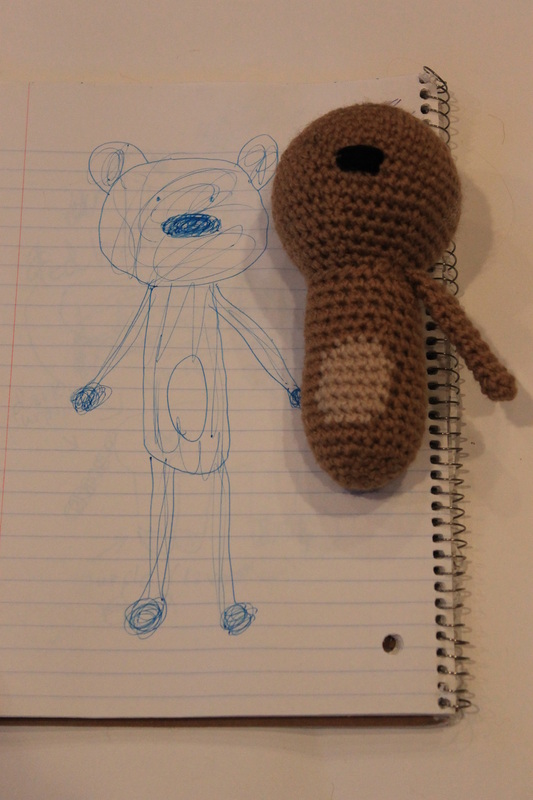
I've been wanting to make a bear like this for awhile, and I am finally getting around to it.

↓I drew this picture several months ago when thinking up new designs to crochet ↓

Picture
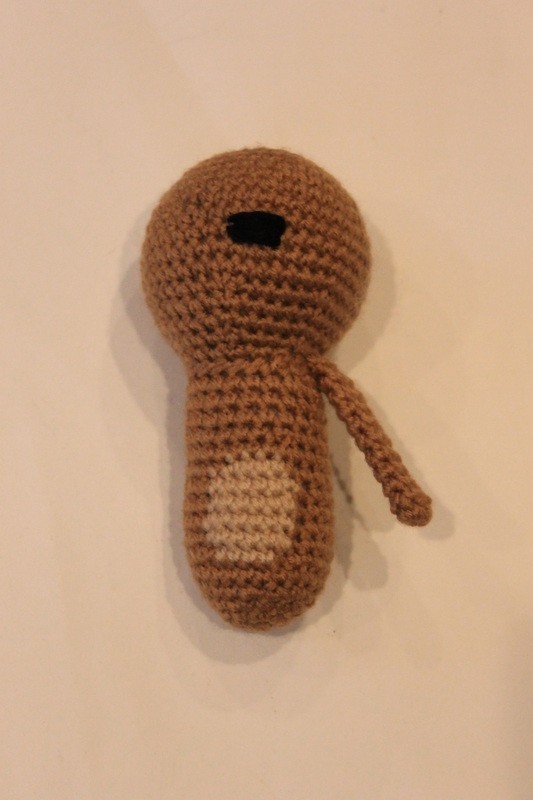
           I still have to crochet some more pieces, but here is a picture of it so far:
Picture
Not exactly what I was going for, but I still like it. But I really want to crochet one that looks just like the drawing. That would be so cute!

The size is about the same (which was what I wanted) but I think I need to make a few more prototypes before I am completely happy with the finished product.

Picture
0 Comments

WIP Wednesday

12/18/2013

2 Comments

 
I've been working on a lot of stuff, and some of it is not even pictured here! But, I will share with you a few things.

Remember this guy?

Picture
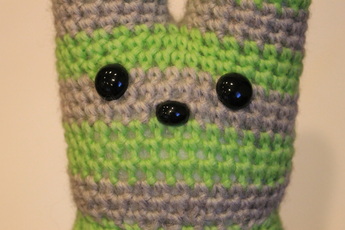
Cute, right? Unfortunately, after stuffing the head, I realized I should have used a smaller crochet hook (the green yarn is some of my hand-dyed yarn, and when drying the yarn after dyeing, it gets pulled and stretched, making it a bit thinner than worsted weight, but not quite DK weight yarn) because the stitches were stretched a bit, and it has some noticeable holes →→→→→→→

But, I still love him. I haven't started the arms or the tail, but I still think he is cute.

Let's move on (I have some other stuff I want to show you).


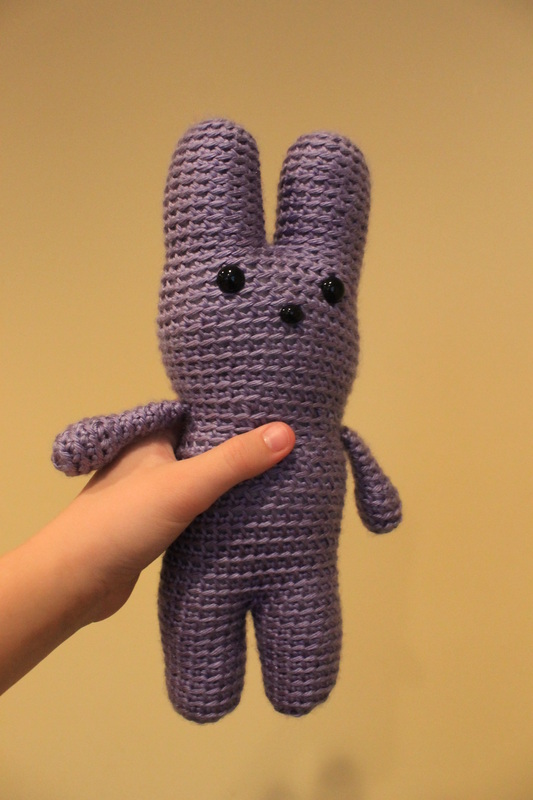
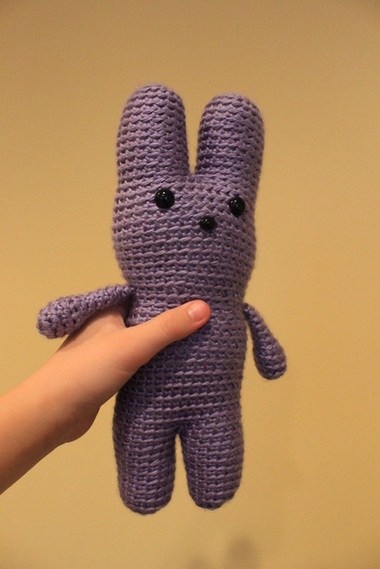
Well, in a previous post, I mentioned I was working on another one. I actually started on the purple one before I finished the older one (I wanted to get some pattern photos, as I didn't take any when making the first one). But, here is the original striped bunny:
Picture
Picture
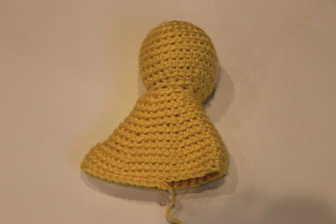
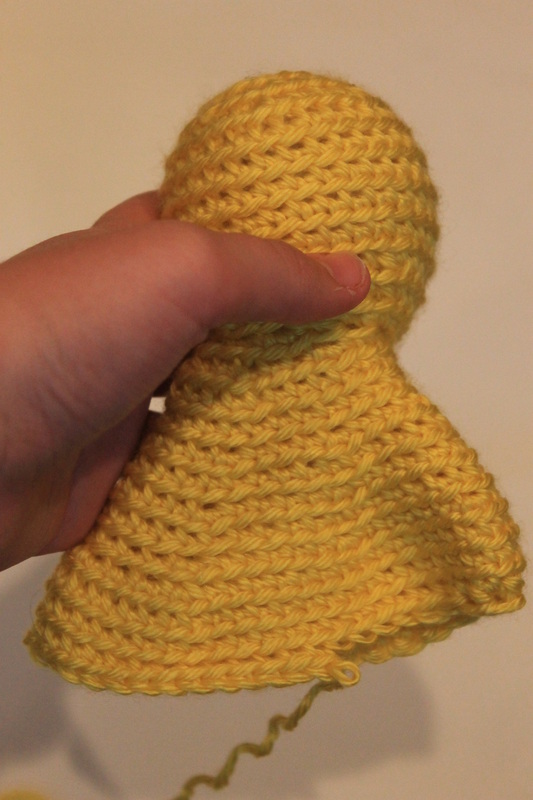
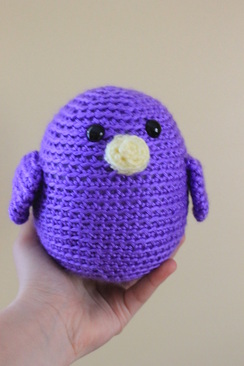
I had some bright yellow yarn, and after taking a suggestion from our Ravelry group, I've almost finished the body of canary!
Picture
I'm experimenting with some new shapes. As you can see from the photos, some of the stitches unraveled :( But, nothing that I can't fix. I've yet to add the eyes (I want to take photos showing where to attach the eyes). The photo to the right shows how big it is compared to my hand (I have small hand) →→→→→→→→→  

Picture
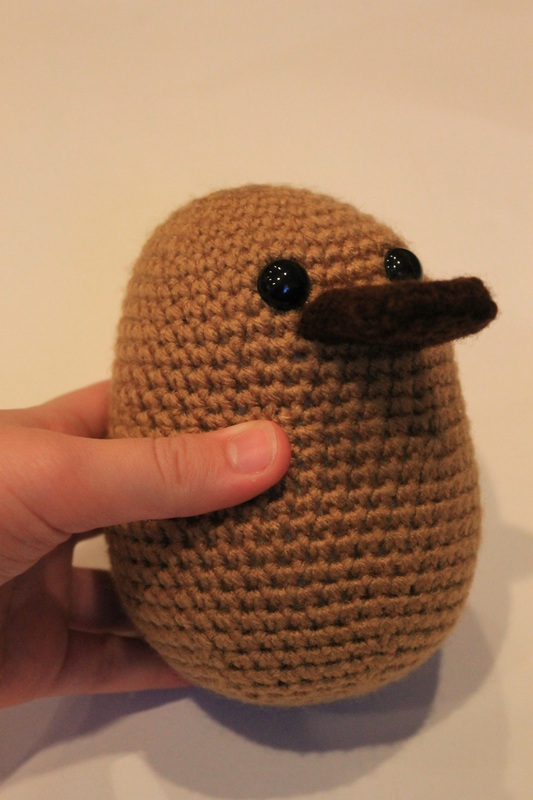
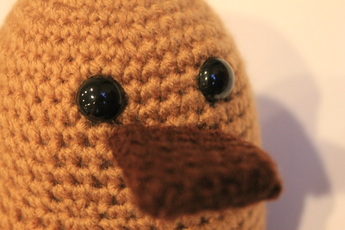
And, I've made a bit more progress on my platypus! 
Picture
Picture
He has the same body as Mort, but without the color changes. I plan on making lots of different animals with this body pattern. The possibilities are endless! After I make his feet and tail, he will take a spot in my Etsy shop.

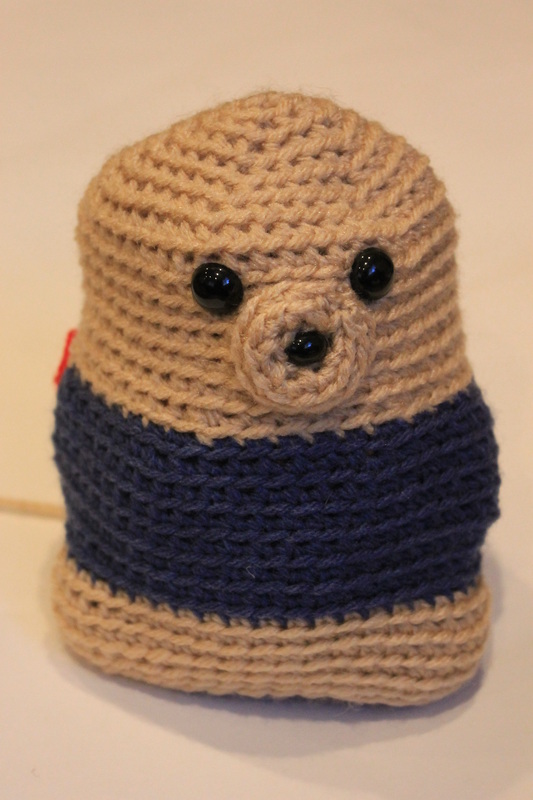
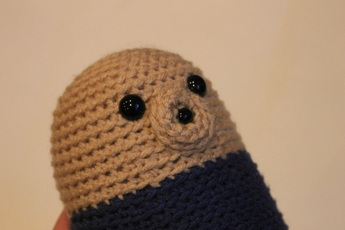
Is it a bird??? Is it a plane??? Is it Mort dressed in a Mort costume??? Yes, and no. While this would make a great Mort cozy, he will end up as a stuffed animal.
Picture
Picture
← It might be hard to tell, but somewhere inside that blob of unfinished stuffed animal, there is a Mort hiding.

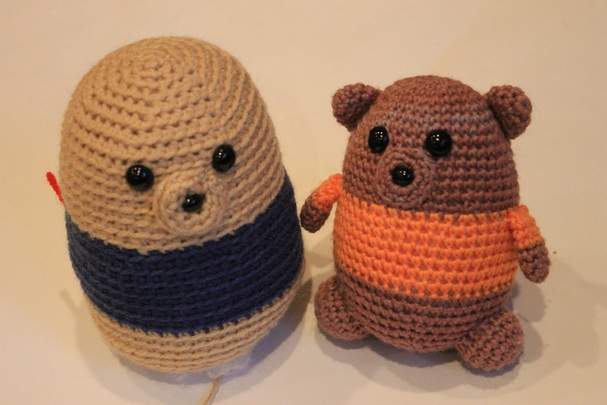
Here is a picture of Mort compared to his big brother

↓↓↓↓↓↓↓↓↓↓↓↓↓↓↓↓↓↓↓↓↓↓↓↓↓↓↓↓↓↓↓↓↓↓↓

Picture
That's it for WIP Wednesday. FO Friday isn't far away!
2 Comments

Free pattern: The Alien from Outer Space

12/17/2013

26 Comments

 
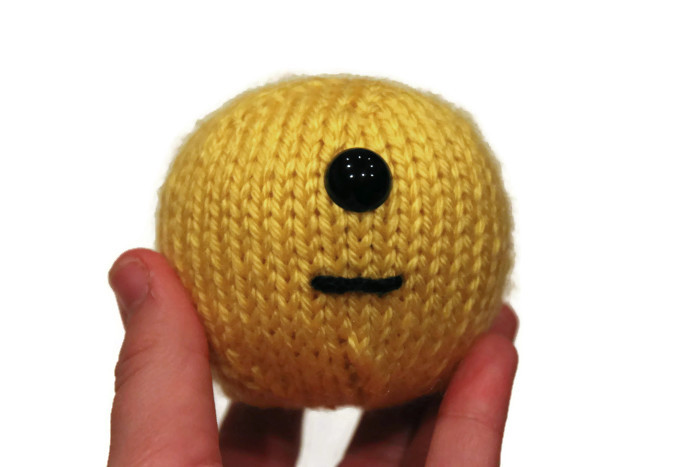
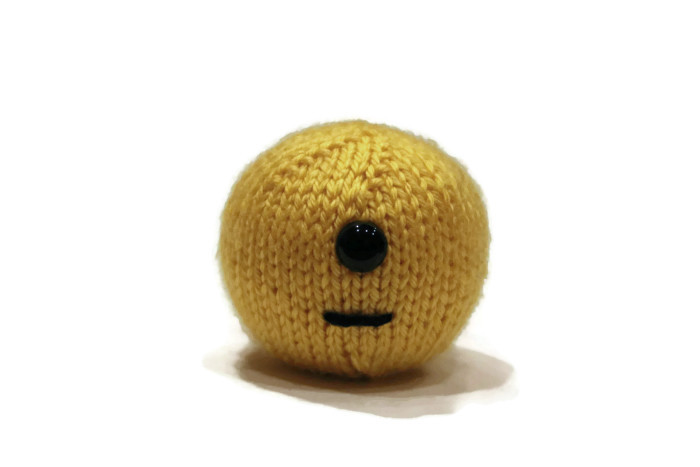
Presenting, the very first EAC knitting pattern! This alien is a quick knit monster that you make using some of your scrap yarn.

Are you a Ravelry.com member? If so, you can download this pattern by following this link.


Not a member? You can download the pattern by pressing the button below.
the_alien_from_outer_space_pattern.pdf
File Size: 240 kb
File Type: pdf
Download File

So, what does this alien look like? I'm glad you asked! Here are a few pictures of this scary (not) creature:
Picture
Picture
I hope you like him!
26 Comments

Some of my stash yarn!

12/9/2013

2 Comments

 
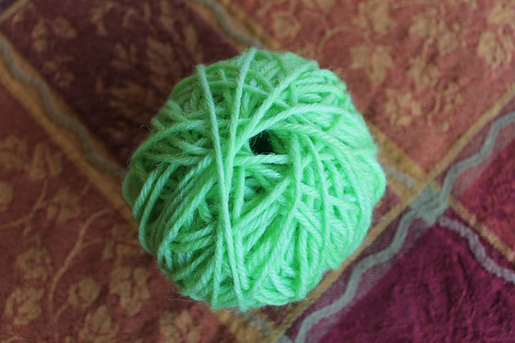
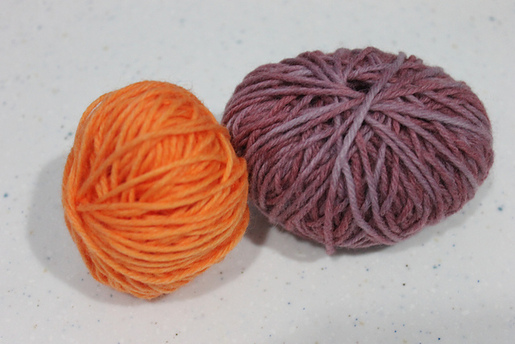
A few weeks ago, I tried yarn dyeing for the first time! It was really fun. I ended up dyeing some multi colored purple (not intended, but still pretty), bright orange, and neon green. Here are a few photos:
Picture
Picture
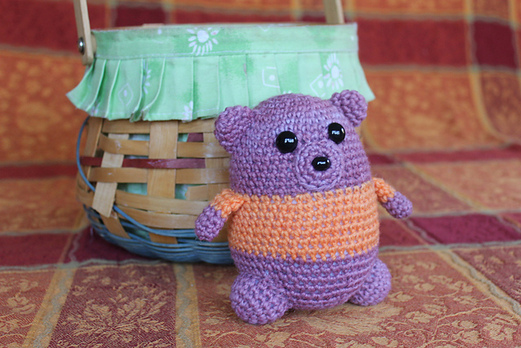
Incase you didn't notice, the orange and purple yarn was used to make Mort the Bear!
Picture
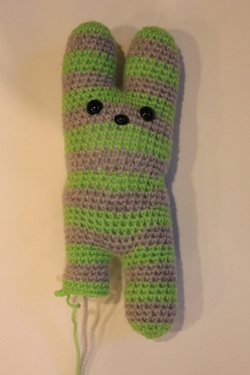
And the green yarn, along with some light grey yarn, was used to make a bunny using the same pattern as this bunny I finished recently:
Picture
Hmmm.... He looks kind of odd shaped in this photo. Oh, well. I'll take more photos for the Etsy listing. His pattern isn't available yet, but it should come up soon (after I finish Mort's pattern)

That's all for now. Don't forget to come back for WIP Wednesday! -Emma

2 Comments

FO Friday

12/6/2013

1 Comment

 
I've been working on a lot of things, but a lot of them are still in progress. But, I do have a few finished stuffed animals to share with you :)

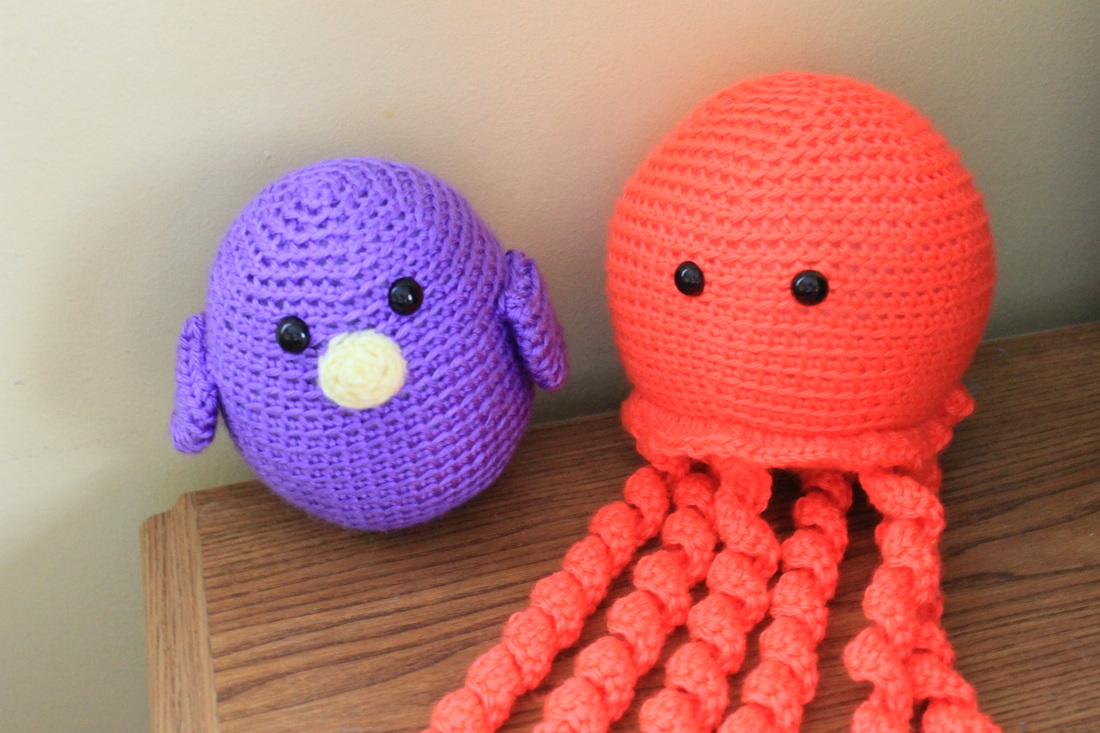
First, I have a plush bird I made for my cousin:
Picture
Picture
The bird is buddies Coral the Jellyfish!
Picture
Picture
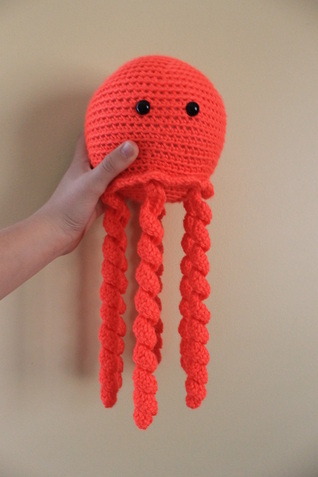
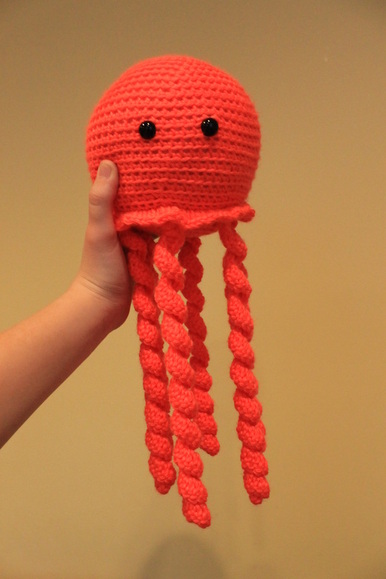
Coral is a GIANT version of my jellyfish pattern! I had to make a few changes, but I think it came out really cute.

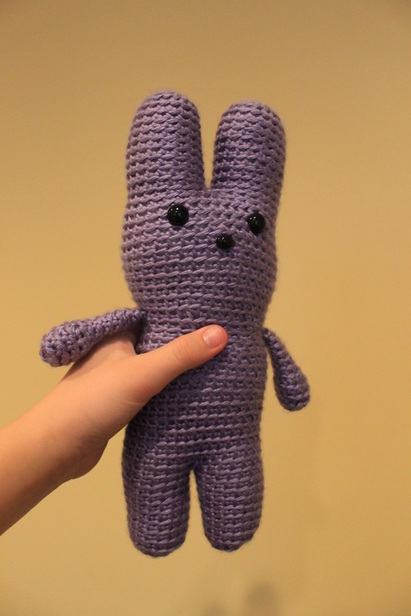
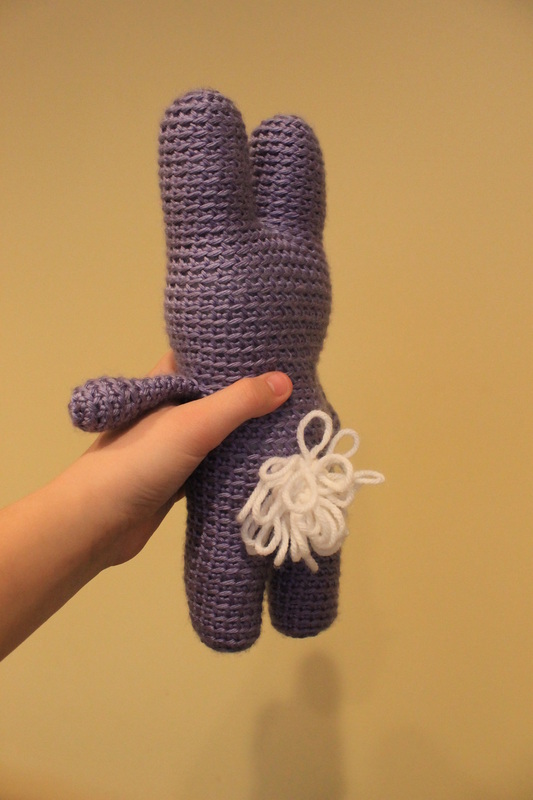
And last, but not least, a cute and cuddly bunny!
Picture
Picture
The only attaching I did for the bunny was the arms and the tail. The rest is crocheted together. I did a small piece of fabric worked in loop stitch for the tail, which I will provide a tutorial for in the pattern.

That's it for now! Come back in a week to see more finished cuties (and join us on Wednesday for some work-in-progress animals).

1 Comment

    Hello!

    I'm Emma, a crocheter, knitter, yarn dyer, and the list goes on. I'm pretty much obsessed with anything yarn related (except arm knitting. I haven't tried that).

    Picture

    Archives

    August 2014
    July 2014
    June 2014
    May 2014
    April 2014
    March 2014
    February 2014
    January 2014
    December 2013
    November 2013
    October 2013

    RSS Feed

    Picture
    Please check out my Dad's real fur craft items!
    Auctions for free stuff at Listia.com
    Online Knitting Class
    BOGO Sale - Shapeology Nutrition Trim Trio
    Picture
Powered by Create your own unique website with customizable templates.