I (finally) finished adding the fleece lining to my bag:
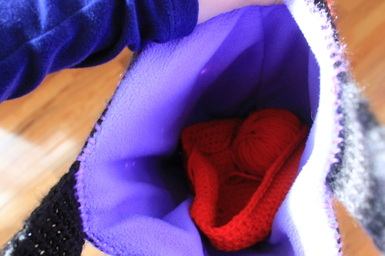
I love how soft it is. This bag is perfect for holding all of my projects. You can find the awesome free pattern here: African Flower Bag.
|
I (finally) finished adding the fleece lining to my bag:
I love how soft it is. This bag is perfect for holding all of my projects. You can find the awesome free pattern here: African Flower Bag.
0 Comments
For this past week, this has been my main project: 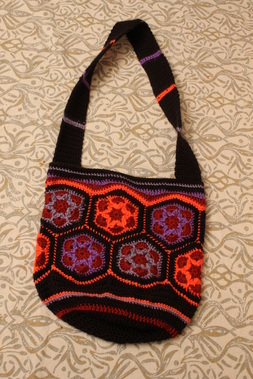
It's an African Flower Bag! All of the crocheting is done, but I still need to line the bag (with fleece!). There was a lot of color changes on this project! It took a little while to weave all the ends, but I eventually got it done.
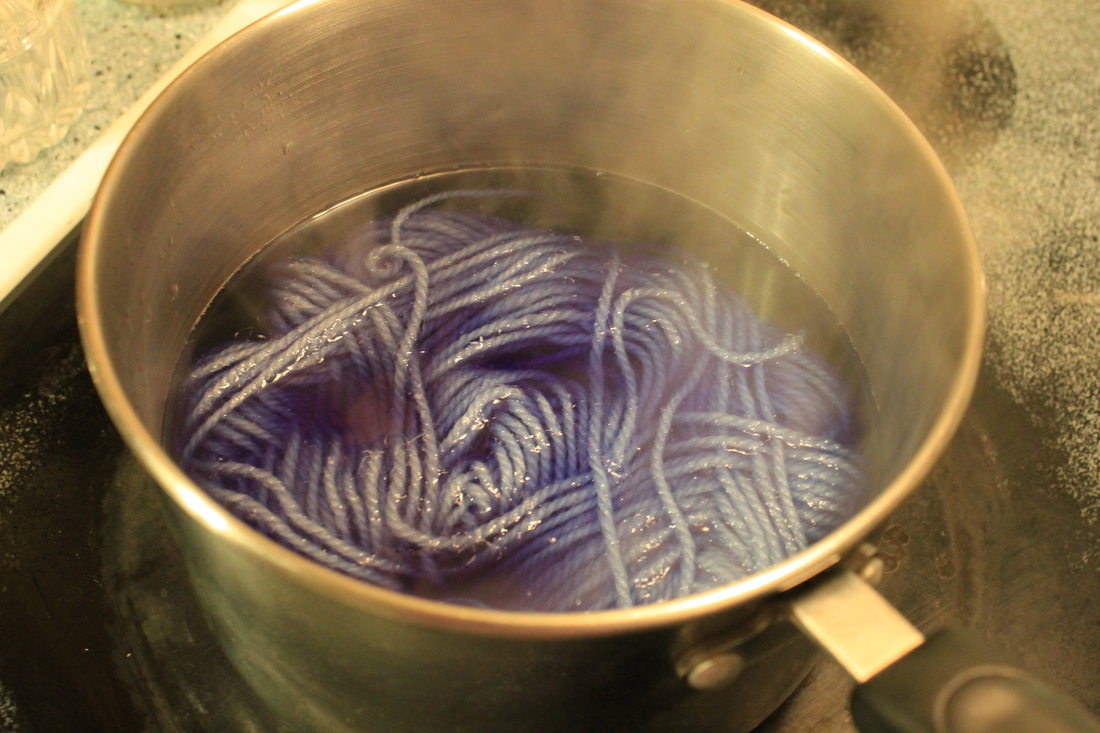
Ever since I started crocheting (okay, after I picked it up again), I new I wanted to learn how to spin yarn. But, I thought the only way you could spin yarn was with one of those giant $300 (brand-new) spinning wheels. That, my friends, is where I was very, very wrong. I didn't know that for less than $15 I could be spinning my own yarn. For $8, I was able to get a little piece of magic that I (and everyone else who speaks English) call (pause for effect)... a drop spindle! 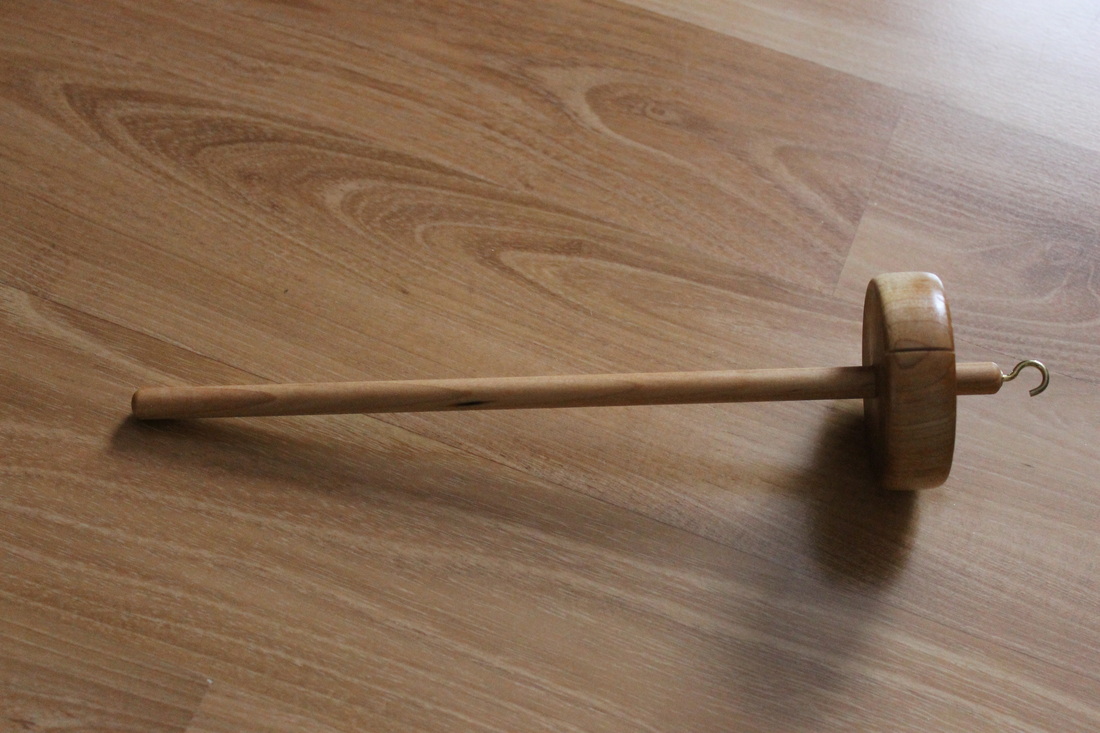 A lot cheaper than a spinning wheel, this little contraption allows you to spin your own yarn! Besides the spindle, you will need something to spin (duh!). "Roving" is what is commonly used for spinning. It can be made of wool, alpaca, just to name a few. If you are allergic to animal fibers, you can also spin acrylic roving (if you are allergic to animal fibers, make sure that your roving is 100% acrylic, as some roving's are a mixture of acrylic and wool). I bought my roving (which was 100% wool) off of Etsy.com. I got 4 oz for a little less than $7. After you spin the yarn, you have to do something called "setting the twist". When you spin yarn, nothing is stopping it from in twisting completely. If you don't set the twist, it will all come undone (a little of it will still be twisted, but barely). To set the twist, after you finishing spinning your yarn carefully wrap it into a hank, and knot the ends together. Then, let it sit in a bowl of warm water for about 10 minutes (longer depending on how much you spun). Then, hang it up to dry. After it's dried, you can untie the knots, and the yarn won't untwist! From this point on, you can crochet with it, knit with it, dye it, ETC. Here is some of my handspun yarn!: 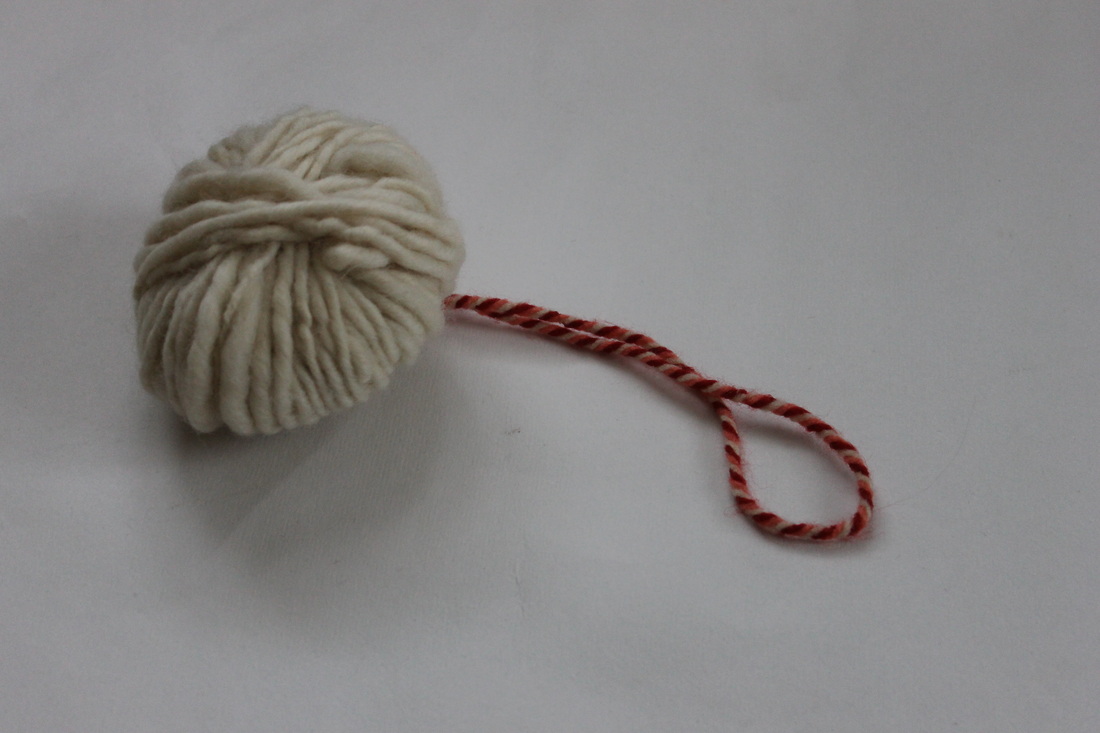 (The pink yarn is supposed to be there. It's how you start to spin the yarn) It's not terribly even, but I'm happy with the result. It is super soft, and I can't wait to dye it!
I hope you all had a great weekend (I know I did) Happy crocheting! -Emma This morning, I had a bunch of WIPs, and no FOs. I wanted to make something that would be quick and easy. Yesterday, my sister and I swapped some yarn. I gave her some dark grey yarn, and she gave me this: 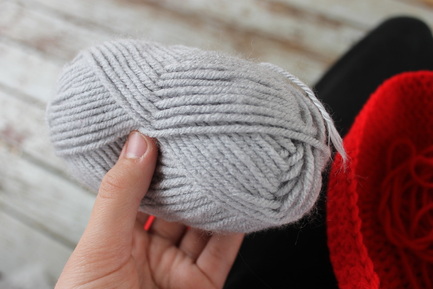 I new I wanted to do something with this, but I didn't know what. After a little thinking time, I came up with the idea of making a soda can cozy: 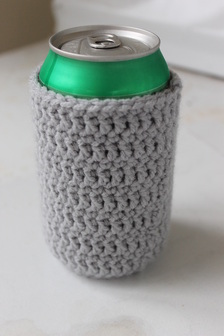 Nothing too fancy. Just something to occupy my time :) This would be a great project for a beginner who wants to make something besides a square. Stitch and technique abbreviations: Magic ring: mr Double croche: dc Single crochet: sc Chain stitch: ch Slip stitch: slst Stitch(es): st(es) Back loop single crochet: blsc The pattern With a 5.00 mm hook and worsted weight yarn, 1) Mr, ch 2 loosely (these ch(s) do not count as stitches), dc 12 in the ring. Join with a slst in the first dc (tightly, so that it is not visible), ch 1 (12 st(es) (not including the slst or ch)) 2) sc 2 in the same dc st as the slst, sc 2 in every st (omitting the slst, which is invisible). Join with a slst to the first sc (tightly, so that it is not visible), ch 2 (24 st(es) (not including the slst or ch)) 3) dc 2 in the same sc st as the slst, *dc 2 in next st, dc in next st* repeat from * 11 times around (omitting the slst, which is invisible). Join with a slst to the first dc (tightly, so that it is not visible), ch 1 (36 st(es) (not including the slst or ch)) After you work these rounds, you should have a circle with a diameter of approx. 2": 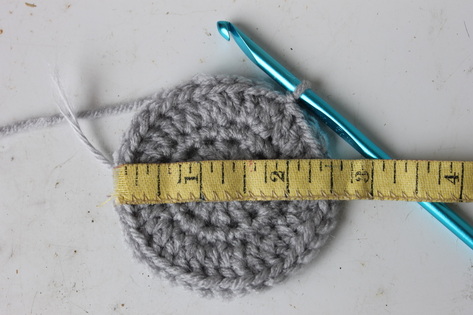 4) blsc in the same dc st as the slst, blsc in each st (omitting the slst, which is invisible). Join with a slst to the first blsc (tightly, so that it is not visible), ch 3 (36 st(es) (not including the slst or ch)) _____________________________________________________________________________________ 5) dc in the same sc as the slst, dc in each st (omitting the slst, which is invisible). Join with a slst to the first dc (tightly, so that it is not visible), ch 1 (36 st(es) (not including the slst or ch)) 6) sc in the same dc as the slst, sc in each st (omitting the slst, which is invisible). Join with a slst to the first sc (tightly, so that it is not visible), ch 3 (36 st(es) (not including the slst or ch)) _____________________________________________________________________________________ Repeat rounds 5-6 6 more times. On the last round, don't chain 3. Instead, slip stitch in the first single crochet stitch of that round, and fasten off. Weave in the loose ends. That's it! You just completed a can cozy. Now, go treat yourself to your favorite poison, and use your cozy!
Okay, I want texture. The blue that I changed the site to was very plain. So, I changed it up a bit more. Still got my blues :)
When knitting, I don't like ribbing. I find it tedious moving the yarn back and forth when knitting different stitches. So whenever I made a hat (a knitted one), I always knit about 2", fold and sew the fabric up halfway, that was my brim. After making two hats this way, I realized something: This uses up a lot of yarn, it is very time consuming, and it's hard to do. So, I decided to give ribbing another try:  It was surprisingly easier than I thought it would be. The first round was a pain (mainly because the cast on stitches were so tight), but after that it was enjoyable. This is my own design, and hopefully it will turn out better than my past attempts. The two I made before were too short, and I really didn't feel like ripping it out and knitting more. So, my little sister had two new hats added to her wardrobe. Oh well. Third times a charm :)
I really don't like pink that much. So, I've decided to change the colors of my website to different kinds of blue. The layout will remain the same, just in different colors.
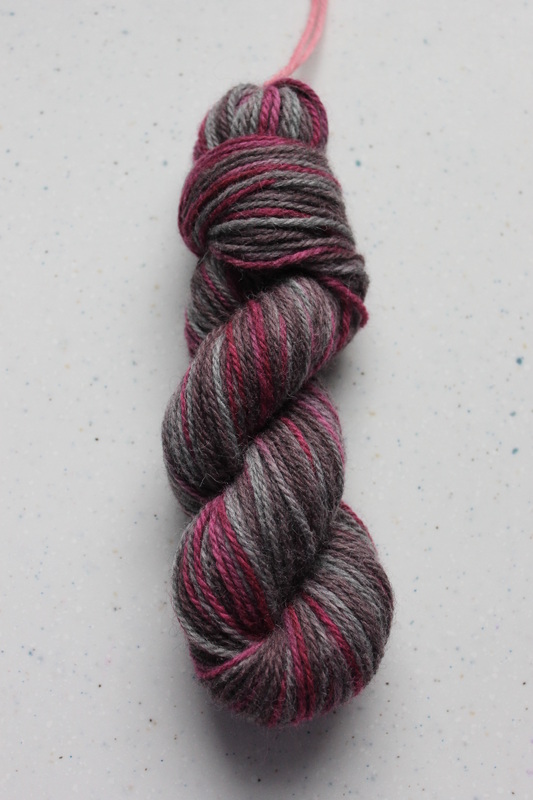
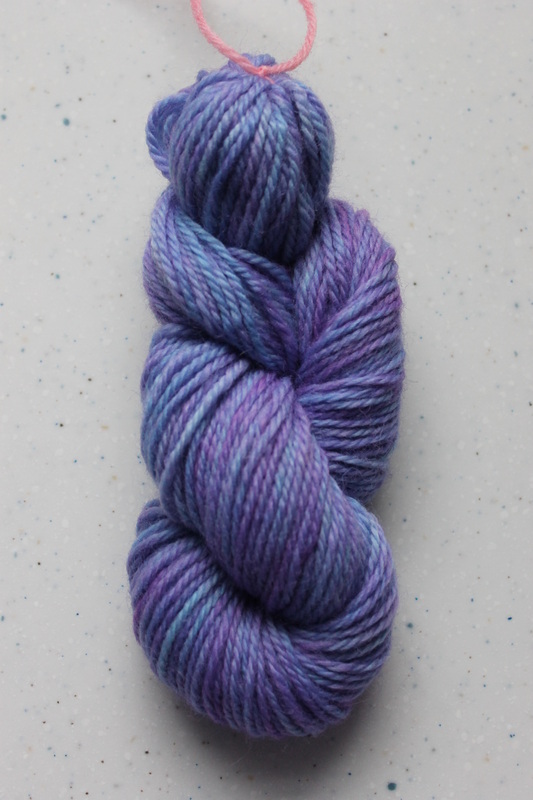
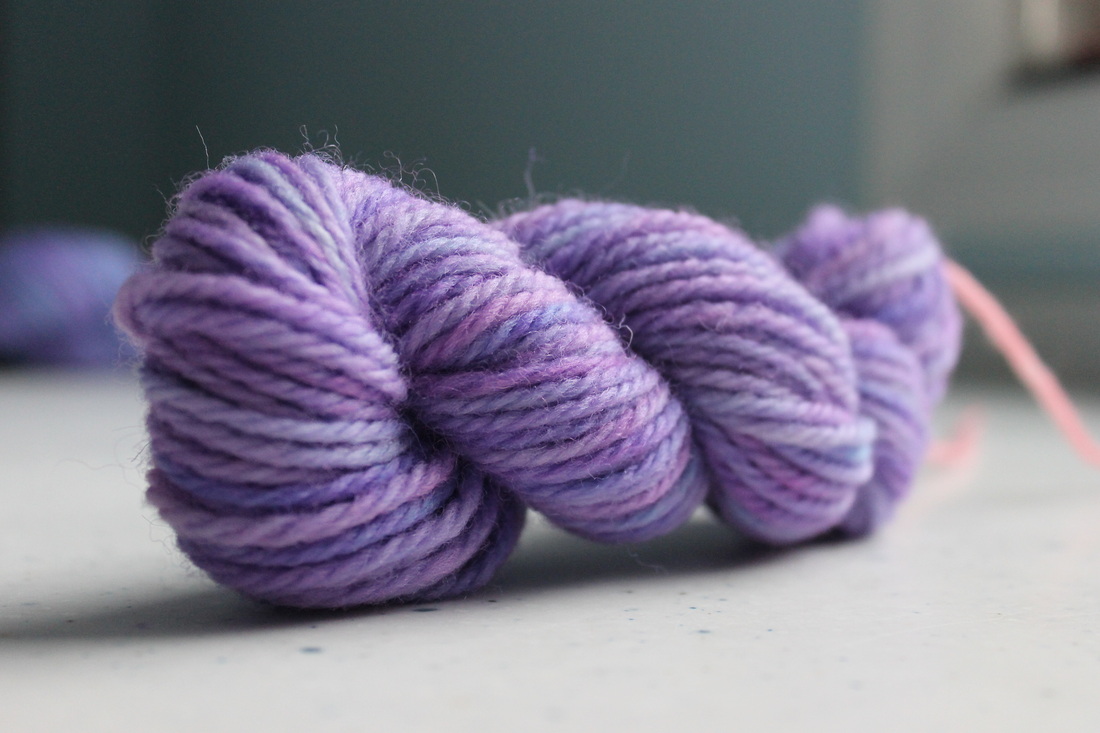
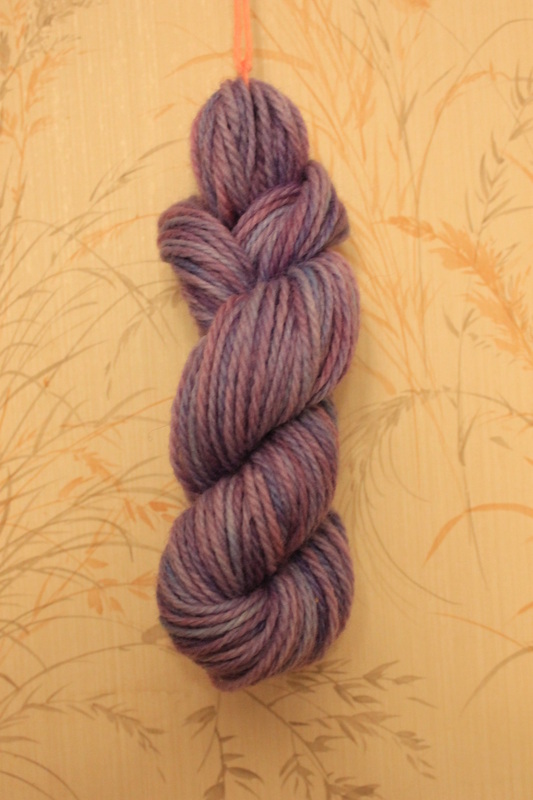
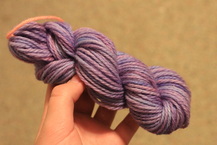
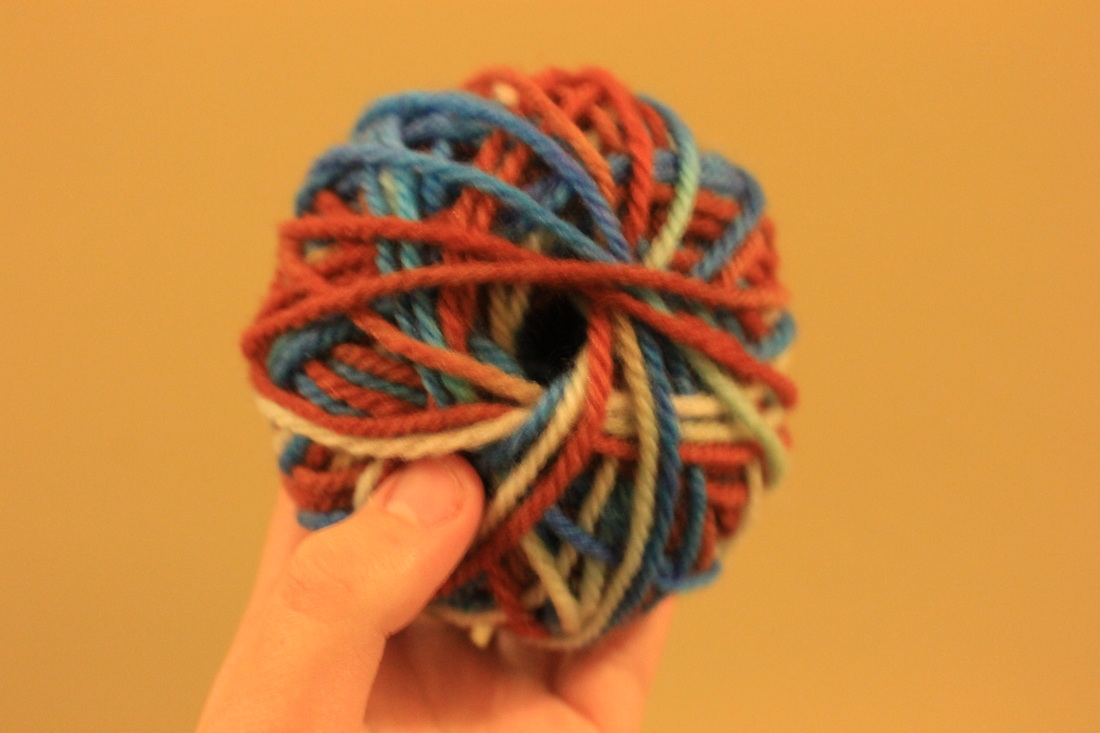
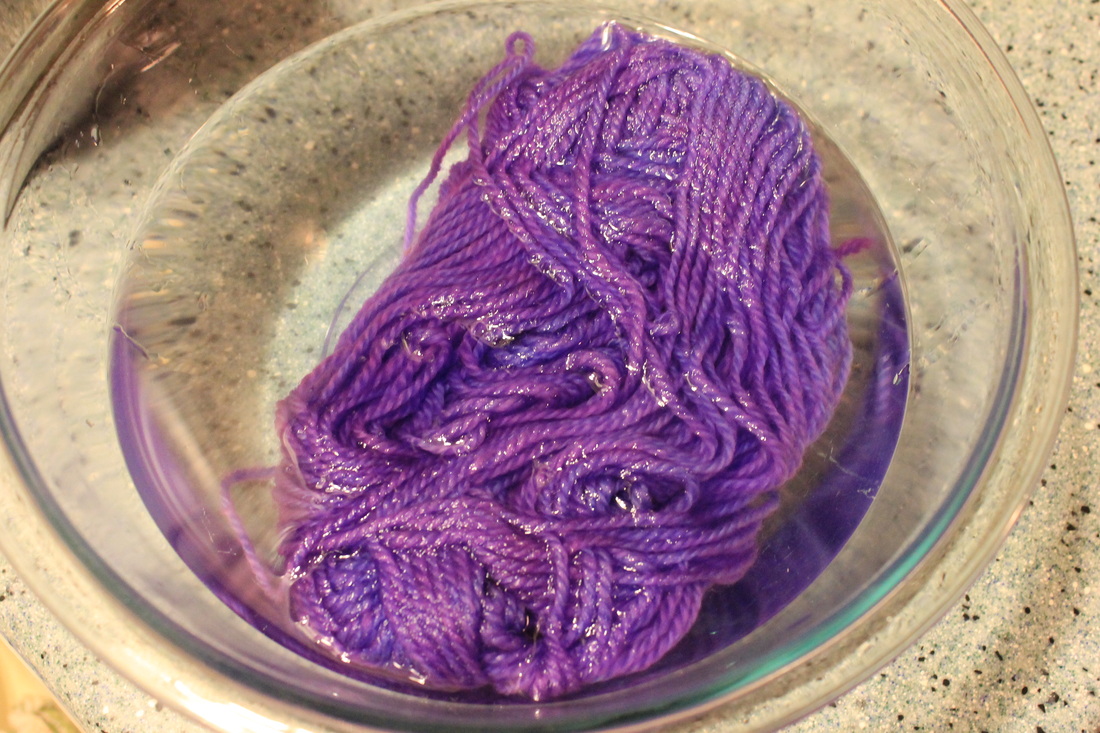
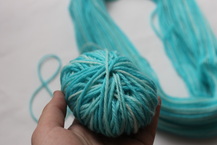
I'm off to knit now. Later today I will show you what I've been working on :) This week (as you might have guessed), I dyed more yarn. I wanted to crochet with it right away, but first I had to wind it from a hank into a ball. I personally don't like working strait from a ball of yarn, because then when you unravel some yarn to use, the ball rolls all over the place. But after searching on Youtube.com, I found the answer to my problem: 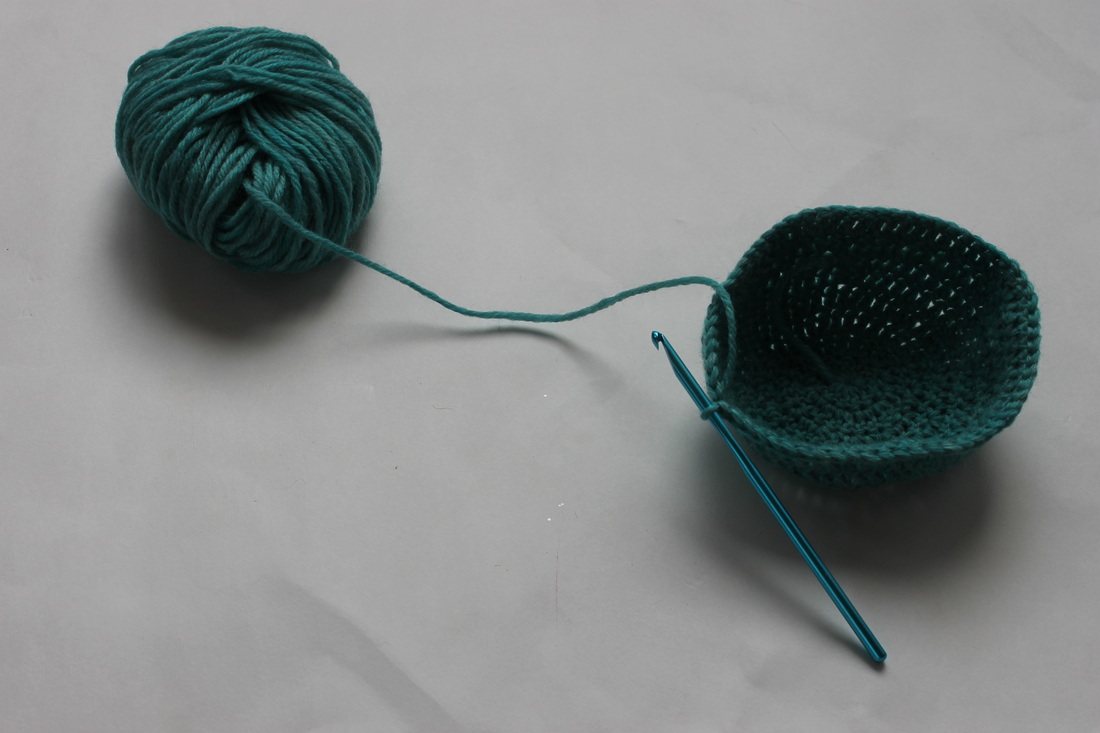 I give you, the no-tool-needed-but-your-hands center pull yarn ball! Note: I did NOT make this tutorial. All credit goes to TheFrugalCrafter. Thanks for this awesome tutorial! Here is a close up of the yarn that I dyed (I didn't include this one in my last post about yarn): 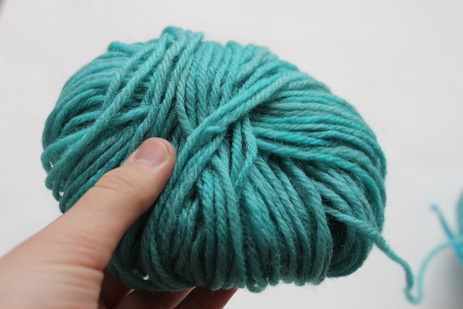 And, I also dyed an entire skein: 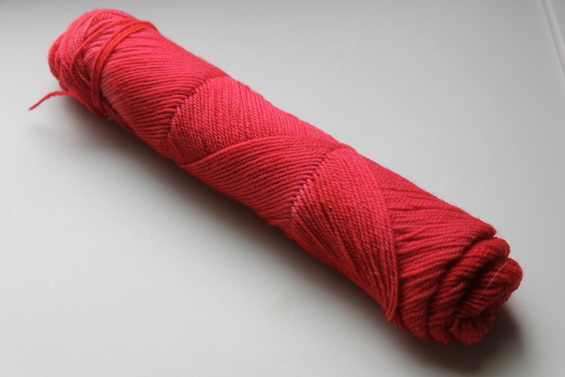 Here you can see how thin it is compared to my fingers: 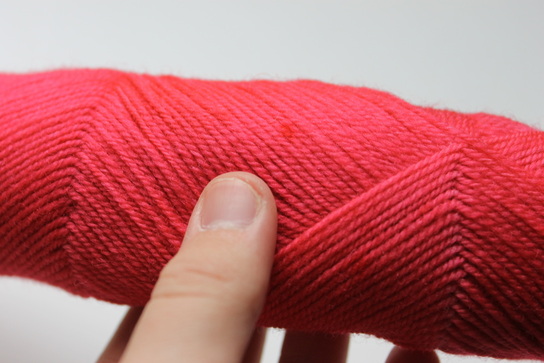 That's all. Goodbye :D
We're in the final chapter of our book review series, and I hope you have enjoyed these past weeks (I know I have)! This last one is going to be the A to Z of knitting. Let's get started! 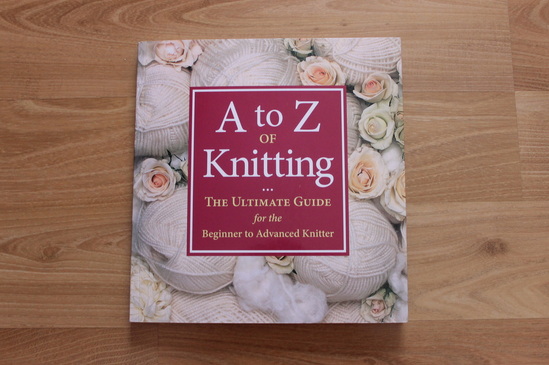 I know what you're thinking; "I thought you already did this one!". That was the crochet version. Right here is the one for knitters! 1) Is it beginner-friendly? Yes (almost too beginner-friendly...maybe it's a trap)! It has over 1000 photos (just like the crochet version), and very clear instructions. I would recommend this book to anyone who has absolutely no knitting experience it's that good! 2) I'm a pretty advanced knitter. Can I learn anything new from this book? Depending on how advanced you are, you might. I purchase this book with high hopes of learning new techniques in knitting. Unfortunately, I was a bit disappointed. The book says it is for "the beginner to the advanced knitter", but I don't think that's entirely true. It has your basic knitting instructions, but nothing too challenging. For the lace knitting section, all it has was how to do yarn overs, and decreasing, things that were already mentioned earlier in the book. So if you are an advanced knitter, I don't think that there is a large array of things you can learn. 3) What are the pros and cons of this book? Pros: 1) Has lots of easy-to-understand beginner-friendly instructions. 2) This book has a chapter or two on the history of knitting, which I found very interesting. 3) Has information on gauge, what size needles to use for different weights of yarn, and lots of other things. Cons: 1) Doesn't have any mini patterns that beginners can try out their new techniques on. __________________________________________________________________ And that ends our book review. I hope you enjoyed it! P.S. I think it's safe to say that my power isn't going to go out, so the blogging will continue :)
I started this guy yesterday, and finished him at about 12:15 AM this morning: 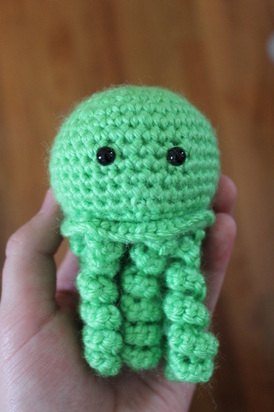 A cute and cuddly jellyfish! I used this pattern. Instead of embroidered eyes, I used 6.00 mm plastic black eyes. I used Aran weight yarn, but it came out as though I used worsted weight (which is thinner than Aran weight yarn). He's going to a good friend of mine :) This isn't really related to FO Friday, but yesterday I went out in the snow with my hand-crocheted mittens, and they were great! They kept my hands warm, and they stayed dry. I'll post the pattern (for free) in a few days!
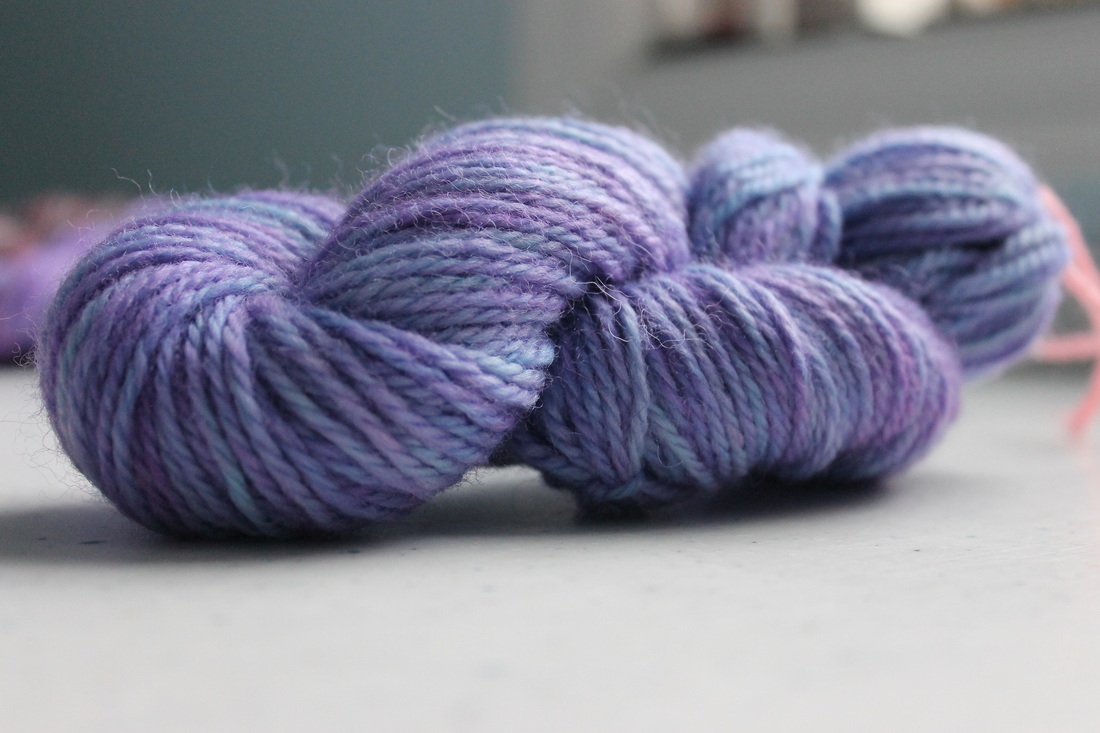
As some of you may know, I've caught the dyeing bug. I love making new colors, and the whole dyeing process. This past week, I've been dyeing almost everyday. and after all those hours spent dyeing, this is what I get:
This is only the yarn that I dyed two days ago. Here is the other stuff I did (but you've seen it already):
I'm really pleased with it. Some of them have a smaller yardage, so I'm only going to make hats out of the larger ones (the one in the top left, the top middle, and the bottom left). The others will probably end up as funky colored stuffed animals. For the top left and the bottom middle, I used this technique. For the bottom right and the bottom left, I used this technique, and last (but not least), for the top middle yarn, I used this technique. For those who want to try dyeing, good luck! I hope you get the yarn color of your dreams :)
Not a lot going on here, except for the shawl I'm working, which I can't even post a picture of because it's not working! Edit: Okay, turns out it is working: 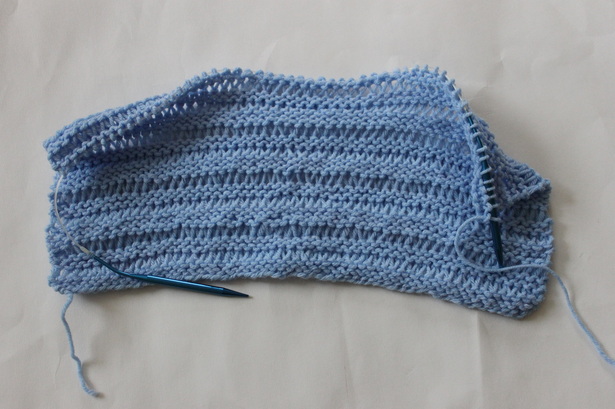 Like I said, not a lot going on here (WIP wise). I might not be able to post for a few days because here in NC, there is a big ice storm coming, and there is a very large chance that the power might go out (No power=No internet=No blog post). It might not go out, but if I does, I won't be able to post :( Goodbye for now :)
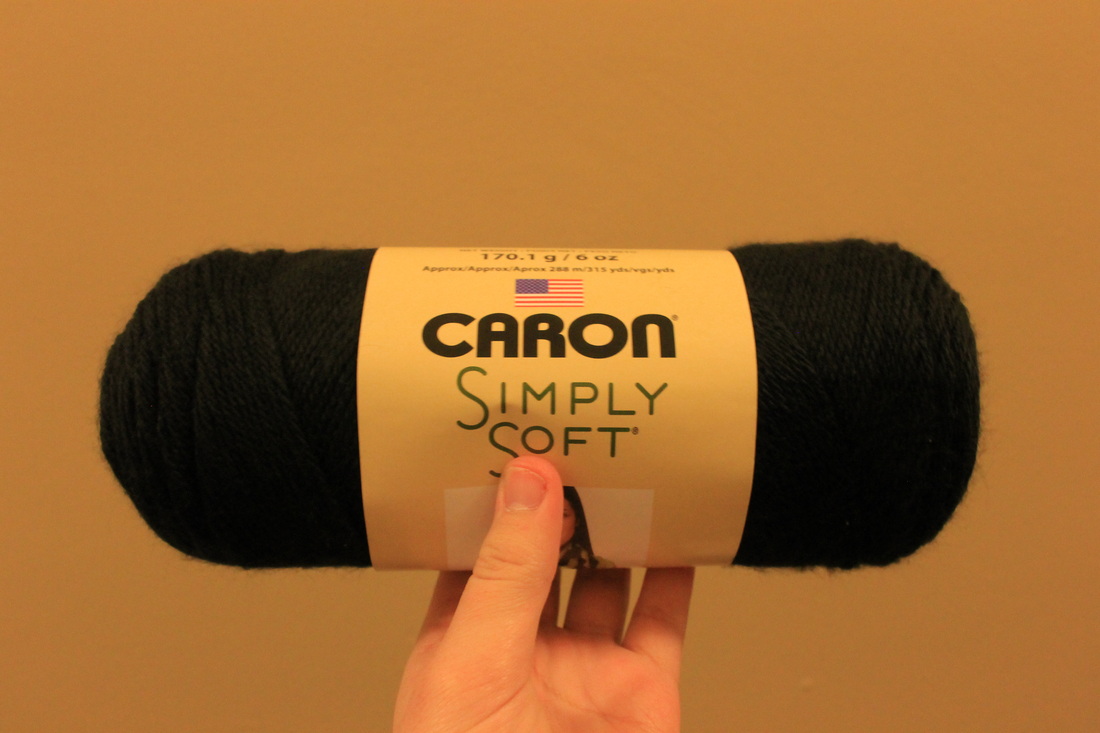
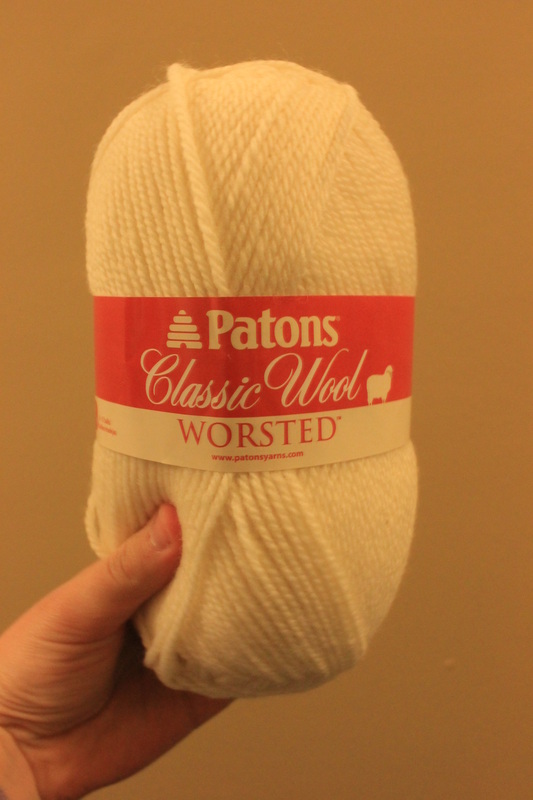
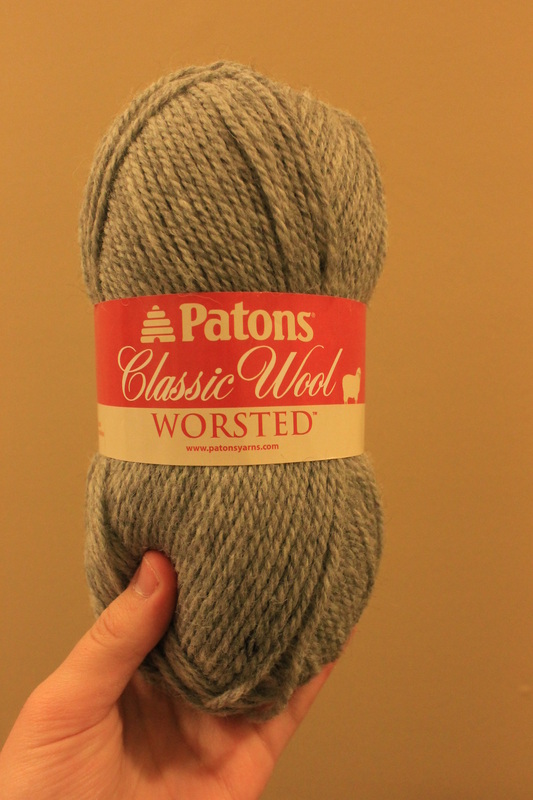
I did a lot of yarn-related things today. First off, I went shopping and got some awesome yarn!
Buying yarn wasn't the only thing I did today. I got a lot of yarn dyeing done:
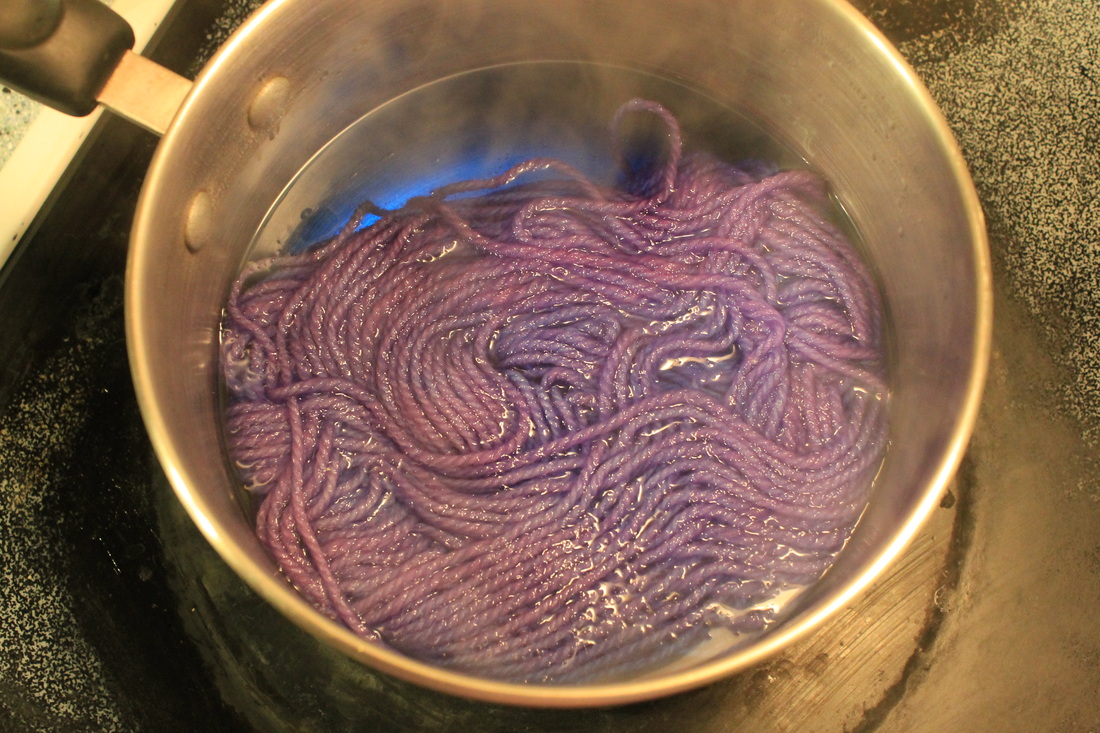
Okay, I didn't dye this yarn today, but I got the pictures uploaded today (and I really don't like uploading pictures, so it's a big triumph for me :P). Here is the yarn I dyed today:
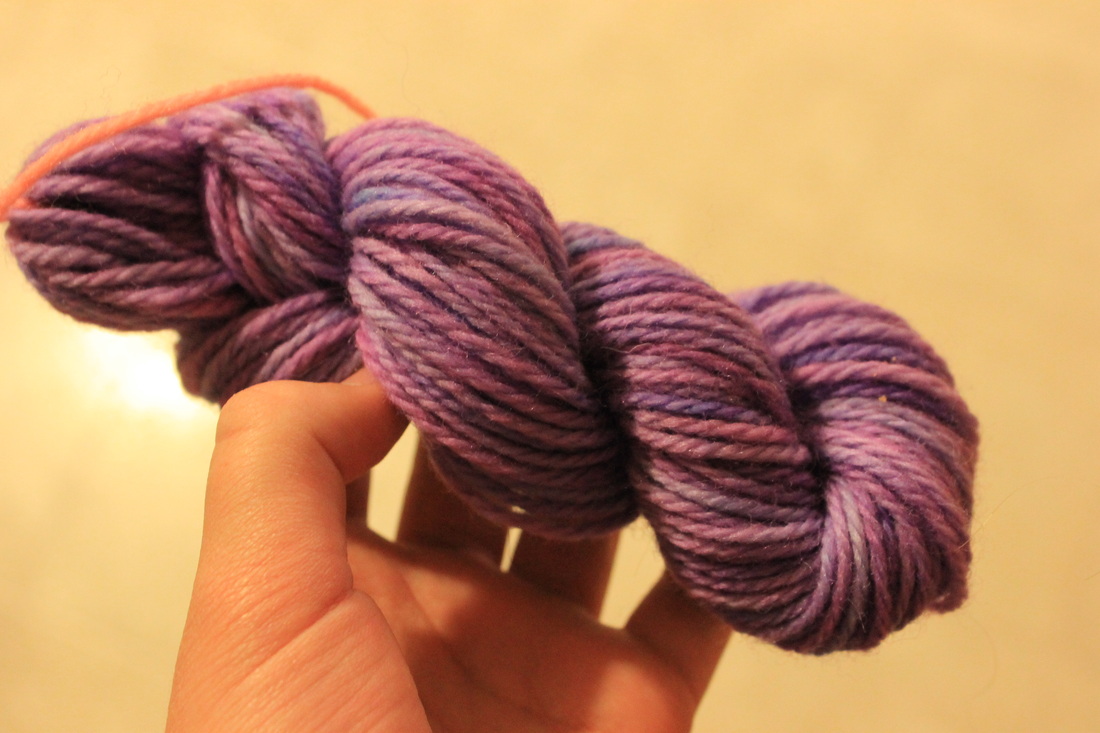
Yeah, I got a lot of dyeing done. I scrapped the green/orange one because when I washed it, almost all of the orange dye bled out. I tried re-dyeing it, but it turned kind of brown, and it got kind of tangled. Ah well. At least I still have the pretty purple :) And one more thing. I have kind of a yarn problem, and today I got to fix that (well you know...part of it). My once-messy-hallway is now slightly organized! 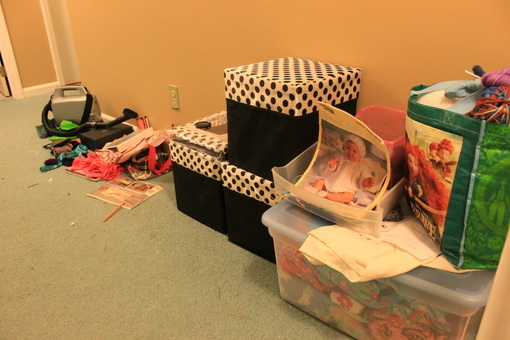
Still kind of messy, but it is better than it was before. I got some awesome mini storage boxes that are perfect for holding yarn. I still got a little bit left to organize, but I'll get to it eventually.
For me (right now), it's 11:03. It's late, and I'm tired. So, I bid you all a good night :)
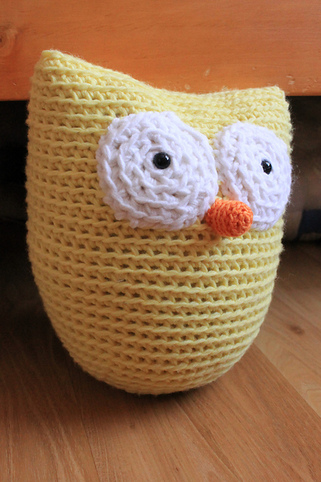
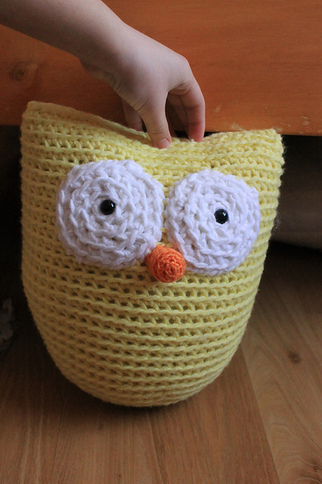
I made this guy as a birthday present for my cousin. I love making it, and I got to use up a chunk of my yarn stash! This owl is made using three strands of yarn held together and large hook (except the beak), so he works up pretty quickly. If you have any questions about this pattern, I am happy to answer them :) Supplies needed:Three (3) 150 yard strands of worsted weight yarn (a total of 450 yards of yarn) yellow was used as the main color (mc) Three (3) 12 yard strands of worsted weight yarn (a total of 36 yards of yarn) white was used as the contrasting color (cc) One (1) 7 yard strand of worsted weight yarn. Orange was used as the second contrasting color (scc) One (1) 9.00 mm crochet hook One (1) 4.00 mm crochet hook A pair of black 12.00 mm plastic eyes (and the poster for the back) A large tapestry needle A large amount of polyester stuffing (can be found at your local craft store. Or, you can use the stuffing from an old pillow) Stitch and technique abbreviations:Single crochet: sc Increase: sc 2 in each st Decrease: sc2tog Magic ring: mr Chain stitch: ch Stitch(es): st(es) That's it. Simple, right? Note: The entire owl was crocheted in the back loop only. The Body PatternMake 1. With three strands of MC yarn held together and a 9.00 mm crochet hook, 1) mr, ch 1, sc 6 into the ring (6 st(es)) 2) sc 2 in each st (12 st(es)) 3) *sc 2 in the next st, sc in next st* 6 times (18 st(es) 4) *sc 2 in next st, sc in next 2 st(es)* 6 times (24 st(es)) 5) *sc 2 in next st, sc in next 3 st(es)* 6 times (30 st(es)) 6) *sc 2 in next st, sc in next 4 st(es)* 6 times (36 st(es)) 7) *sc 2 in next st, sc in next 5 st(es)* 6 times (42 st(es)) 8) *sc 2 in next st, sc in next 6 st(es)* 6 times (48 st(es)) 9) *sc 2 in next st, sc in next 7 st(es)* 6 times (54 st(es)) 10) *sc 2 in next st, sc in next 8 st(es)* 6 times (60 st(es)) 11-32) sc in each st (60 st(es) in each round) Fasten off with a long tail, then press the two sides together. Using whipstitch, sew the two sides together, stuffing it before it is completely closed. The Eye PatternMake 2. With three strands of CC yarn held together and a 9.00 mm crochet hook, 1) mr, ch 1, sc 6 into the ring (6 st(es)) 2) sc 2 in each st (12 st(es)) 3) *sc 2 in next st, sc in next st* 6 times (18 st(es)) 4) *sc 2 in next st, sc in next 2 st* 6 times (24 st(es)) Fasten off. Insert one (1) 12.00 MM black plastic craft eye into the middle of each eyes, and attach the back poster. Attach the eyes near the top of the body. The Beak PatternMake 1. Using 1 strand of worsted weight yarn, and a 4.00 MM crochet hook,
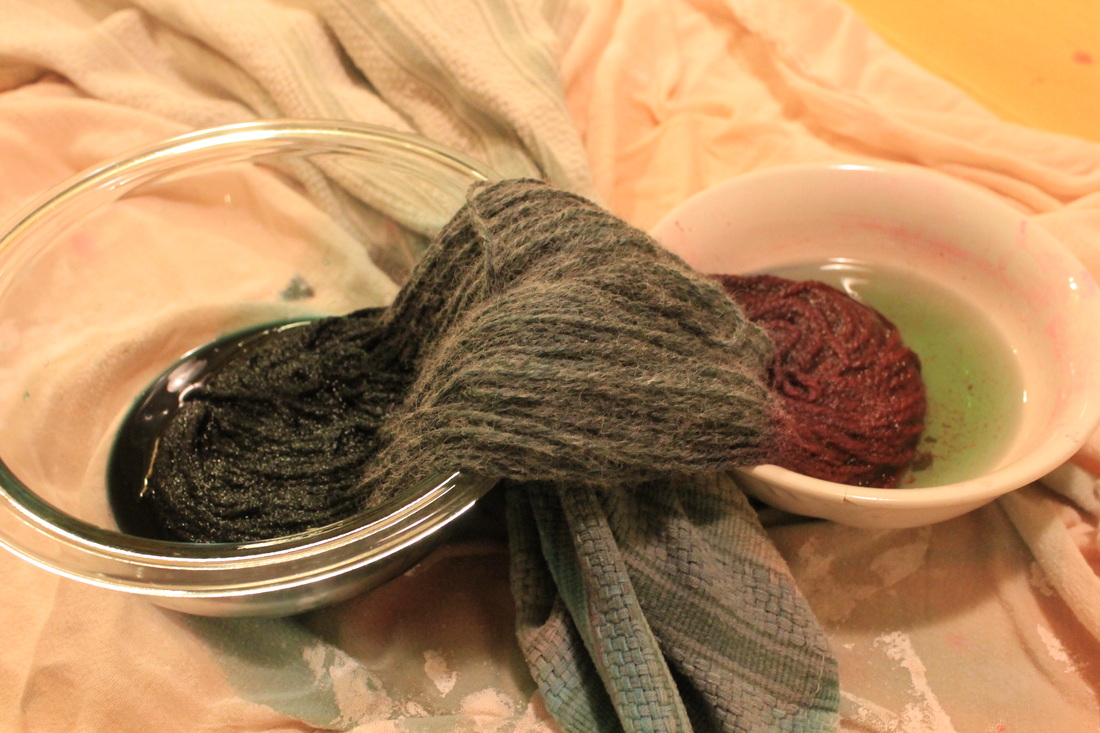
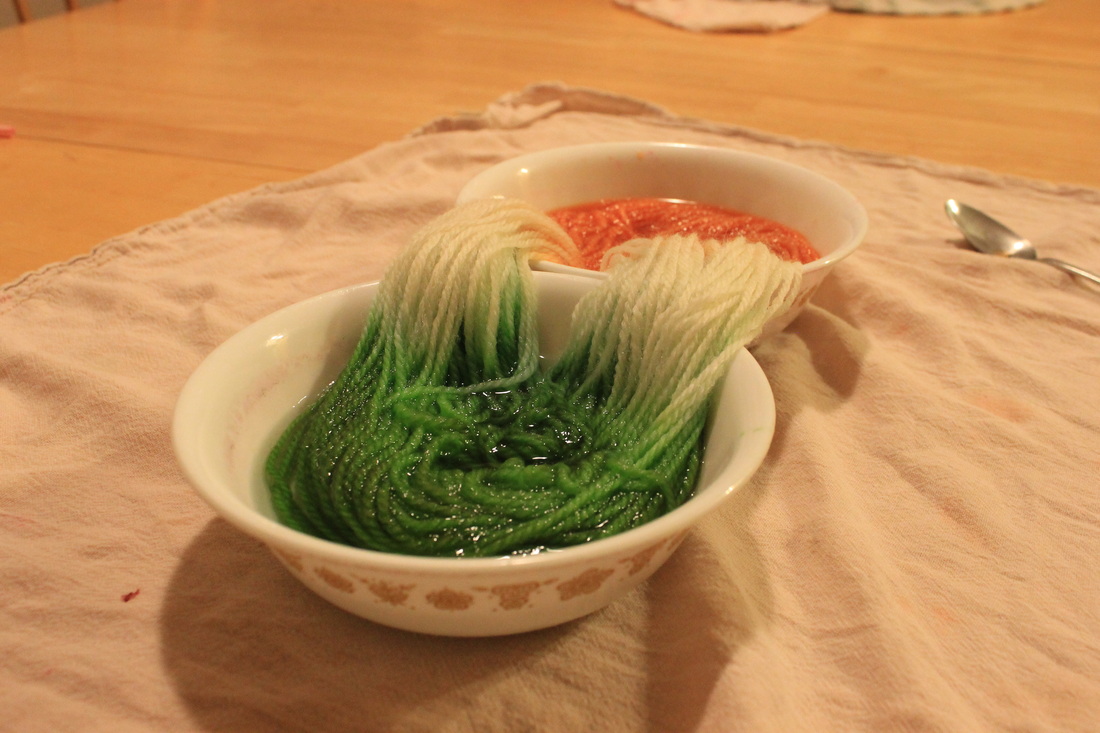
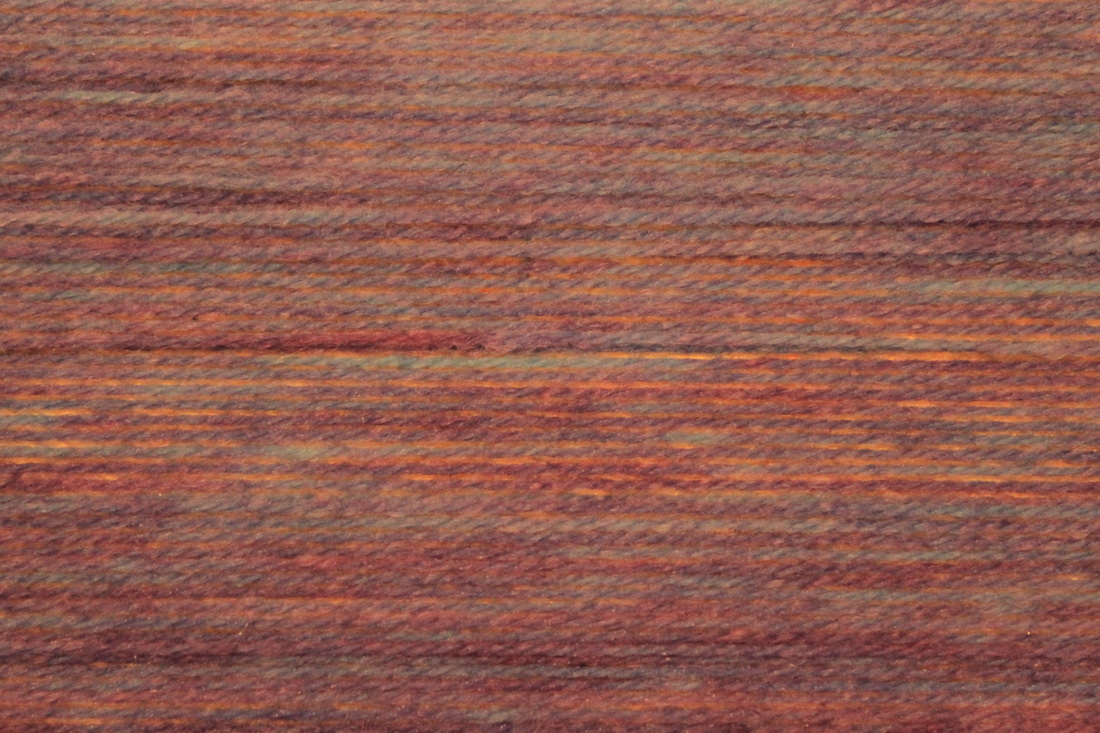
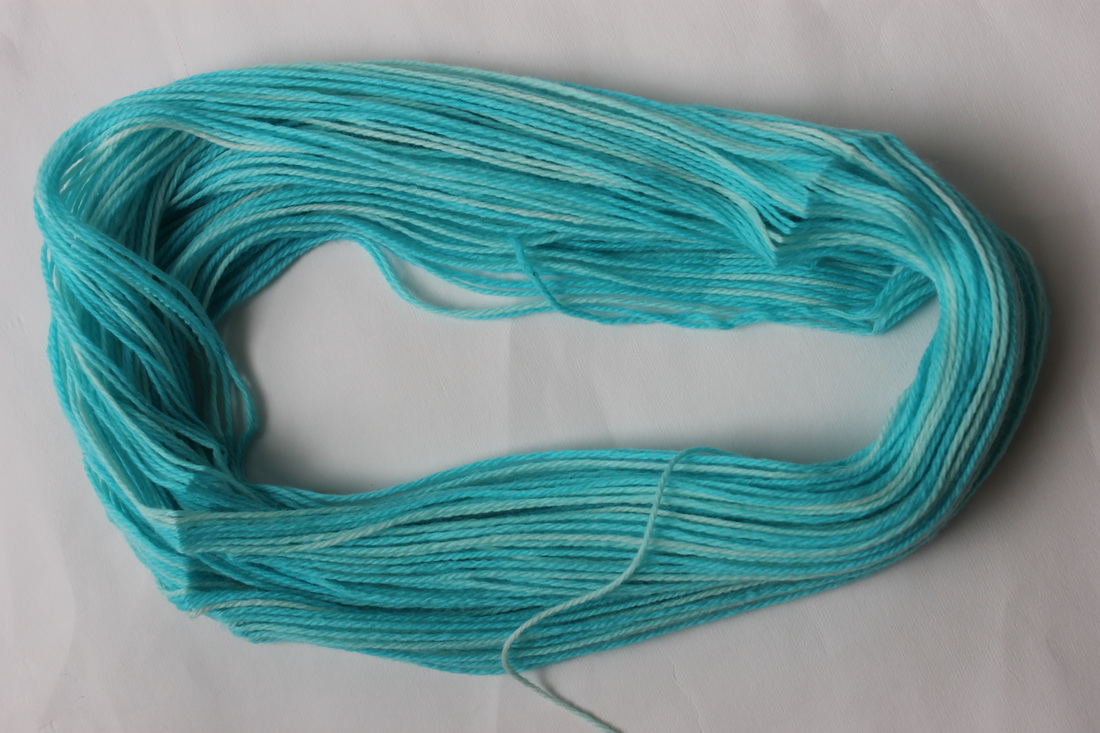
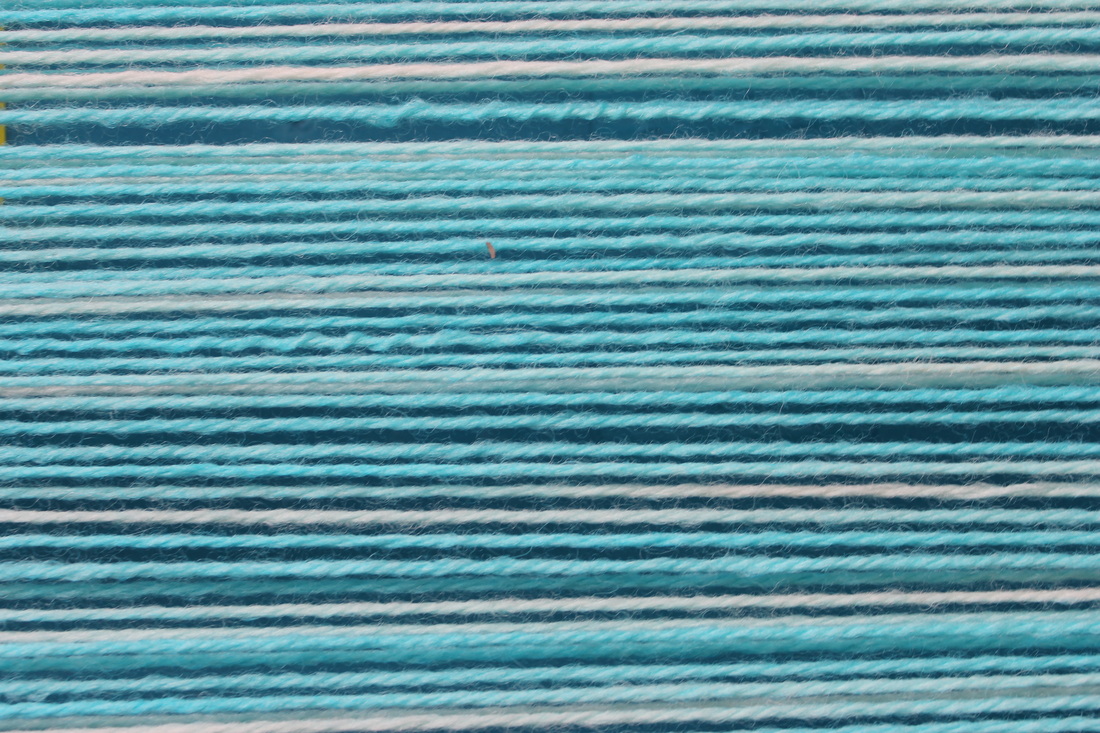
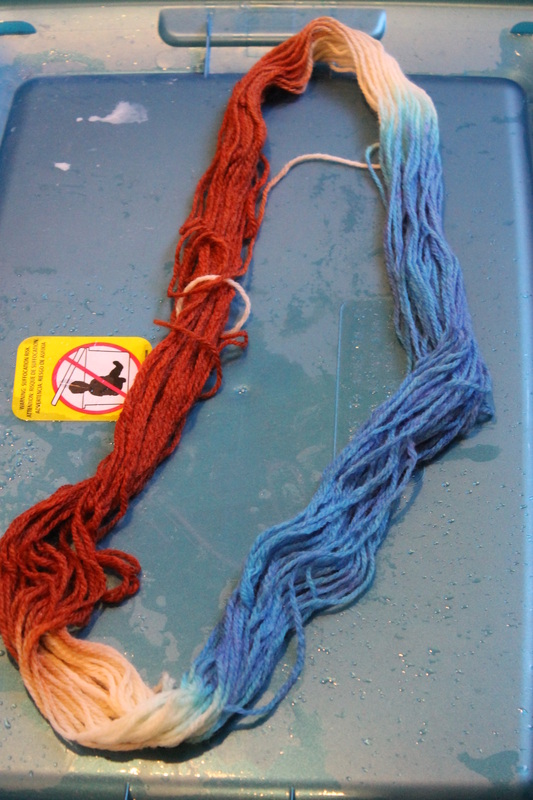
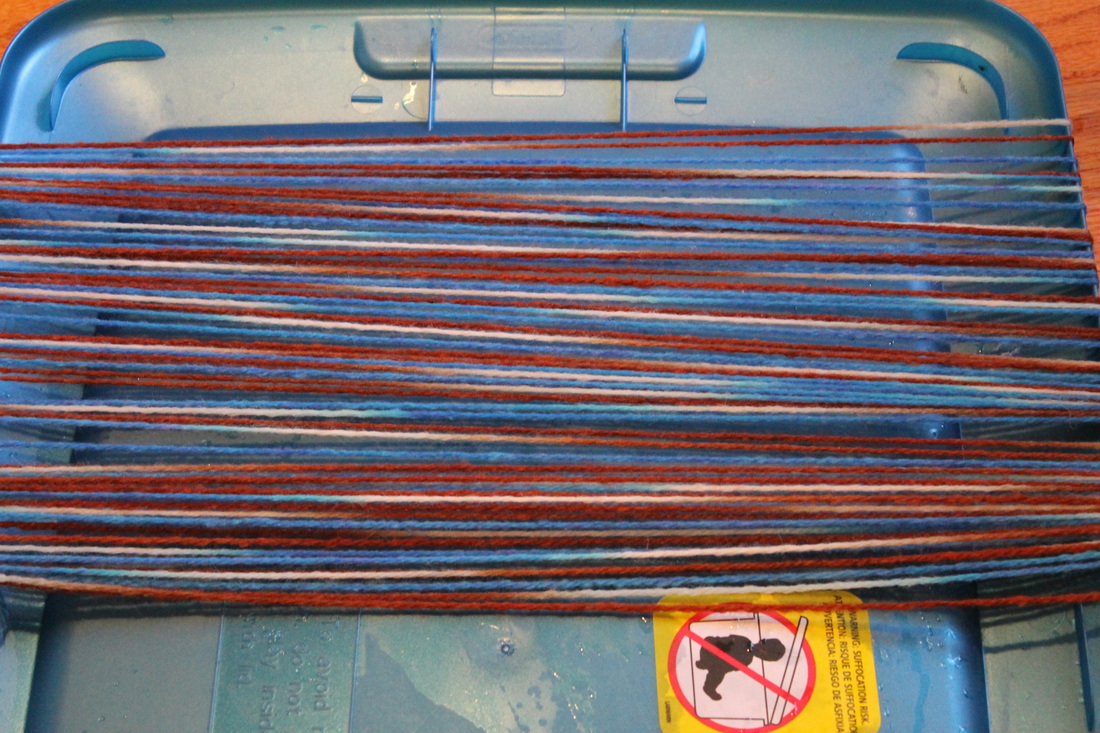
1) Mr, ch 1, sc 6 into the ring (6 st) 2) sc 2 in each st (12 st) 3-6) sc in each st (3 rounds of sc with 12 in each round) Fasten off, and attach right between the eyes. That's it! You now have yourself a cute and cuddly (and not to mention chubby) owl! Like the title says, I've been dyeing yarn this afternoon! I also dyed some yesterday, but rolled it into a ball at noon. Here is the yarn I dyed yesterday:
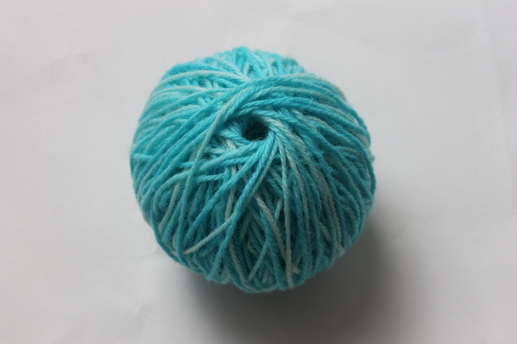
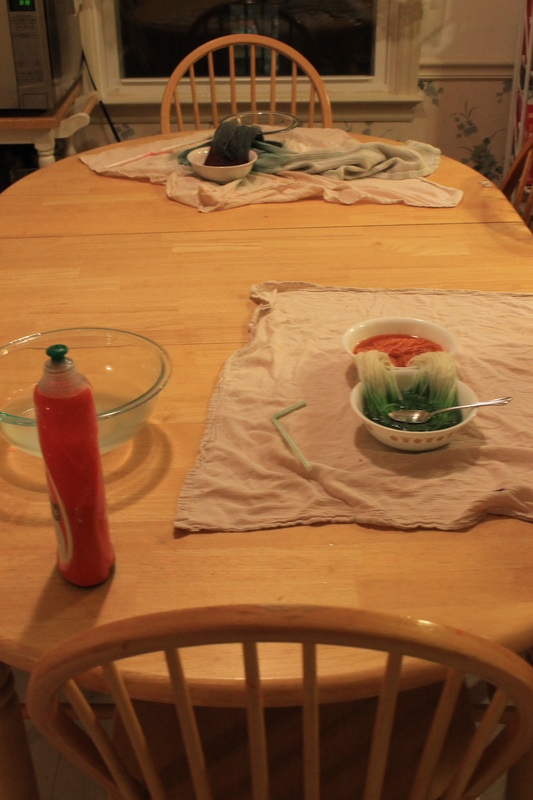
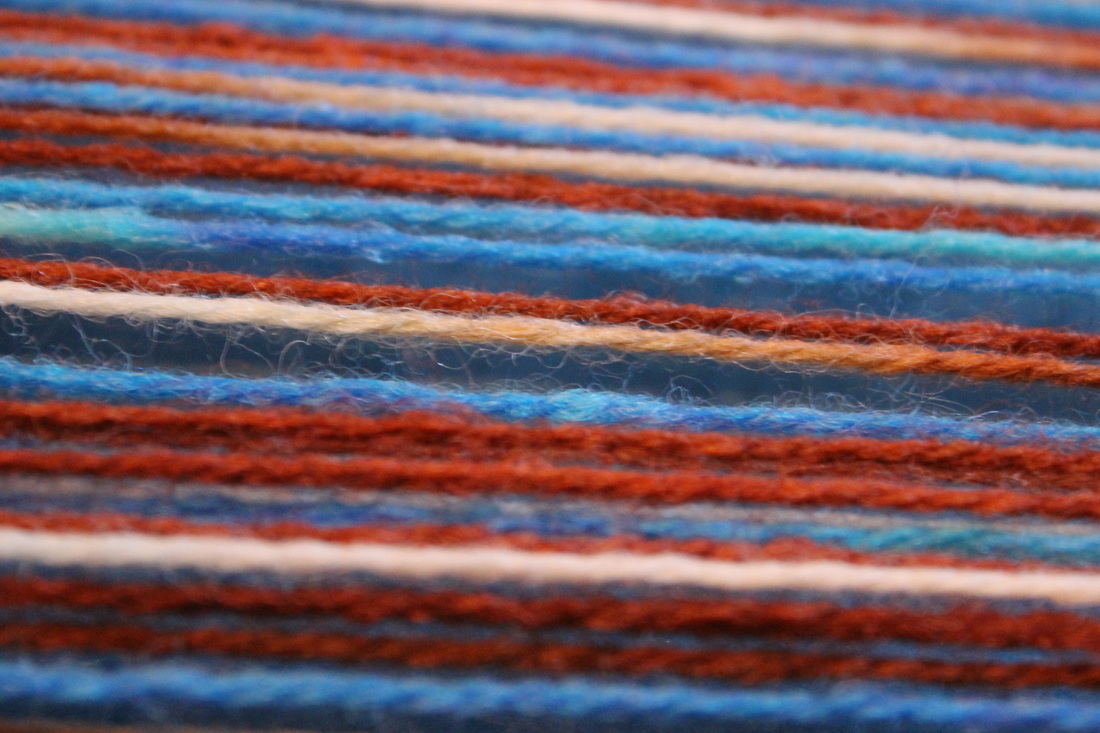
Using this technique, I dyed some wool yarn light teal, with a little bit of white. I dyed it in the microwave with food coloring, but I have had success using Kool aid. And here is the yarn I dyed earlier today:
|
Hello!I'm Emma, a crocheter, knitter, yarn dyer, and the list goes on. I'm pretty much obsessed with anything yarn related (except arm knitting. I haven't tried that). 
Archives
August 2014
    
|


 RSS Feed
