Emma's Animal Creations
  • home
  • blog
  • Free patterns
  • Patterns
  • Tutorials

Amigurumi tip: Magic ring

11/26/2013

2 Comments

 
Whenever I begin designing a new animal, whenever I make an animal that I have made many time before, I use this method to start off my amigurumi plushies.

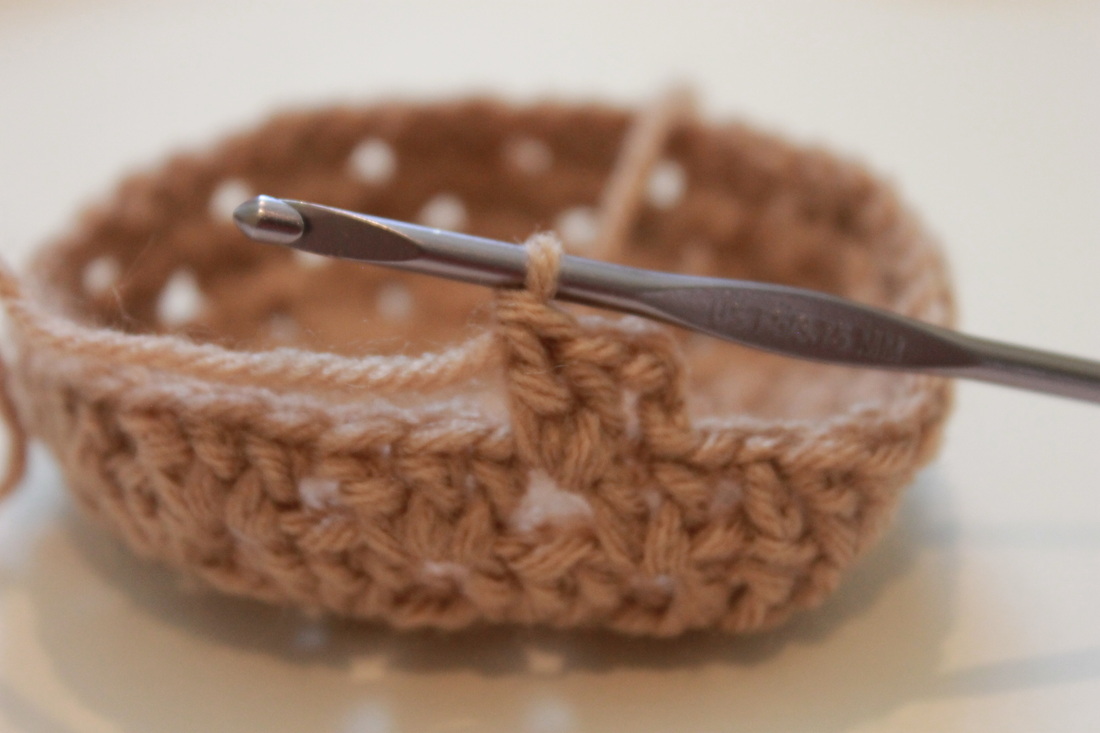
I have heard of several people using the 'chain 2, sc X about of stitches into the second chain from your hook' because they can't really get the magic ring right. The 'chain 2' method is good if you are just learning how to make amigurumi, and you are just doing a small practice circle, but I don't recommend using it for a stuffed animal. Why? Because once you work the required amount of stitches into the specified chain stitch, you have to pull the beginning yarn strand tight to close the hole. But when you use the 'chain 2' method, the hole doesn't close all the way, leaving a hole in your stuffed cutie :(

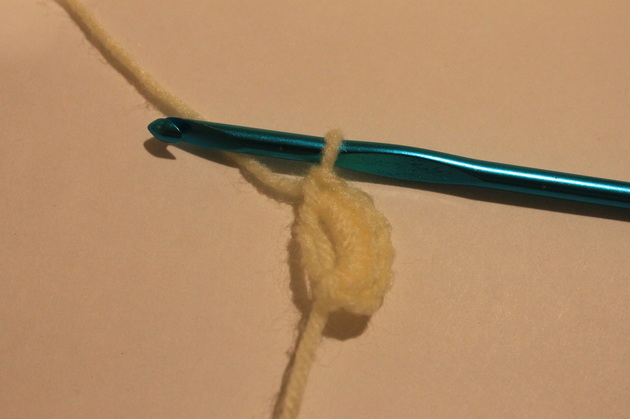
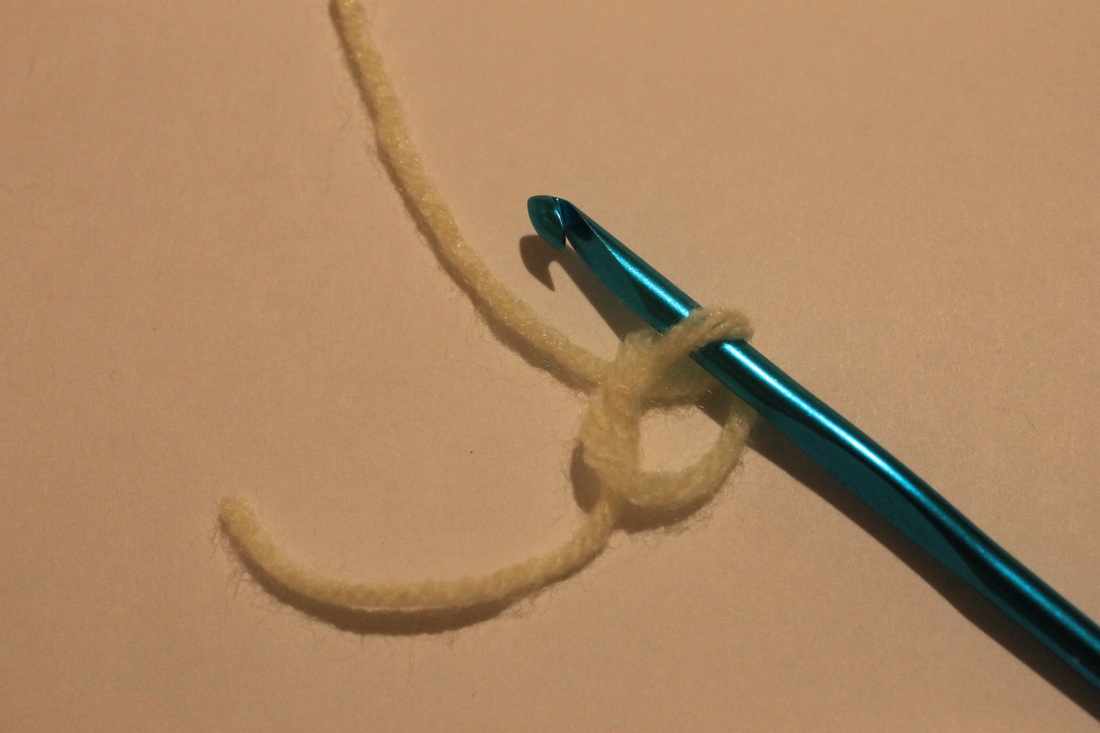
The magic ring method solves that problem. When you are making the magic ring, you are basically making a knot.

Picture
← Take a look at this photo. If you were to cut the working yarn and pull it through the loop, after pulling the two yarn strands tightly together, you would have nothing but a tight knot. So would you rather have a hole in your amigurumi, or a nicely closed beginning ring? If you prefer the latter, keep reading!
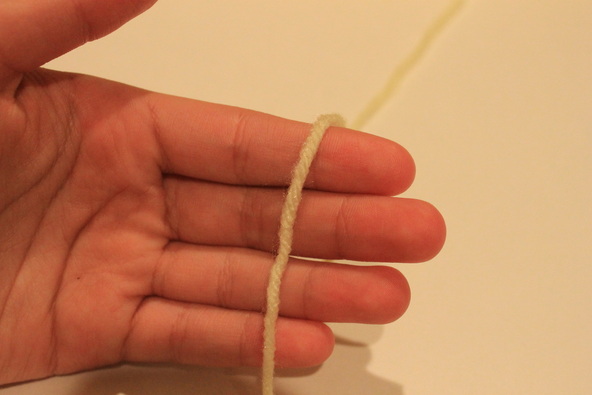
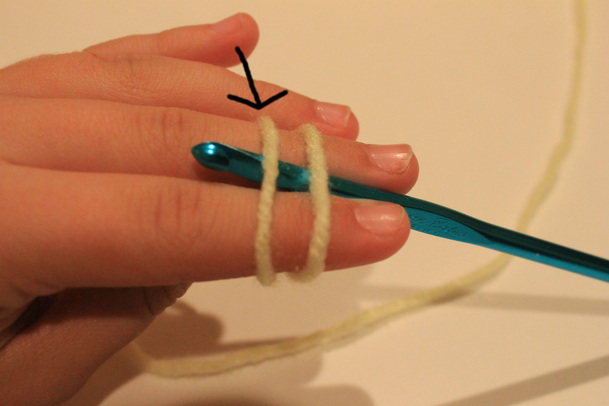
Here is how to begin. Place the working yarn over you hand (I am right handed, so I am putting the yarn over my left hand. If you are left handed, loop the yarn over your right hand).
Picture
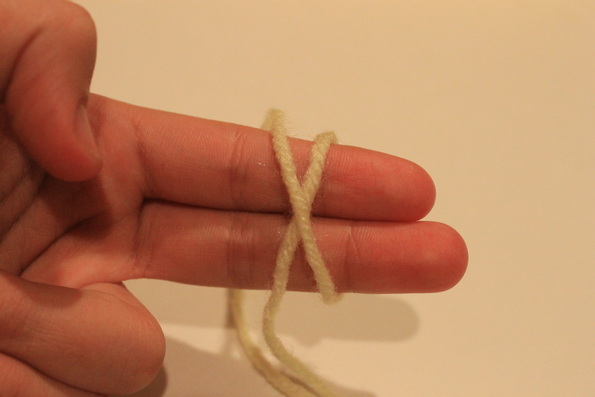
Then, loop the yarn under your index and middle finger (at this point, you can curl in your ring finger and your pinky).
Picture
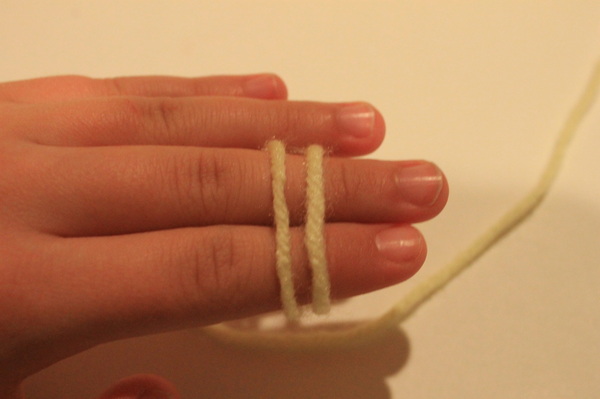
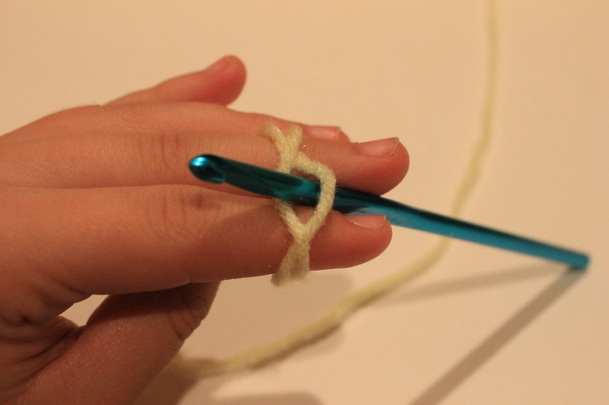
Now, turn your hand so that the yarn looped over your fingers looks like this:
Picture
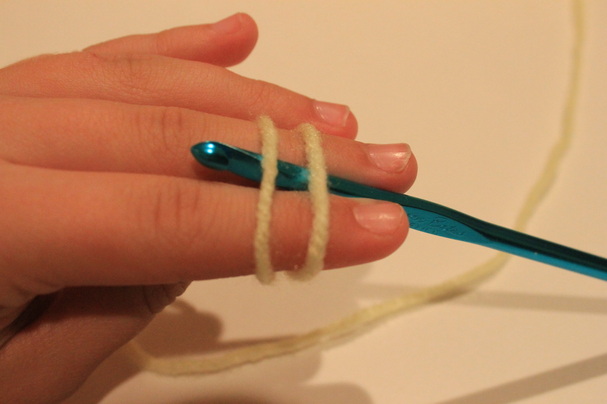
Looking good! Just a few more steps and you can begin crocheting. Now, insert you hook into both loops:
Picture
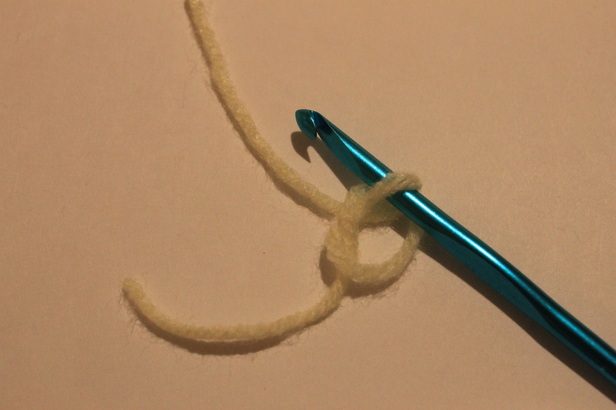
Now, do you see the loop to the left? That's what were focusing on.
Picture
With your crochet hook, pull the left loop through the right loop:
Picture
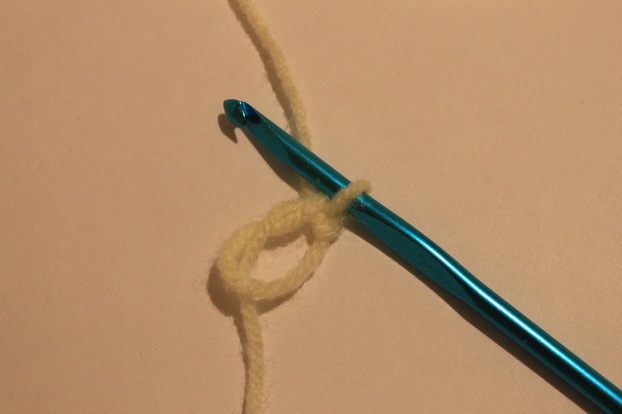
At this point, you can take pull the ring off of you fingers.
Picture
After that, chain 1 (this chain will look kind of strange, not like a normal chain).
Picture
Then, insert your hook into the loop, and complete the stitch. Then, crochet the required amount of stitches into the ring.
Picture
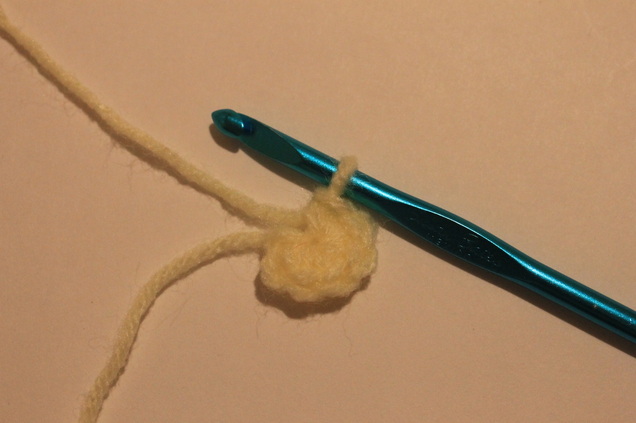
After that, you can close the ring by pulling the yarn strand tight (Don't be afraid to pull. If you don't pull, you'll have a hole!).
Picture
After that, you can begin on your stuffed animal, and you won't have a hole! Be sure to practice this several times before you begin an animal to ensure that you understand the magic ring and how to do it correctly. I hope this tutorial helps you will your future amigurumi plushies!
2 Comments

Hey, guys! I could use a little help here :)

11/25/2013

0 Comments

 
Something really exciting is going on! I have entered one of my designs in an
online design contest! There are 3 prizes (for first, second, and third) which
contain amigurumi supplies (yarn, plastic eyes, pattern books).


So, if you could vote for me, it would be appreciated!
And to thank you all, if I win, I will use some of the yarn I get to create some
free patterns!


There are a lot of really great designers, but if you could help me out, it
would be greatly appreciated!


Here is the link: http://amigurumipatterns.net/designcontest/vote

Thank you so much, everyone!

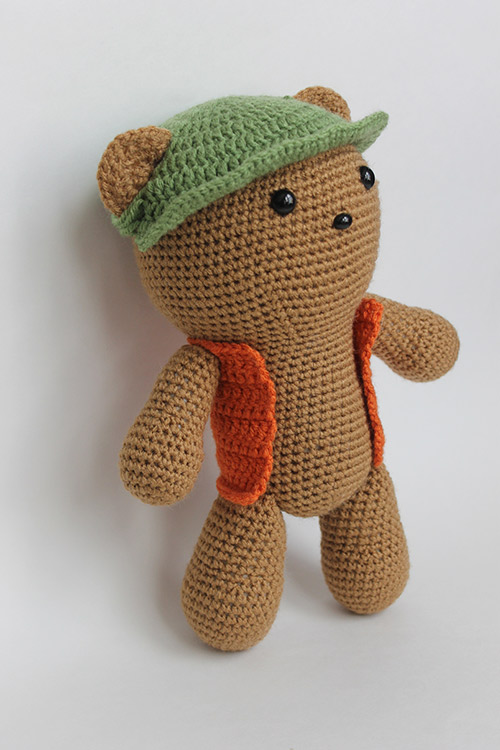
Here is my design:
Picture
He goes by the name "Mr. Teddy the Fisherman".
0 Comments

FO Friday: Week 2

11/22/2013

1 Comment

 
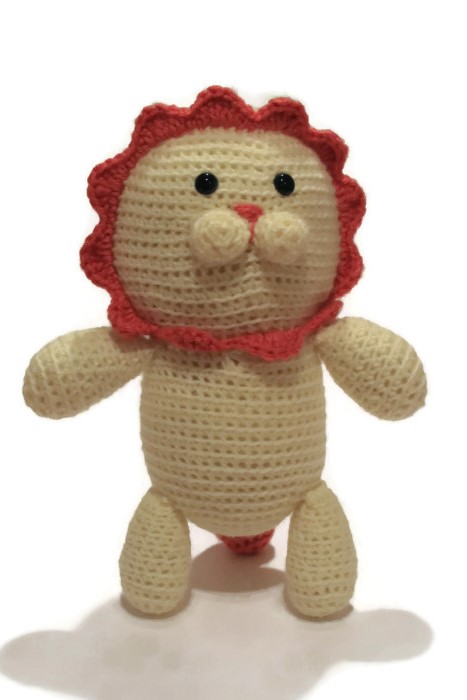
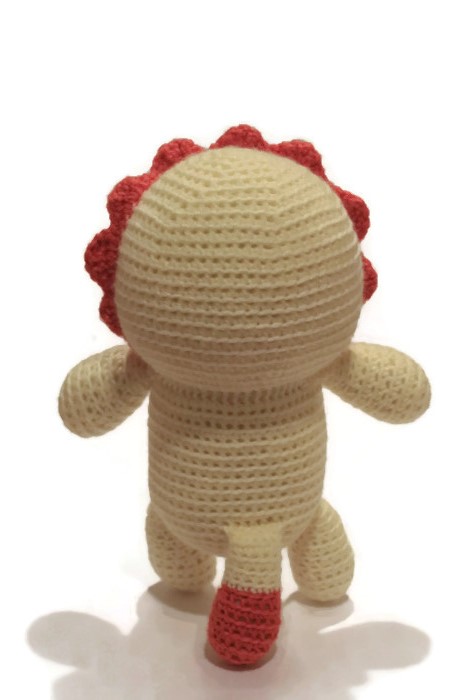
I have been working on several things, but I've been really excited about one thing in particular: Meet Leon the Lion!
Picture
Picture
His main took a bit of time, and because you have work on the actual head, I had to take about 110 pictures for the main and assembly of the animal! So expect a very detailed pattern to come out in the next few weeks! I had a lot of fun making him. Including his legs, he is approx. 10" tall! And with his tail, he can stand in his own! He is so chubby! I'm not sure if I will keep him or sell him on my Etsy shop. Only time will tell :)

1 Comment

WIP Wednesday: Week 2 

11/20/2013

1 Comment

 
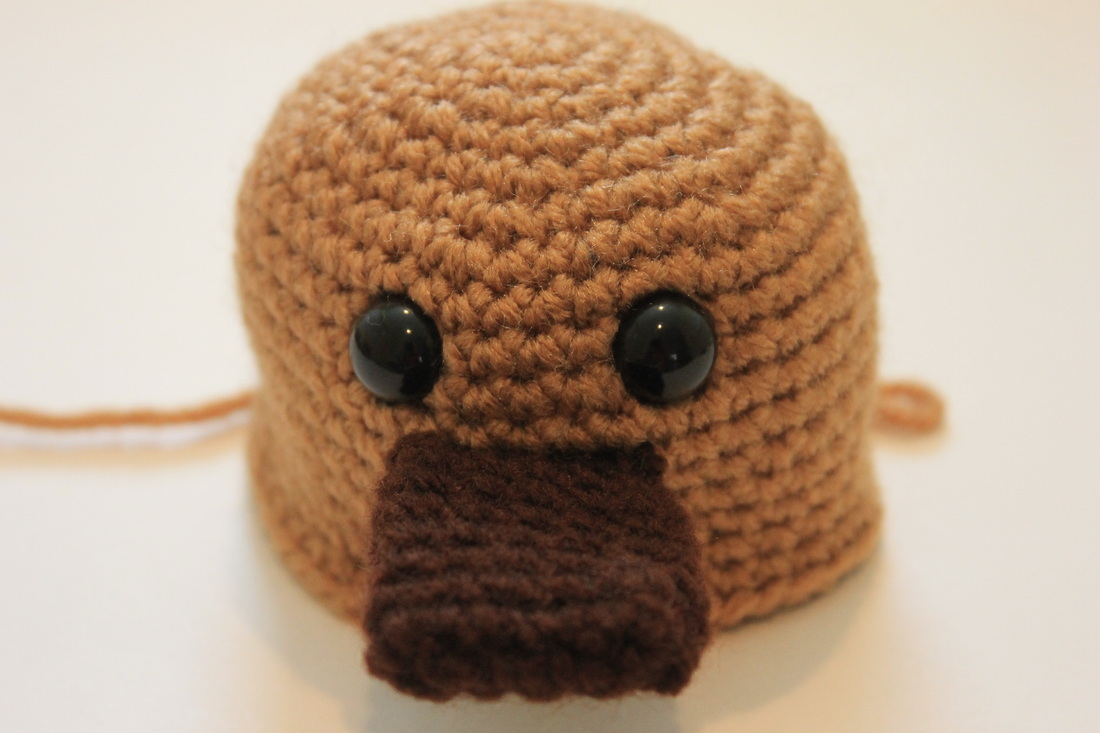
Here is what I've been working on :) For starters, a platypus!:
Picture
I was taking pictures for the new pattern. This was for reference when attaching the bill. I took these pictures this morning, and I have the majority of the body done! Unfortunately, I am out of polyester stuffing! I'll pick some up on black Friday, but until then, by projects will remain unfinished :(  
Picture
↑ I'm working on something secret! I might drop a few clues in our Ravelry Group, but I'm not making any promises :)
1 Comment

We have a CAL going on!

11/18/2013

0 Comments

 
Just a little reminder that our Ravelry group is having a Fall-themed CAL! The winner will receive a free EAC pattern of their choice, and have their finished cutie featured on my blog! You can enter your ami in the ravelry group (the link is on the front page of EAC). I have a special thread for all of the finished stuffed animals :)
If you have any questions, you can contact me through ravelry by following this link.
0 Comments

FO Friday!

11/15/2013

0 Comments

 
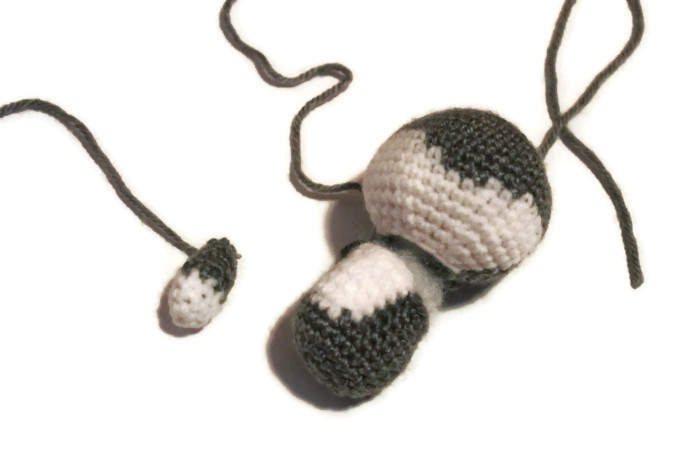
Time for Finished Object Friday! I have a new animal I've been working on:
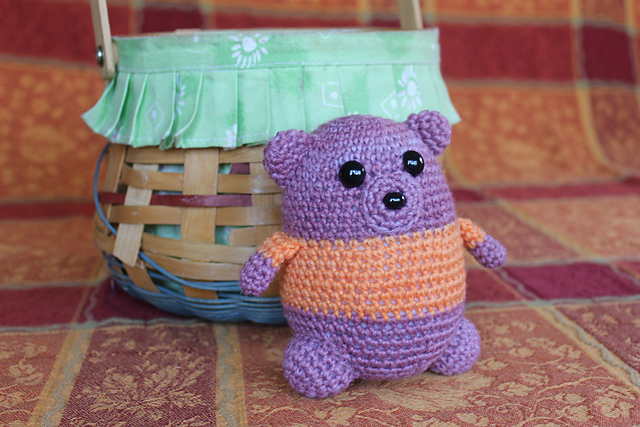
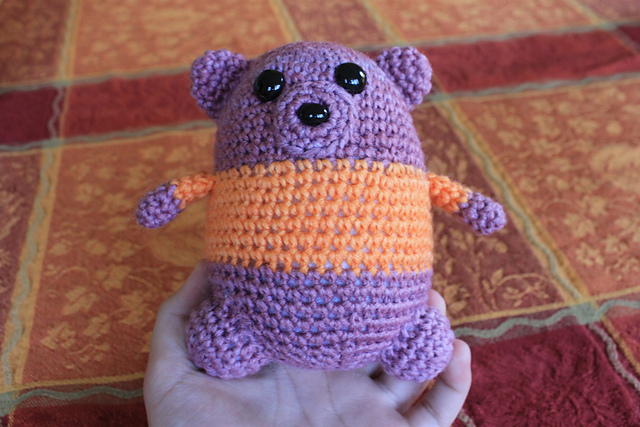
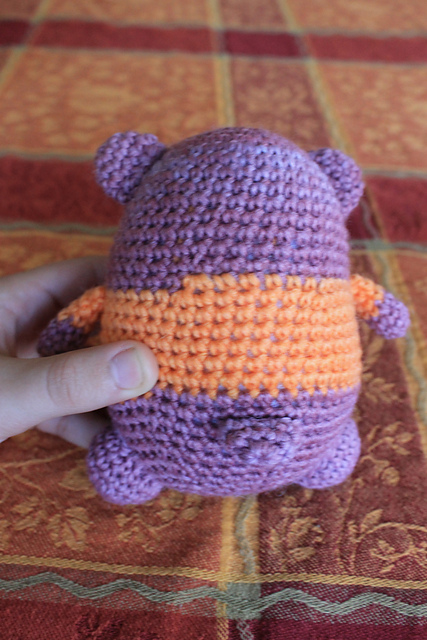
Meet Mort the Bear!
Picture
Picture
Picture
He was made with some of my hand dyed yarn. I recently posted a blog post about the yarn!
0 Comments

WIP Wednesday

11/6/2013

3 Comments

 
Picture
Every Wednesday, I will post some of my most recent projects. For those that don't know, a "WIP" is a Work In Progress. These are some of the things that I haven't finished yet. Now, lets get started!
Picture
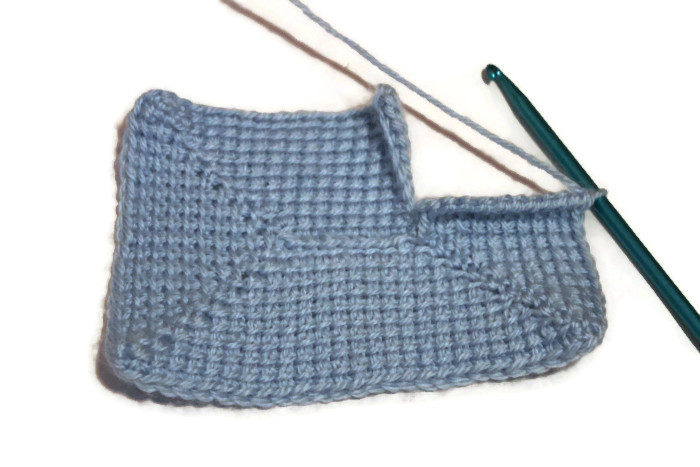
Okay, this wasn't my original idea. Click on the image to see my inspiration. I didn't use a pattern, I just looked at the image and made it up as I went along.  I am using some DK weight yarn with a 6.50 MM (Size K). If you work Tunisian crochet with a smaller hook, the bottom of the fabric tends to curl upwards. When worked with a larger hook, it is looser, so it doesn't curl as much. For me, the fabric is good, but I would NEVER us a 6.50 MM crochet hook for a stuffed animal (unless I had very thick yarn). That would end very badly (it would be very loose and the stuffing would poke through). Now, let's move on.
Picture
Picture
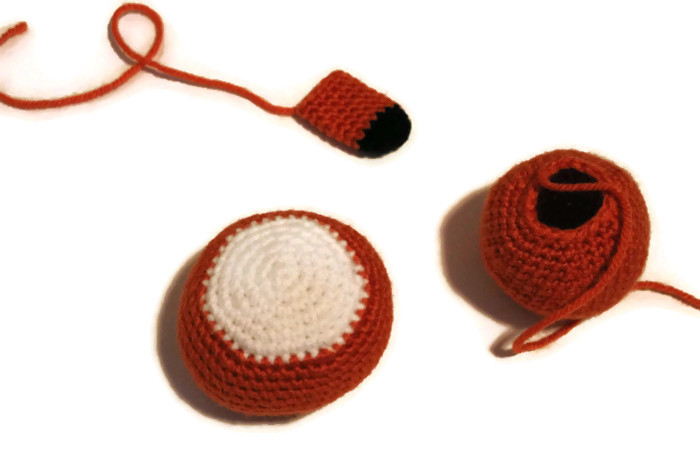
A fox and a wolf for a custom order I received. Just click on each image and it will lead to the patterns. They are so cute when they are finished!
I still need to finish them, though. But I can't find my darning needle!
Moving on:
Picture
Picture
A teddy bear I'm working on! It's for my little sister. I'm trying out some different shapes. I'm not sure when I'll have the pattern for sale, though :(  Sorry about the bad photos! I'm not really sure what went wrong (they only looked blurry after I uploaded them to the computer).
Picture
Picture
Another teddy! This one has an unfinished body, with a different pattern from the one above. The head is the same, though.


Well, that's it for now! -Emma
3 Comments

    Hello!

    I'm Emma, a crocheter, knitter, yarn dyer, and the list goes on. I'm pretty much obsessed with anything yarn related (except arm knitting. I haven't tried that).

    Picture

    Archives

    August 2014
    July 2014
    June 2014
    May 2014
    April 2014
    March 2014
    February 2014
    January 2014
    December 2013
    November 2013
    October 2013

    RSS Feed

    Picture
    Please check out my Dad's real fur craft items!
    Auctions for free stuff at Listia.com
    Online Knitting Class
    BOGO Sale - Shapeology Nutrition Trim Trio
    Picture
Powered by Create your own unique website with customizable templates.