Emma's Animal Creations
  • home
  • blog
  • Free patterns
  • Patterns
  • Tutorials

WIP Wednesday

1/29/2014

0 Comments

 
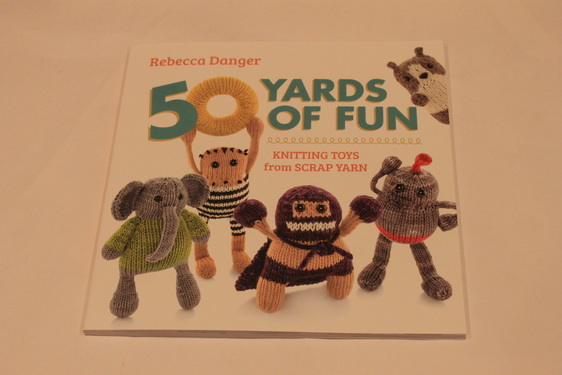
After receiving 50 Yards Of Fun, I can't put it down! I absolutely love Rebecca Danger's wonderful knitting designs. They contain clear, beginner-friendly instructions, and the outcome is simply lovely. She has helped expand my horizons in the world of knitting. Thank you, Rebecca, for all of your awesome tutorials, wonderful patterns, and everything in between!

So with that, let's move on to a knit (and a bit of crochet) filled WIP Wednesday:
Picture
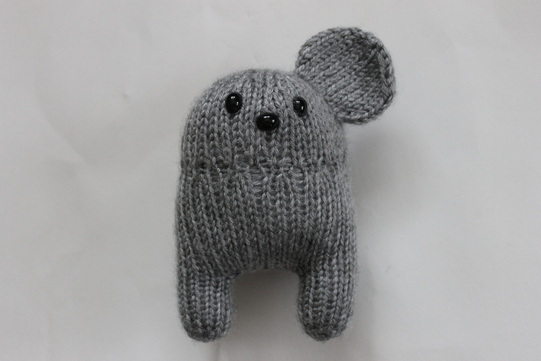
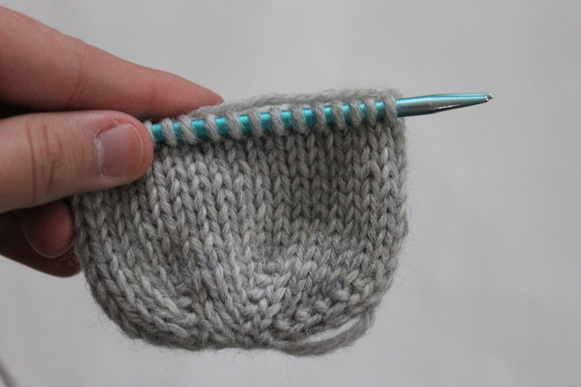
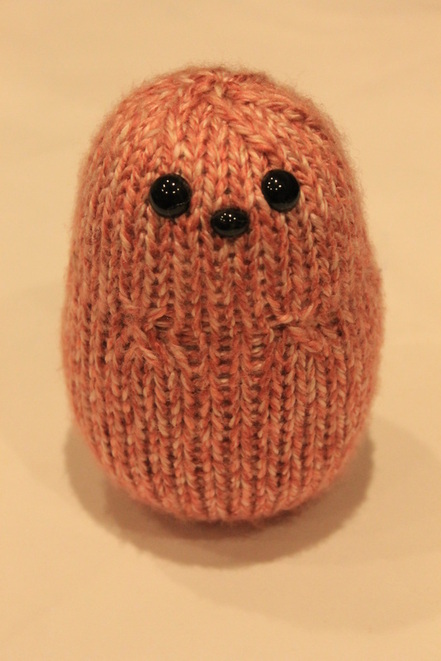
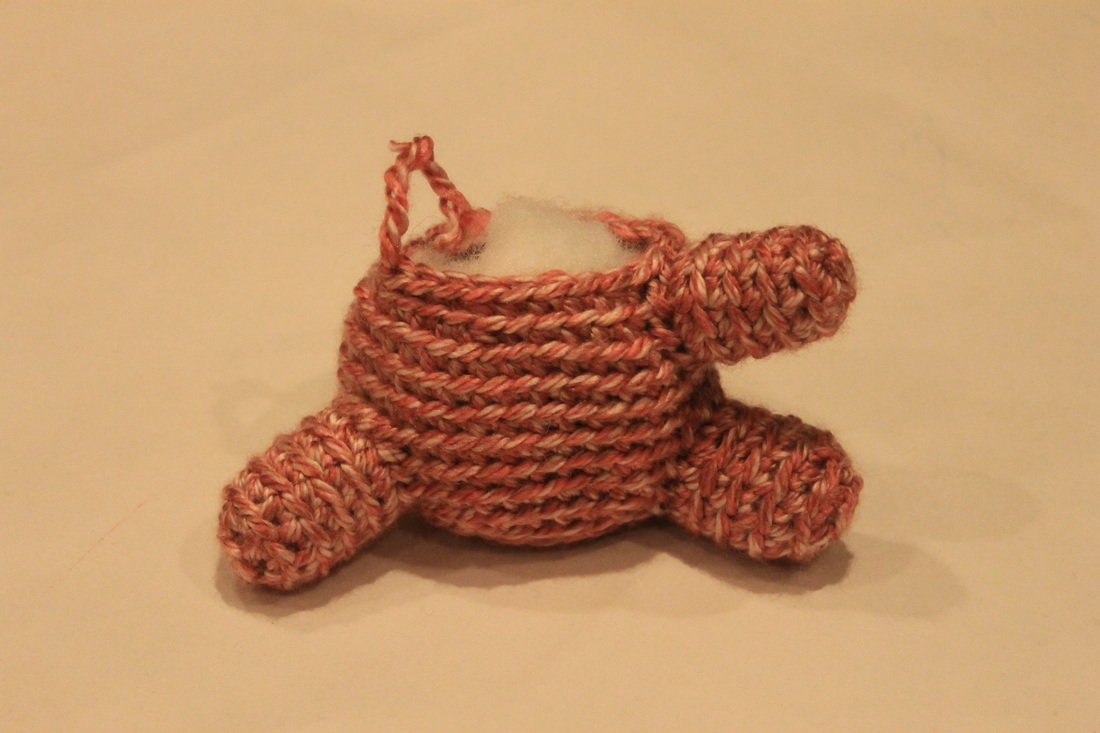
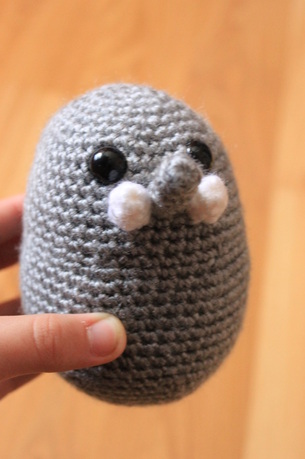
I'm up to the ear with the Meager Mouse. I knitted both legs separately. After I knitted the first one, I cut the yarn, threaded a tapestry needle with scrap yarn, and transferred all of the stitches from the first leg onto the scrap yarn. Then I knitted the second leg, and joined the two legs together, and began to knit them as one piece. I was running low on plastic eyes, so I used oval noses for the eyes and nose. 

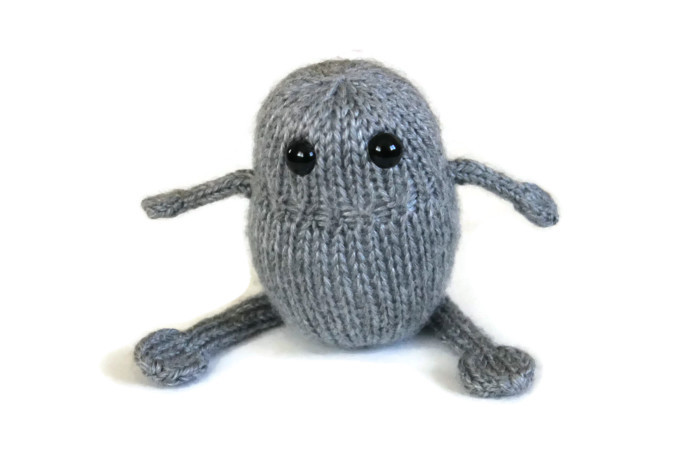
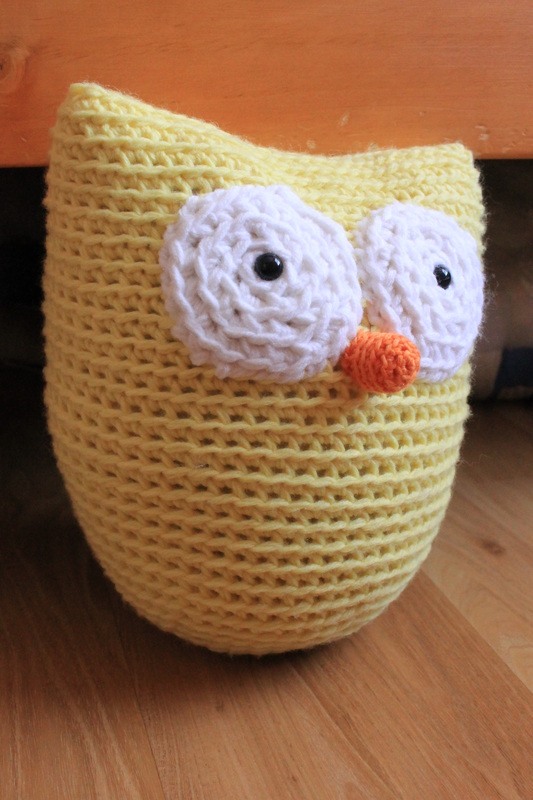
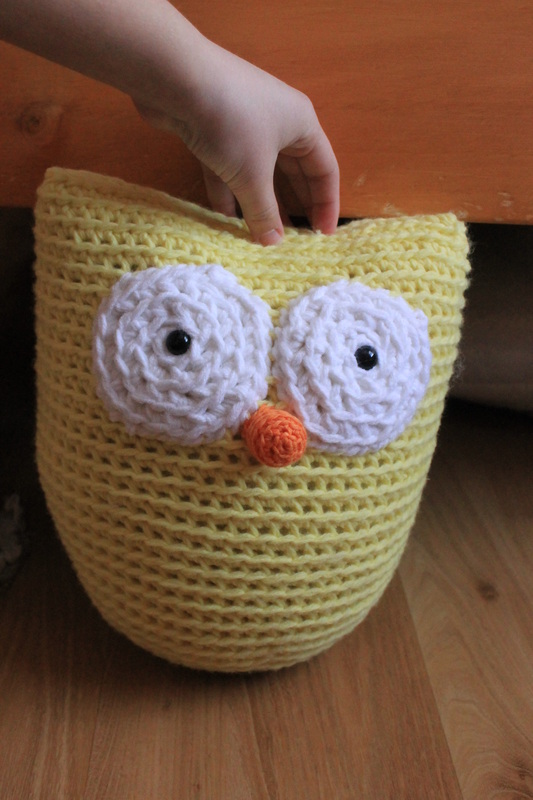
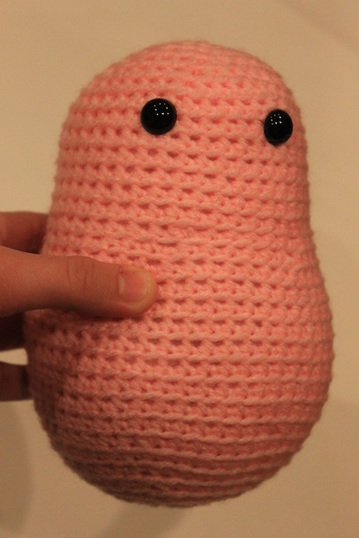
Do you remember this guy?

Picture
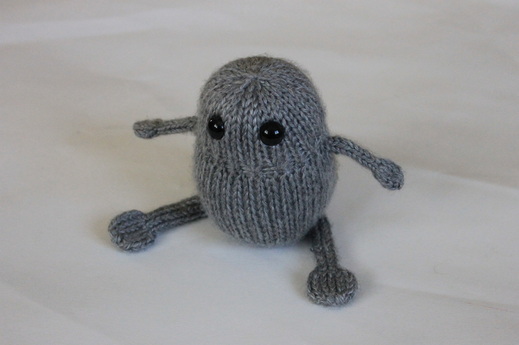
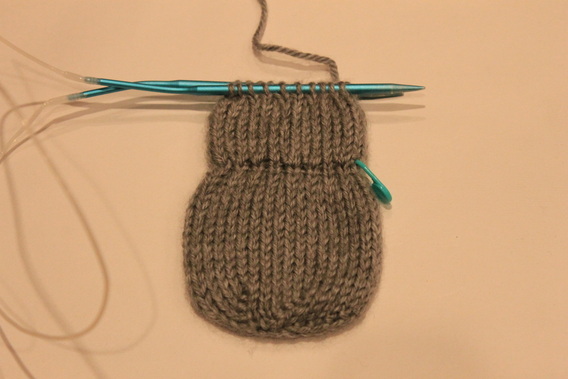
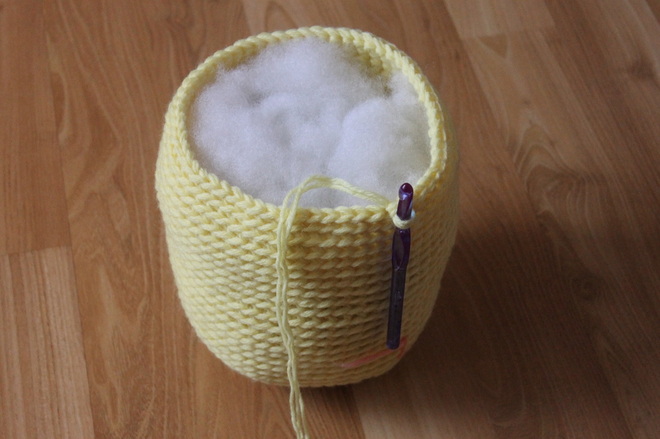
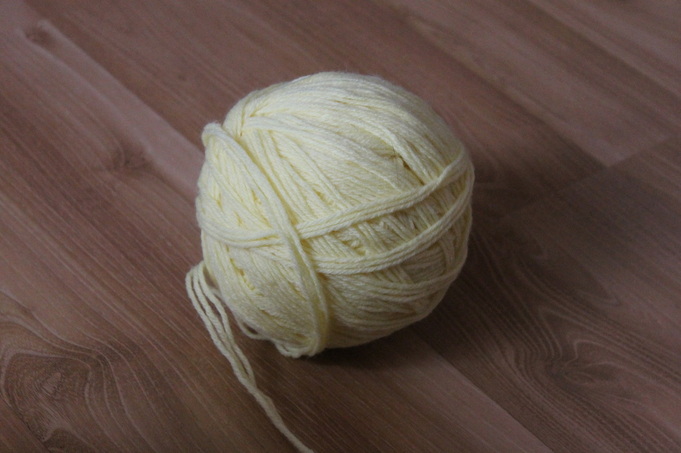
I really like this design, so I started knitting another in some light grey wool:
Picture
The wool is so soft, and I think it is perfect for this project!

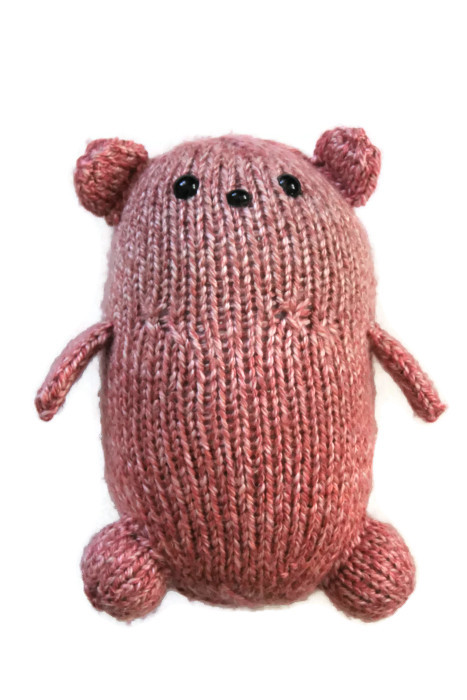
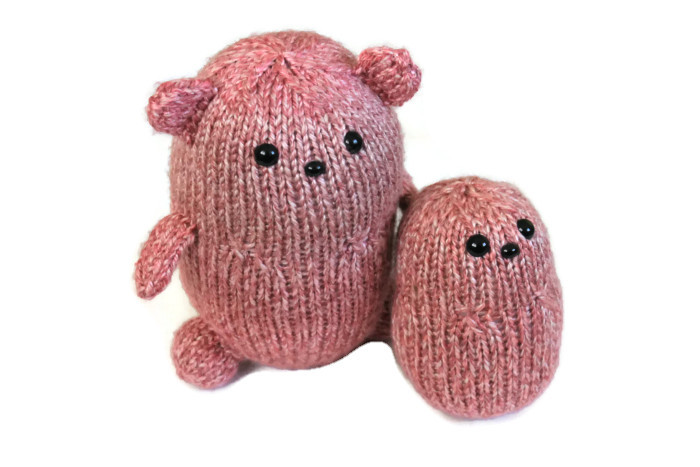
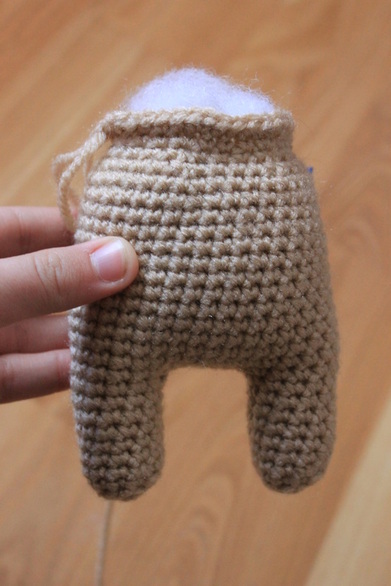
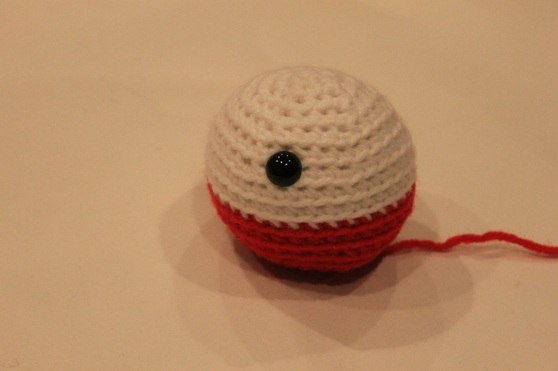
And, I made a bit of progress to another Mort the Bear:

Picture
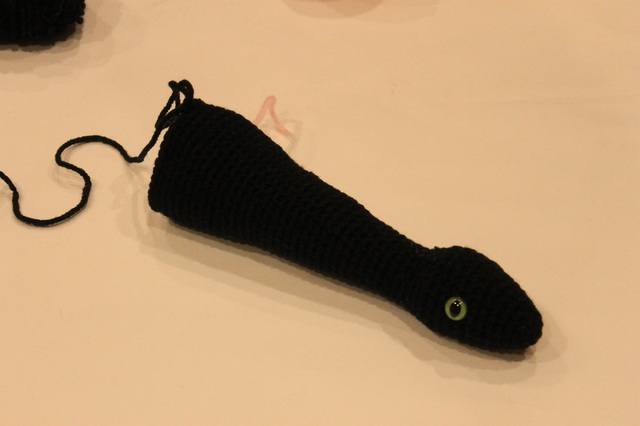
This was my first attempt at knitting a stuffed animal. I used Rebecca Dangers Daphne the Monster pattern.
I made another ear for him, and I'm working on his other arm. But I'm running out of yarn!

I started this next project back in August, have made some progress on it:
Picture
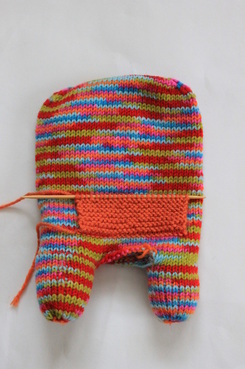
That's all for now. I'm off to knit some more! -Emma
0 Comments

Book review: A to Z of Crochet

1/25/2014

0 Comments

 
I've decided to release a mini book review series, consisting of four different titles. So every Saturday (for 4 weeks), I will release a book review. The first of these reviews will be for the A to Z of Crochet:
Picture

1) Is it really suitable for beginners?

Yes! This book contains over 1000 photos, displays a large number of different techniques, and I used when I first started crocheting. The photos are clear, and so are the instructions.

2) I'm quite advanced in crocheting. Is this book worth my money?

It ultimately depends on how advance you are. Do you know 5 different ways to attach crochet pieces together? Do you know how to make the loop stitch, work in the round, do shepherd's knitting (it's still crocheting), color changes galore, and super fancy stitches? If not, than this book might be for you. If you know all these things and more, then you might find it easier just to look up what you need Youtube.com. 

3) What are the pros and cons of this book?

There are a few cons, but a lot of pros :)

Pros:

1) Clear, step by step photos.

2) Easy to follow instructions.

3) Contains a large number of techniques and tips that are very useful.

Cons:

1) These are instructions only. There are no patterns. For example, when showing how to make a circle, it says "crochet the required amount of stitches into the ring. Your pattern will specify how many". Some of the techniques would be easier to understand if they had a small swatch you could make to try out the new technique (I found this kind of irritating as I was just a beginner, and I did not have any patterns).

__________________________________________________________________

So, I would recommend this book to a beginner crocheter. But for an advanced crochet, I would recommend something more challenging.

If you have any questions about this review or the book, feel free to comment below.

This concludes the first part of our four week review series :) 
0 Comments

FO Friday

1/24/2014

0 Comments

 
In my last post, I mentioned that for my birthday I received 50 Yards Of Fun by Rebecca Danger. So after a few hours of knitting, I finished my little knitted toy:
Picture
I used The Basic Peanut Body pattern with Red Heart Soft Yarn in Light Grey Heathers. Instead of the recommended 3.75 MM needles, I used 4.00 MM (I also used a different brand of yarn as apposed to the recommended Another Crafty Girl yarn). I used the recommended 12.00 MM eyes, and I made a few changes to legs. After knitting the required amount of stitches for the legs, I knitted in the front and back loop of each stitch (Increasing on each stitch). Then, after knitting 4 rounds, I decreased the entire round. Then, I cut the yarn and pulled the remaining yarn tail through the remaining stitches. And, I didn't stuff the arms or the legs.

And, here is the larger bear I talked about in my previous post:
Picture
Picture
The photo above this text is the larger bear compared to the smaller one. I named the larger bear Mr. Swanson, and the little one will be Lil' Swanson.

I used 12.00 MM plastic eyes, and a 10.00 MM plastic nose (I used the same size eyes and nose for both of the bears).

0 Comments

WIP Thursday

1/23/2014

2 Comments

 
The reason I didn't do a blog post yesterday is because yesterday was my birthday! I spent the day enjoy my b-day instead of blogging (you understand, right?).

But, I'm here now.

Anyway, one of my presents was Rebecca Danger's new book, 50 yards of fun!
Picture
I love this book! The patterns are well written, and even if I'm not knitting, it is so much fun just to flip through the pages and see all of the cute knitted animals!

And, I started knitting one:
Picture
This pattern is the Basic Peanut Body and can be found here.

And, I'm working on something else knitted:
Picture
Definitely not done yet. I already made a larger version (I made the larger one first) and I will share it on FO Friday. This pattern is the first of many knitting patterns I plan to design :)

I'm using a 5.00 MM (size 8) circular needle and Vanna's Colors yarn. It is so soft, and I love working with it!

That's not the only thing I'm working with Vanna's Colors. I've been crocheting Timmy the Teddy bear by Stacey Trock:
Picture
Another wonderful design from Stacey. Her pattern have clear instructions, and the outcome is outstanding. Thank you for another fabulous project!

And, I realized something. Every designer has a niche, and I think I found mine. Animals with big, buggy eyes:
Picture
(Except that pink one, of course).
2 Comments

FO Friday

1/17/2014

0 Comments

 
I have some good news, and I have some bad news.

The good new is, I finished my owl!
Picture
Picture
I put my hand in for scale. It's about 12-13" tall.

The bad news is, that is all I finished! I started a pair of mittens, so I didn't finished anything else.

That is all for now :)

0 Comments

WIP Wednesday

1/15/2014

2 Comments

 
So, awhile back I was given a lot of yarn, some of which I don't need. In this case, a whole lot of yellow:
Picture
Now I needed a project to use up all of this yellow, and since I had three skeins in one color (same dye lot), I decided what better way to use them up than use them all at once?

So, I with three strands held together and a 9.00 MM hook, I started what would end up as a yellow owl:
Picture
Right now it's about 9 1/2" tall, and I'm not done yet.

I tied the three yarn ends together, and them unraveled the skeins together. Then, I rolled it into what my sister calls "a ball of spaghetti": 
Picture
                  ↑Hmmm... The lighting in this photo is dark and depressing↑
Picture
Like our unfinished piggy friend, this elephant also has the same body as Mort (well, the body is made from the same pattern. They don't share the same body (that would be weird)).

I worked his body with a 3.75 MM hook, so the stitches are very tiny.


I'm also working on a plush Pug:
Picture
I worked each leg separately, and joined them later on. I'm going to have to make another one since I didn't take any photos for the joining of the legs for the pattern.
2 Comments

WIP Wednesday

1/8/2014

1 Comment

 
Hello, all! This WIP Wednesday has a little knitting incorporated into the mix, so it's a little out of the ordinary. I have been working on a lot of stuff (some of which I have forgotten about), and once again, I am here to share them with you!

First off, I found this adorable crochet dragon pattern! You can find the original design by following this link. 


The pattern is also available on Ravelry, and you can find it here (please note that you will need a free Ravelry membership to purchase the pattern on Ravelry).

I've started the body on my dragon:
Picture
I am making mine look like Toothless the Dragon (in the HTTYD movie, he is a very large dragon, but in the book he is quite small. I am making a replica of the one from the book, and I think it's going great!).

And, I'm working on a stuffed piggy!
Picture
This piggy has the same body as Mort, but the body is worked thought the back loop only of the stitch, and Mort's body is worked through both loops of the stitch.

I'm also working a small alien:
Picture
I've made another one of these (in different color), and I will post it on FO Friday.

Remember when I mentioned that I was knitting something? Well, here it is!

Picture
I'm going to transfer the stitches to DPNs (double pointed knitting needles) so I can decrease off.

That's all for now!

1 Comment

Crochet Tutorial: Loop stitch

1/6/2014

0 Comments

 
Hi! Sorry I haven't posted recently. I have been working on some projects, but uploading photos is such a pain (go take some photos and upload them to your computer. You don't want to, right?). Anyway, I'm here now with a crochet tutorial! This tutorial will explain how to do the loop stitch.

Before you start, here are a few things you should know:

1) When working the loop stitch, the loop will form on the "wrong" side. Meaning, you will have to turn your piece inside out in order for the loops to be visible on your finished piece.

2) Before you begin a project using the loop stitch, be sure that your loops are coming out the same size. Otherwise, you will have a fabric full of different sized loops, and no one wants that (or do you?).

3) If you are crocheting a stuffed animal with loop stitch, and you are starting with a circle, instead of crocheting 6 loop stitches into the ring, single crochet the required amount into the ring. Then for the next round, loop stitch following the instructions for the pattern you are following. By making the first round single crochet, it will be easier to work the second round (which will be in loop stitch).  

                                                         Let it begin!

1) Insert your hook into the next stitch (here, I am working through the back loop of the stitch):
Picture
2) Loop the yarn over (as if you were making a single crochet stitch):
Picture
3) Do you see that loop there?
Picture
Bring your hook under that loop, and catch it with the hook:
Picture
4) Then, pull both loops through the stitch:
Picture
5) Bring the yarn over the hook, and pull it through all three (3) loops on the hook
Picture
Picture
Congratulations! You just completed the loop stitch. If you work the loop stitch for every round, on the wrong side (remember, the loops end up on the wrong side!) you will have a lovely collection of loops!
Picture
Having trouble will the loop stitch? I am happy to answer any questions you have. Please comment below if you have anything to ask about this tutorial.
0 Comments

    Hello!

    I'm Emma, a crocheter, knitter, yarn dyer, and the list goes on. I'm pretty much obsessed with anything yarn related (except arm knitting. I haven't tried that).

    Picture

    Archives

    August 2014
    July 2014
    June 2014
    May 2014
    April 2014
    March 2014
    February 2014
    January 2014
    December 2013
    November 2013
    October 2013

    RSS Feed

    Picture
    Please check out my Dad's real fur craft items!
    Auctions for free stuff at Listia.com
    Online Knitting Class
    BOGO Sale - Shapeology Nutrition Trim Trio
    Picture
Powered by Create your own unique website with customizable templates.